Quickly install a bathroom faucet by following this expert do-it-yourself advice, illustrated with step-by-step photos.


The difficulty of installing a bathroom faucet depends partly on the type of faucet, but mostly on your access to the underside of the sink and the plumbing setup.
Installing a faucet is easiest during new construction, when you’re installing the cabinetry, sink, and countertop, because you can usually do most of the assembly before installing the sink.
In situations where you’ll be installing a faucet on an existing sink, access is trickier because it can be awkward working underneath the sink, inside the cabinet.
One tool that sometimes makes the job easier is a basin wrench—it allows you to reach up and tighten fittings behind the sink bowl.

 Basin wrench eases installation of most faucets. Check price on Amazon
To make the assembly steps more understandable, in this article we show how to assemble the faucet on a new sink, working above the countertop.
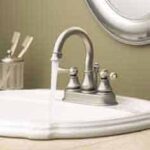
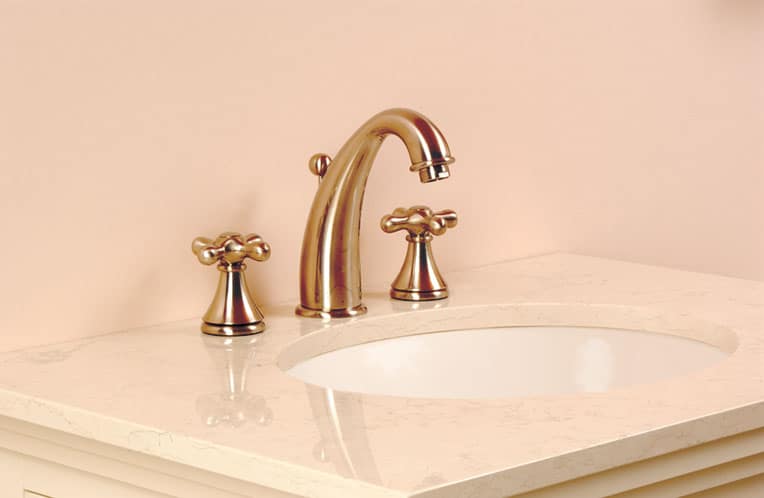
When buying a faucet, be sure to get one that will fit the configuration of holes in your sink or countertop (or buy a sink that will fit the faucet you want). The number and configuration of holes for a single-piece faucet are different than those required for a split-set faucet like the one shown here.
If you’re replacing an old faucet, you’ll need to begin by removing it. Turn off the shut-off valves that serve the faucet’s supply tubes. Use a wrench to remove the supply tubes’ nuts from the faucet tailpieces. Place a bucket below the supply tubes—they’ll be filled with water, which you’ll need to drain into the bucket.
Use a basin wrench to remove the locknuts and the washers on both tailpieces.
If the sink has a pop-up assembly, disconnect it from the faucet and disassemble it to get it out of the way.
Then just lift out the faucet.
If the water supply tubes are old and corroded, this is a good time to replace them.
How to Install a Bathroom Faucet: Step-by-Step
Unpack your new faucet and make sure you have all of the necessary parts. If any pre-assembly is required, do that now, according to the manufacturer’s directions. To make assembly of the new faucet easier, work with the countertop upside down on top of the vanity, as shown. If the countertop is considerably larger than our example, prop it upside down on the floor.
1 Clean the top surface of the countertop where the new faucet will sit. Fit the rubber gaskets (if the faucet and valves have them) onto the faucet’s components, and then push the faucet’s tailpiece up through its mounting hole in the sink or counter. Thread the washer and mounting nut onto the tailpiece. Then drop the valve assemblies into their holes and tighten them in place.
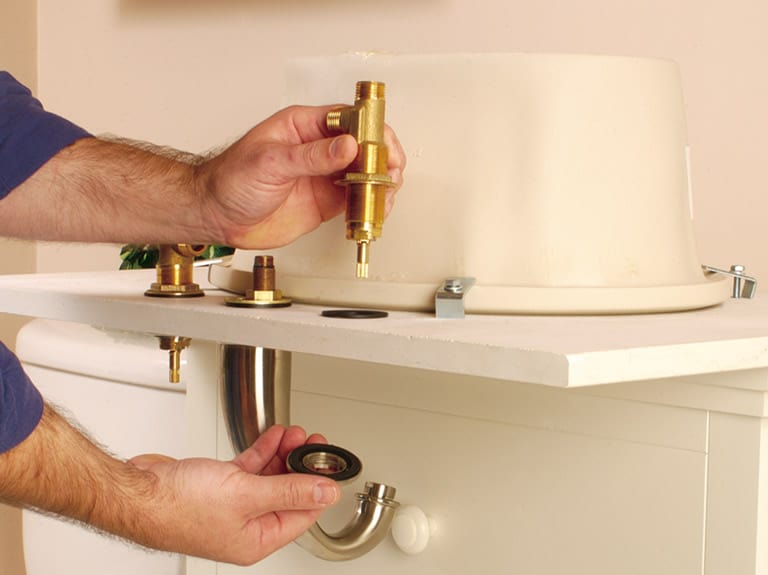
Note the rubber gaskets in the photo: These are meant to create a watertight seal between the faucet body and valves and the counter or sink so that water spilled or sprayed on the counter doesn’t leak down into the cabinet. If your faucet doesn’t have these rubber gaskets, seal the perimeter of the base with plumber’s putty before you insert the parts through the sink or countertop holes.
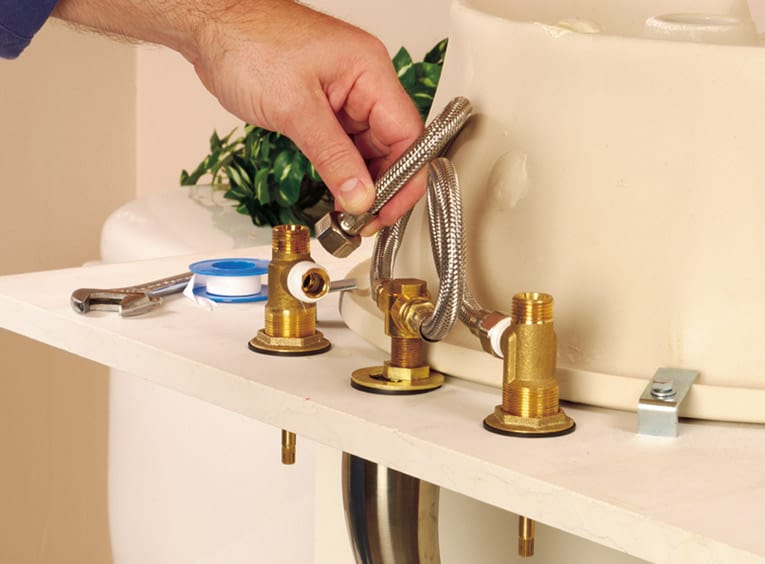
2 Connect the valves to the spout if you’re installing a split-set faucet like this one. Wrap the threaded ends of the valves and connecting piece with a couple of turns of pipe-wrap tape, and then screw the parts together. Snug them until tight by hand, and then finish tightening them with an adjustable wrench.
3 Install the drain pop-up. Assuming that your faucet includes a drain pop-up that allows you to lift the drain stopper with a sink-top lever (most do), the next step is to assemble this.
Because the pop-up mechanism is integral to the sink drain tailpiece, this involves, removing the existing drain tailpiece and then installing the new tailpiece as shown.
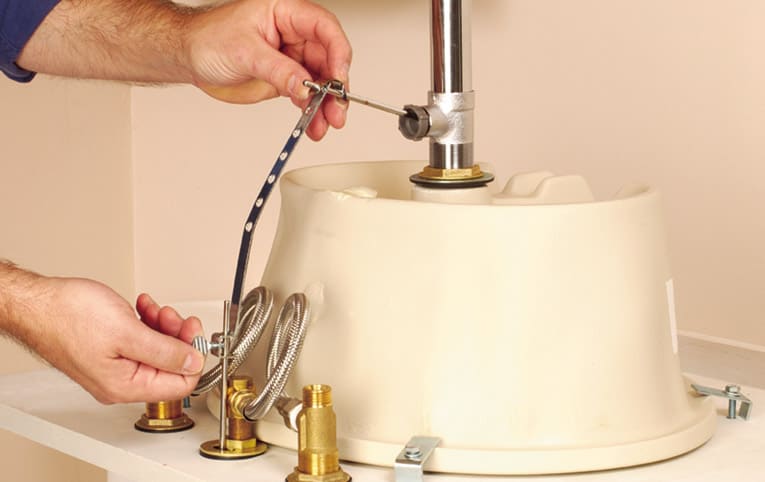
The spring clip is positioned at the end of the pivot rod—this grips onto the lift rod. For more about pop-ups, please see How to Fix a Pop-Up Drain Stopper.
4 Push the lift rod into the hole in the spout, and then attach it to the pivot rod, using the extension rod and spring clip. If necessary, adjust it so the drain stopper will open and close properly.
5 Connect the flexible water-supply tubes to the tailpieces. Screw them on, turning the knurled nuts clockwise. Tighten the nuts with a wrench.
6 Place the assembled countertop and faucet right-side up on the vanity or cabinet.
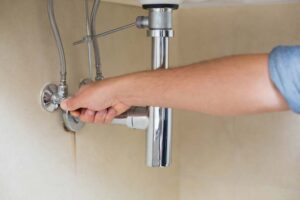
Then connect the faucet’s hot and cold water supply tubes to the shutoff valves at the wall, gently bending the flexible supply tubes as required. Turn the compression nuts or flared fittings clockwise until finger-tight, and then snug them tighter with a wrench.
Turn on the water at the shut-off valves by turning the valve handle counterclockwise. Then turn on the faucet to flush the faucet and line of any debris.
Last, check for leaks from the faucet or supply tubes.