Learn how to lay a ceramic tile floor in this in-depth DIY guide, which explains the steps from preparing the floor tiles to grouting them, and more.

A well-installed ceramic tile floor will remain beautiful and easy to maintain for decades. And installing one is within the reach of a handy homeowner. However, many homeowners install ceramic incorrectly, resulting in a row of unattractive narrow tiles along a wall, wavy joint lines, uneven surfaces, or cracked grout lines. If you pay attention to the following tips, you’ll avoid these pitfalls.
Prepping the Floor for Tile
Ceramic floor tile is stronger than wall tile, but the tiles or the grout between them will crack if they are not installed properly on a subfloor that will not deflect when heavy loads occur.

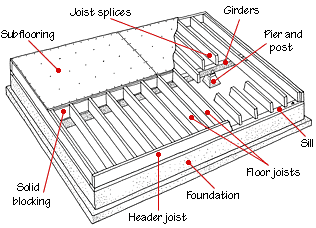
A concrete slab can provide an excellent base—but it must be flat and level. You can also lay tile on a conventional wooden subfloor, as long as the subfloor is very firm. Typical construction consists of floor joists spaced 16 inches apart, topped with a sheet of 3/4-inch plywood and a sheet of 1/2-inch backerboard. Everything should be screwed together tightly.
One simple test to determine if your subfloor is strong enough: Have a large adult jump on the floor; you should feel little or no flex. If you have any doubts regarding subfloor strength, call in a professional to check the floor’s substructure. Or, install wood or resilient flooring instead.
Tiling right up against an obstruction is difficult and often results in a sloppy-looking job. Clear the area of any plumbing fixtures (including a toilet). Remove the base shoe or baseboards, and keep track of where they go. Remove the toe kick of cabinets, or plan to install a base shoe after tiling.
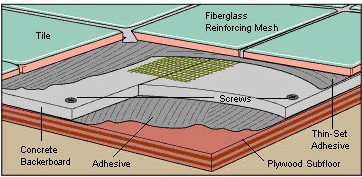
It is best to apply tiles onto concrete backerboard and/or plywood or a thicker bed of mortar on plywood subfloor. The floor should be basically smooth, level, and flat, with no high protrusions. You will be able to fill in small depressions when you apply the thinset mortar.
Existing hardwood flooring can work as a base, as long as it is firmly attached, although you may want to remove it in order to prevent the new floor from being significantly higher than adjacent floors—something that may become a problem in doorways and openings between rooms.
Existing resilient flooring may also work as a base if the floor is extremely firm. It is usually not a good idea to tile onto existing glazed ceramic tile, but consult with a pro if want to do so. It’s usually best to tear out the old tile.
Making the subfloor strong enough and then adding ceramic tile may raise the floor above an adjacent floor. Most people do not mind if they have to step up 1/2 inch or so when walking from one room to the next, but a rise of more than 1/2 inch can create a stumbling obstacle. If there is a rise, using a fairly wide threshold will make it a bit less noticeable.
The easiest-to-install threshold is a strip of metal or thin wood that lies on top of the two floor surfaces. For a more graceful solution, use a flush threshold, which is at the same level as the two surfaces. Installing a flush threshold calls for more-careful cutting, since the tiles (and the other surface) must meet it precisely.
Laying Out Floor Tiles
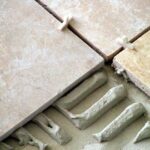
Plan the job carefully to avoid an unattractive row of very narrow tiles in a highly visible area. You can measure and work with graph paper, but it’s usually best to lay rows of tiles on the floor, with plastic spacers indicating the grout lines, to get a good idea of how the layout will end up. Don’t just measure the tile to figure your grid—take into account the width of the grout lines, too.
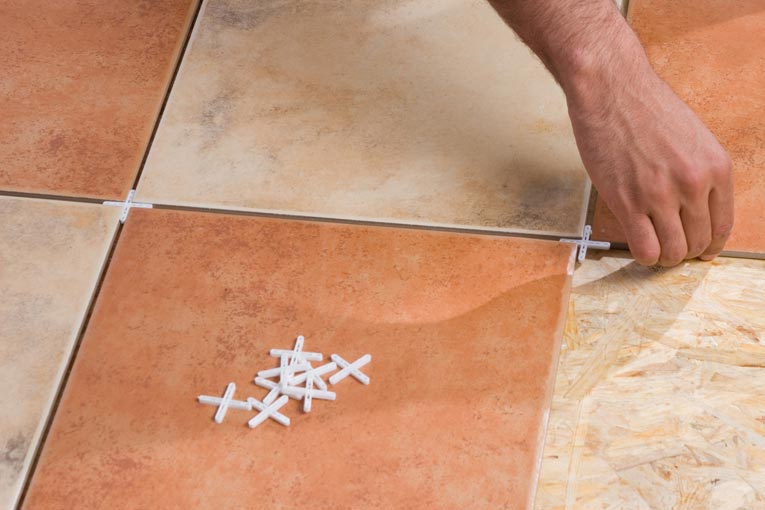
Working with a helper, snap perpendicular chalk lines on the floor indicating where you will start setting tiles. You can use plastic spacers to maintain even spaces between tiles, or you may want to snap a chalk-line grid, creating squares that will each hold nine tiles. You will then set the tiles inside each grid, eyeballing the joints for consistency. This last method works best when tiles are slightly irregular in shape.
For more in-depth instructions on laying out your tile, please see Ceramic Tile or Stone Layout.
Cutting Floor Tiles
You may choose to cut tiles as you go. Or you may want to install all the full-sized tiles on the first day, allow them to set, and then install the cut tiles.

A snap cutter makes straight cuts easily. If you need to make one or two cutouts (notches), use a nibbling tool. Nibble carefully; it may take several attempts before you cut the notch you want. If you are making many cuts, rent a wet saw.
For a complete discussion of methods for cutting ceramic and stone floor tile, see How to Cut Ceramic Floor Tile.
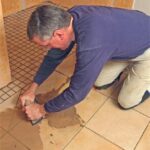
Setting Ceramic Floor Tile
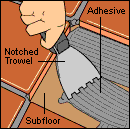
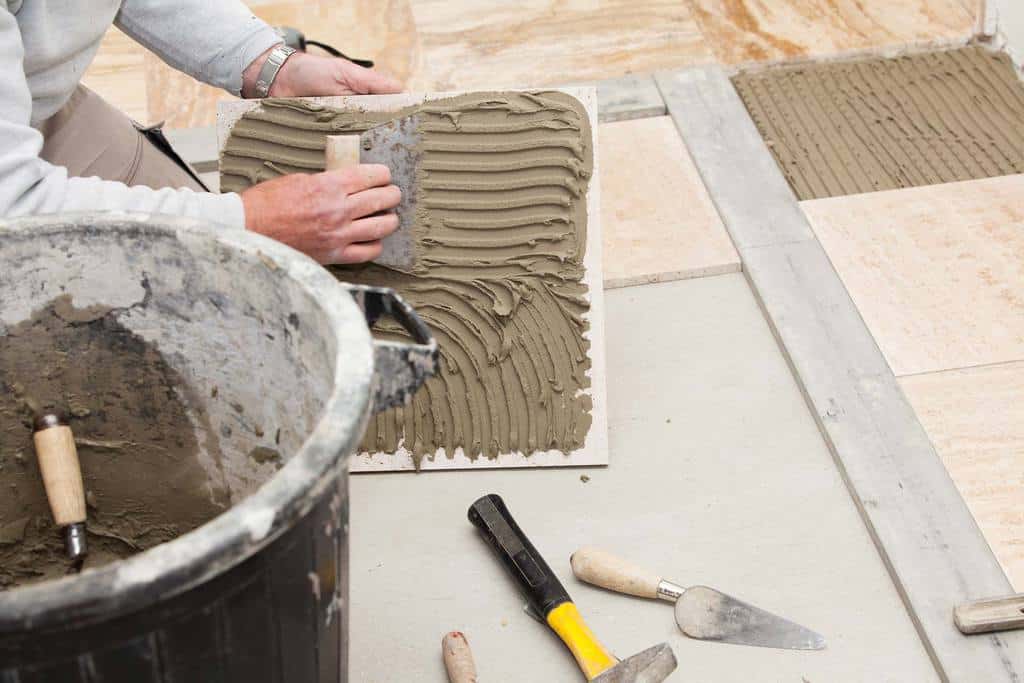
Mix a batch of latex-reinforced thinset mortar, following the manufacturer’s instructions. Dump a dollop onto the floor and spread it with the flat side of a square-notched trowel. Turn the trowel over and comb the surface with the notched side to create as smooth a surface as you can. Take care not to cover layout lines. For step-by-step instructions, see Applying Thinset Mortar for Tile.
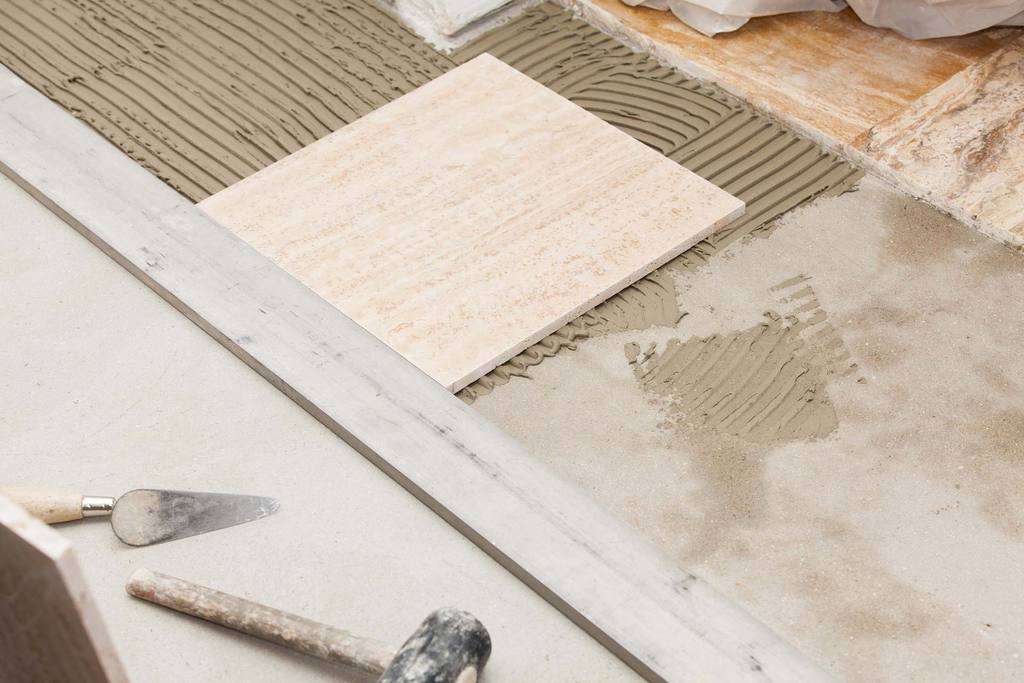
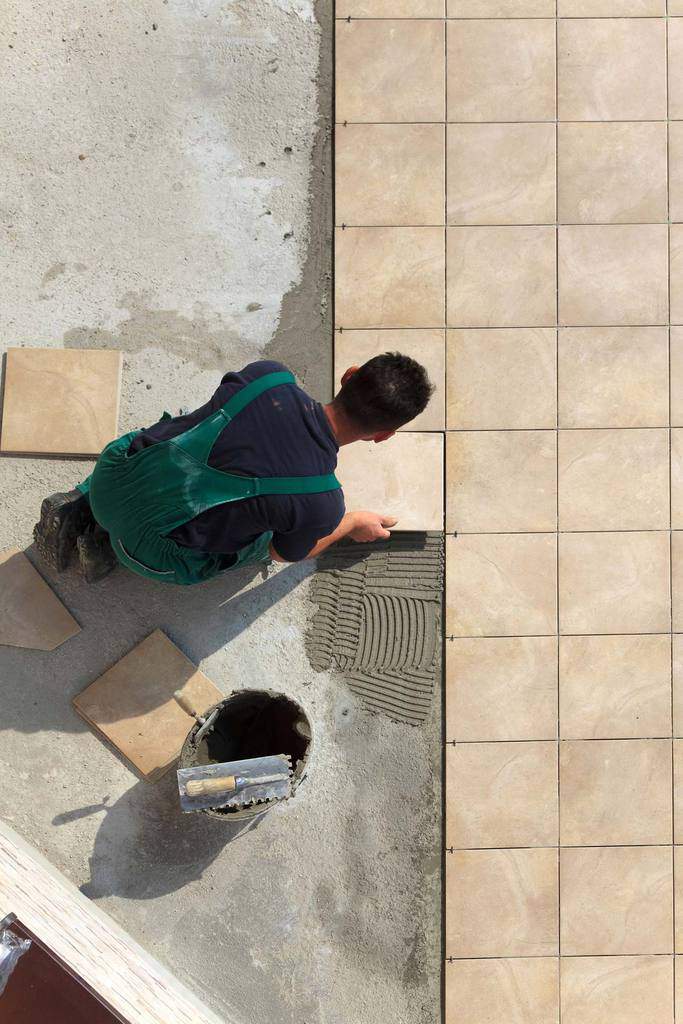
Set tiles in the thinset and press them down to make sure they adhere.
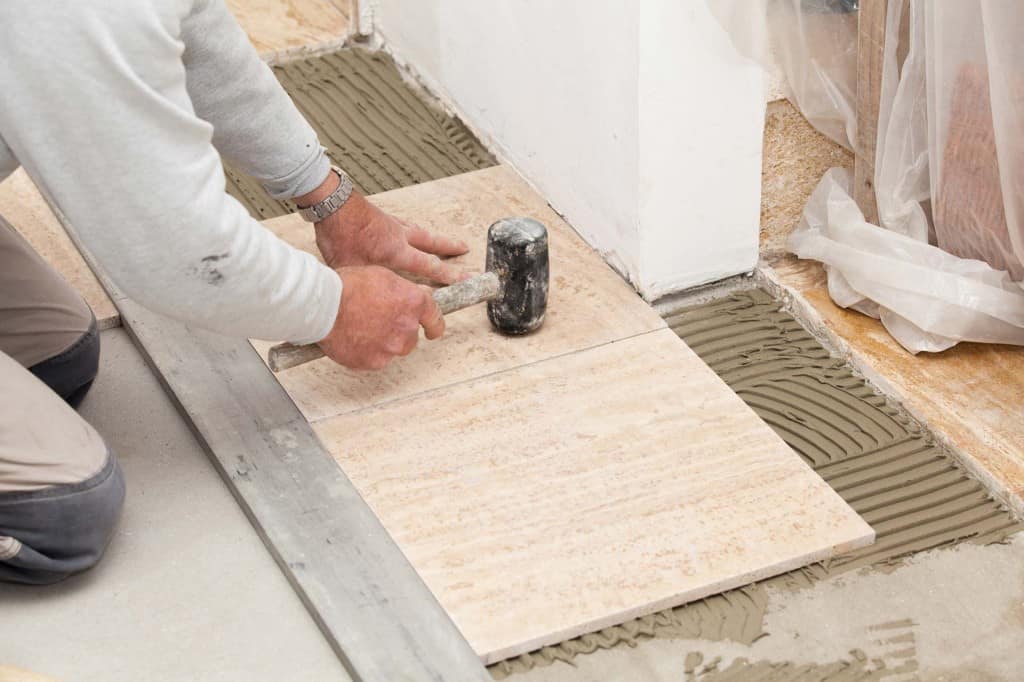
Avoid sliding a tile over more than a half-inch or so. Set the tiles against the layout lines or your straightedge. Firmly seat the tile by tapping it with a rubber mallet. Frequently hold a straightedge—such as a level—across the tops of adjacent tiles to make sure the finished surface will be flat.
Every so often, pick up a tile to make sure the thinset is adhering. If less than 75 percent of the tile is coated with thinset, you may need to back butter the tiles: Use the flat side of the trowel to apply a thin layer of mortar to the back of each tile before setting it.
Allow the mortar to harden before grouting. Often this takes less than eight hours, but in a humid situation it can take several days.
Grouting Floor Tile
Mix a batch of latex- or polymer-fortified sanded grout according to the manufacturer’s directions. Pour it onto the floor and spread it with a laminated grout float. Press the grout into the joints, moving in at least two directions at all points. Then tilt the float up and use it to squeegee away excess grout. Squeegee at an angle to the joint lines so the float does not dig into the joints.
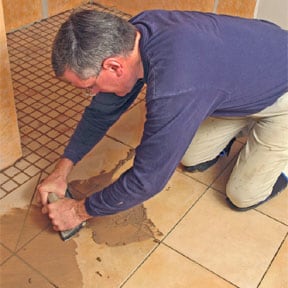
Wet a large towel and then wring out most of the water. Lay the towel on the surface and gently pull it back to remove most of the remaining grout on the tile surface, taking care not to remove the grout in the joints.
Work with a large bucket of water and a large sponge to gently remove the rest of the grout. “Tool” the joint lines to a consistent depth with a scrunched-up sponge. You will need to wash the surface several times; change the water in the bucket often. The next day, after making sure the grout has dried, buff the tiles with a dry cloth. If a grout “haze” remains, clean it with vinegar or a mild solution of muriatic acid and water.
")