Expert advice on how to paint doors yourself, including the right paint to use, necessary preparation, and the proper sequence to follow.

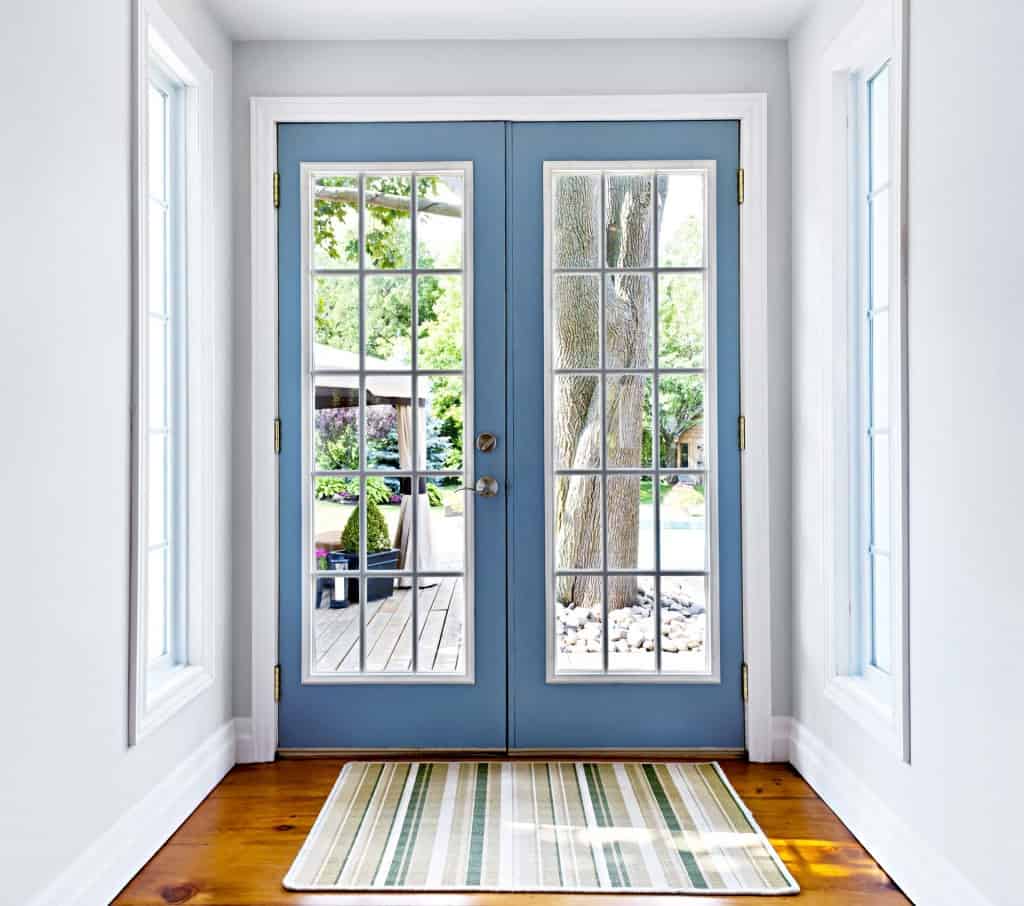
Whether you’re interested in improving the look of an interior door or updating and protecting an exterior door, a new coat of paint can make a big difference. Doors, after all, receive a lot of wear and tear—both from continual use and, in the case of exterior doors, from Mother Nature.
Wood doors, in particular, are vulnerable. They absolutely need a protective finish to prevent them from becoming weather-worn on the outside and smudged on the inside.
In this article, we’ll show you how to prepare the job, choose the paint, and achieve pride-inspiring results.

The Right Paint for Doors
The first step toward success is to choose the right primer, paint, and application tools.
The right primer and paint will depend on the condition of the door and whether you’re painting an exterior or interior surface.
For both protection and adhesion on exterior surfaces, alkyd-based paints are usually the best bet. You can use 100% acrylic enamel on interior door surfaces. Select satin, semi-gloss, or gloss based upon your preferences—the glossier the finish, the more washable and durable it will be.
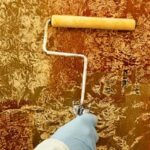
Paint a flush door using a roller that has a lint-free cover. Roll in the direction of the wood’s grain.
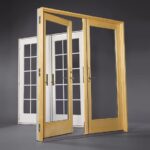
For a panel-style or glazed door, use a 3- or 4-inch brush. You can choose either synthetic or natural bristles for an alkyd paint but use only synthetic bristles for a water-based paint. For more, please see How to Choose The Right Paint Brush.
Preparing to Paint a Door
Proper preparation of the surfaces is key. For more about painting preparation and techniques, see How to Prepare a Room for Painting.
If a door is lightweight and can be easily removed, it’s often best to remove it for painting. Once it’s removed from its hinges, you can lean it against a wall, set upon two small blocks over a dropcloth. Or you lay it across a pair of sawhorses.
To remove a door’s hinge pins, leave the door closed, if possible. Using a hammer and a small flathead screwdriver, tap each hinge pin up until you can pull the pin out. Be sure you have a helper holding the door as you remove the final pin! The following video does a good job of showing the technique.
However, removing a door can be a hassle. Exterior doors can be very heavy—especially if they contain glass. For this reason, it may make the most sense to paint a door in place, mounted on its hinges. Be sure to place a dropcloth beneath it.
If relatively easy, remove the knob and lock hardware. Otherwise, cover it with painter’s tape so it doesn’t get painted. If removing the hardware looks easy enough but you’re concerned that you won’t know how to reassemble everything, take photos as you work. Place all of the hardware components for the lock and latch in a plastic bag or box so you don’t lose any parts.
If you’re painting a brand new wood door, hang it unfinished for two to three days and then remove it from the hinges. This lets the wood acclimate to the temperature and humidity levels of the doors’ location.
Before painting, thoroughly clean the doors. Do any necessary repairs to the wood and then sand with 120-grit sandpaper. Always sand in line with the wood’s grain to prevent cross-grain scratching. Then wipe the surfaces clean.
Painting The Door: Proper Sequence
This video shows the proper preparation and the sequence of painting. In general, paint from the top of the door, working your way down the door.
Paint the surfaces of a flush door with a roller that has a lint-free cover. Roll in the direction of the wood’s grain.
For doors with inset panels, use a trim brush. Paint the recesses, then the panels, followed by horizontal rails and vertical stiles.
Apply one primer base coat, let it dry thoroughly, and then apply two coats of finish paint. Allow for adequate drying time between applications.
It’s usually a good idea to paint the edges of the door first, because these are the parts the contact the jambs. The longer these have to dry, the better.
Match the color of the latch edge to the room the door opens into and the color of the hinge edge to the room the door opens away from.
When painting the door casing, begin with the head casing and then work down the side casings. If the door opens away from the room, paint the jamb and the two surfaces of the door stop visible from the room. If the door opens into the room, paint the jamb and the door side of the door stop.
Do not rehang or close the door until all the paint is completely dry.