Hang holiday lights like a pro in two hours or less with these expert step-by-step tips for planning, choosing, and hanging Christmas and holiday lights.
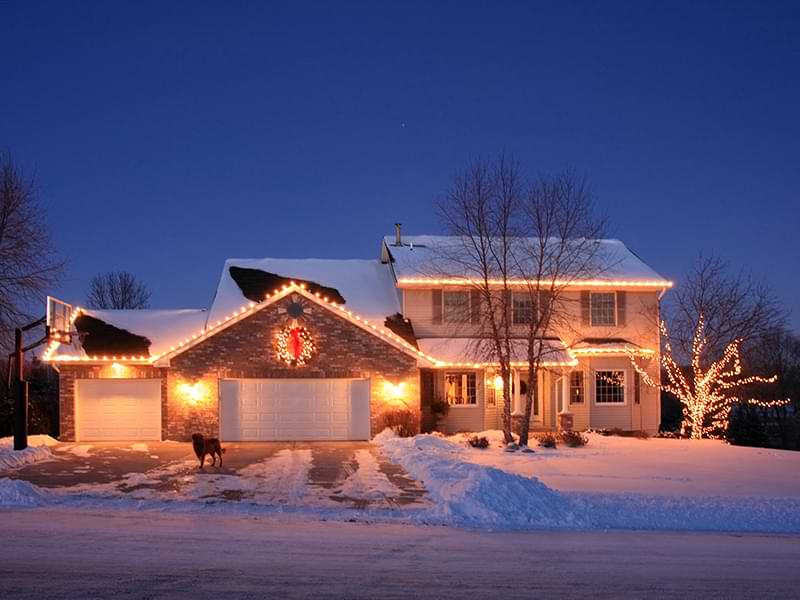
Outlining your eaves and windows and festooning your trees and shrubbery with decorative lights is a sure way to enliven your home for the holidays. But hanging outdoor holiday lights can be a less than cheerful experience, particularly when you’re faced with a teetering ladder and tangles of light strings that don’t work.
Unlike decorating your Christmas tree, the best time for hanging Christmas and outdoor holiday lights is before your weather turns wet and cold. Not only is it easier and more comfortable to work outdoors in mild weather, but it is also safer. Safely climbing ladders and working along the eaves of a roof can be a dangerous challenge in bad weather.

Even if you don’t actually hang your light strings well ahead of the season, you can get much of the preparation done, such as running outdoor extension cords, installing hooks and hangers, and so forth. Browse Christmas light supplies on Amazon.
Test your lights!
It’s smart to test your Christmas lights before it’s time to hang them. (You can buy an inexpensive Christmas light tester on Amazon.) Pull them out of storage and check them to make sure they’re functional. This way you will have plenty of time to make repairs and a shopping list for replacements and other supplies.
Most home improvement centers and other retailers begin stocking Christmas lights and supplies well before Halloween, so taking care of your shopping early is easy. Buying the gear online is even easier for most people.

RELATED POSTS:
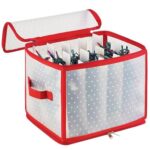
• The Best Way to Store Christmas Lights
• Ladders: The Ultimate Guide to Choice and Safe Use
Measure and Make a Plan
Map out where your lights will go and make sure you have enough working lights for that area. Use a long tape measure to figure the number of strands you will need. Be sure to take into account the eaves, windows, doors, shrubs, trees, railings, and the like. Again, plug in the lights to make sure they work before hanging them.
When buying lights, opt for shorter rather than longer light strings. That way, if a string stops working or becomes damaged, you can replace it more easily and affordably. We recommend light strings that have a male plug at one end and a female plug at the other end—these are best for connecting (or “daisy-chaining) together from end to end.
Also See: Buying a Portable Emergency Generator
Tools & Materials
- Tape measure
- 14- or 16-gauge outdoor extension cords
- Ladder
- Gloves
- Timer or lighting controls (optional)
- String lights
- Hanging clips
Types of Holiday Lights
Many different types of decorative lights are available, from conventional mini-lights and icicle lights to mesh-style light strings made for wrapping tree trunks.
(Links go to Amazon)
LED holiday lights– LED bulbs are generally much smaller than their incandescent counterparts and are great energy savers.
Clear string lights– These small, incandescent clear lights are smaller than C7 and C9 bulbs but usually larger than similar LED strands.
C7 Christmas lights– All types of “C” incandescent bulbs look like small strawberries and are larger than clear string lights and LEDs.
C9 Christmas lights– C9’s are the largest of the “C” incandescent bulbs. They burn hotter and use more energy than the smaller options.
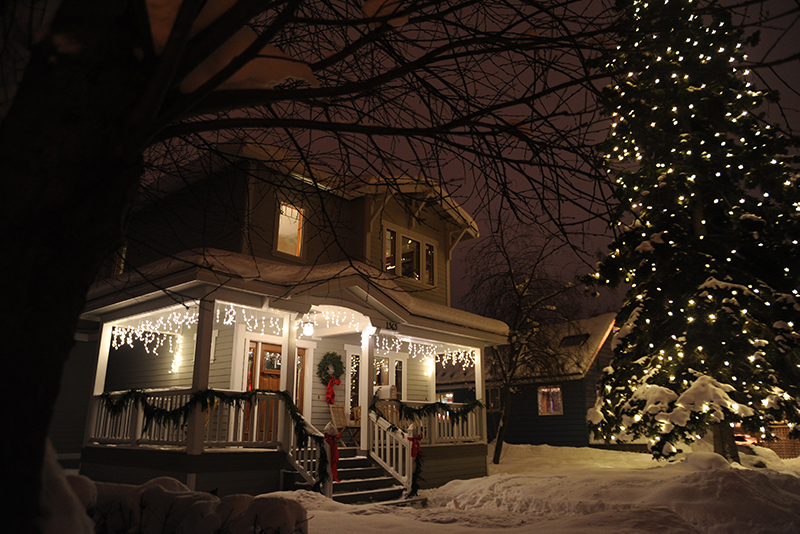
Icicle lights– Icicle lights are made of clear string (incandescent) or clear LED bulbs, hanging in vertical strands to resemble glistening icicles from your gutter or railings.
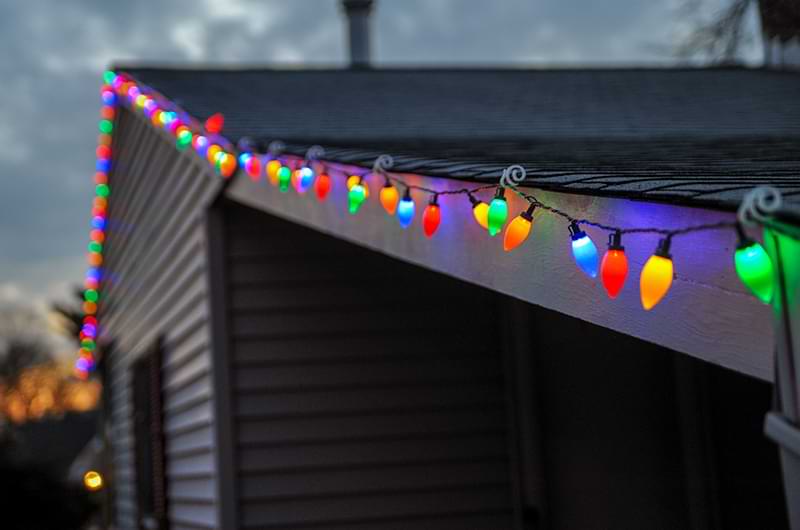
Colors of lights
You can choose clear, white, or colored lights that stay lit, blink, or chase. The right style for your home will depend upon the look you want to create, your budget, and your energy-usage goals, so be sure to take your time when shopping.
Sizes of lights
Larger, traditional colored bulbs are designated with a “C” for “candle” or “cone” due to their shape, which some would say looks like a strawberry. Lights designated “C-7” and ”C-9” have 5- or 10-watt bulbs similar to those used in conventional nightlights. The larger the number following the “C”, the larger the bulb.


“Mini-lights,” as the name implies, utilize miniature bulbs; they are popular because they are inexpensive to buy and to power, thanks to their cool-burning 1.5- or 2.5-volt bulbs. The larger C-9 and C-7 bulbs become very hot and consume considerably more energy than the same number of mini-lights.
On the other hand, C-9 and C-7 light sets are heavier-duty than mini-lights and are more reliable. If one bulb is broken, missing, or twisted in a mini-light string, all or part of the remaining string won’t work. This isn’t the case with the larger bulb sets; they continue to operate.
LED Christmas lights
LED’s are usually the best choice if you’re buying new holiday lights. Though they are initially a bit more expensive (from $15 to $25 for a 100-foot string) than conventional incandescent string lights, they last up to 25 times longer (up to 50,000 hours), burn cooler, use up to 80% less electricity. As a result of their low energy use, you can plug together many more light strings on one electrical circuit without having to worry about overloading it.
Shop all types of Christmas lights on Amazon, including C-7, C-9, Christmas mini-lights, and LED lights.
Regardless of the type you buy, choose lights that are UL-approved for outdoor use.
How to Hang Christmas Lights: Step by Step

Here’s how to get started on this DIY job:
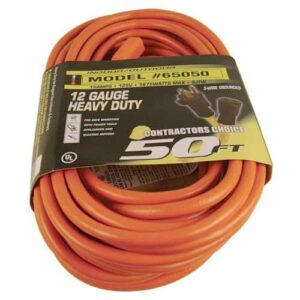
1 Locate an electrical receptacle. Plan to run heavy-duty 14- or 16-gauge extension cords from a working 120-volt electrical outlet protected by a ground-fault circuit interrupter (GFCI).
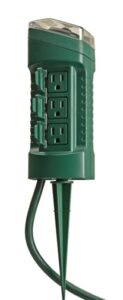
Ideally, use a switch-controlled outlet, or plug the lights into an automatic timer. Both the receptacle’s circuit and the timer must be rated to handle the combined amperes of all the light strings. Do not use an indoor timer outdoors. Browse timers on Amazon.
2 Measure the lengths. Using a long measuring tape (ideally 25 feet or longer), measure the length of your house along the ground. Also measure its height and the height of any bushes or trees you intend to light. Then measure the lengths of the light strings you will need to outline doors or windows. Figure the number of 50-foot light strings it will take for all of these measurements.

3 Test the lights. Before you plug them in, visually inspect the light strings, looking for broken or missing bulbs and worn or defective wiring. If you discover faulty wires, replace the string entirely as this could present a fire or electrical hazard. If bulbs are broken or missing, replace them.
To extract a broken bulb, wear gloves and use long-nose pliers (pull mini-lights straight out; unscrew C-7 or C-9 bulbs counterclockwise).
Once a light string is complete, plug it in and check for burned-out bulbs. Unplug the string before replacing faulty bulbs and then retest it to be sure all the lights work. If the string doesn’t work at all, check it for a blown fuse, per the manufacturer’s directions. If the fuse has blown, replace it; if it blows again, replace the entire string.
4 Set up a ladder. If your home’s eaves are low, you may be able to use a stepladder; otherwise, plan to use an extension ladder. Place it firmly on flat ground and, extending it well above the eaves, lean it against the eaves at an angle that will be comfortable and safe to climb—neither too steep nor too flat. If you must lean the ladder against the gutter, place a short piece of 2 by 4 inside the gutter to reinforce it. (For more about proper ladder use, see Ladder Safety.)
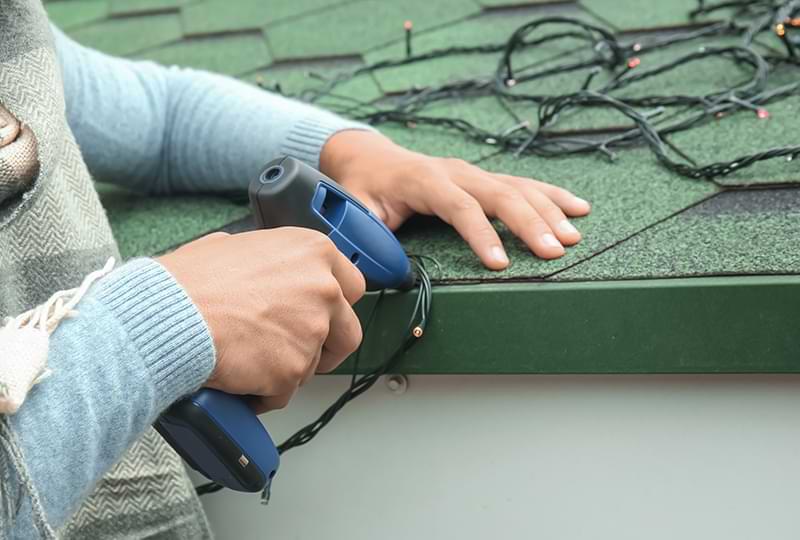
5 Hang the lights along the eaves. Your objective is to hang lights as easily and safely as possible without marring your home’s trim or walls. For attaching lights along gutters or the roof, use plastic clips made for the job—these grip shingles or gutters and have a lower hook that holds a light strand or extension cord.

6 Attach the lights to the trim. For attaching lights to window trim and similar vertical surfaces, use rope light clips or adhesive or nail-on plastic string light clips. You can find both at Amazon, or at most home improvement centers.
Space them about 12 inches apart or as recommended. Do not use staples or nails to hang light strings—they can pierce or wear away the protective insulation, creating an electrical hazard.

Video: How to Hang Outdoor Christmas Lights
Here is a helpful video, produced by Lowe’s, that will walk you through the process:
NEXT SEE: The Best Way to Store Christmas Lights