This article is a helpful how-to on installing interior trim. Learn to handle moldings and baseboards, as well as mitered doors and side casing.


When installing trim, the first thing to consider is the order in which you will be assembling the various elements.

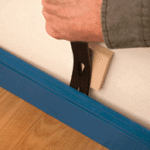
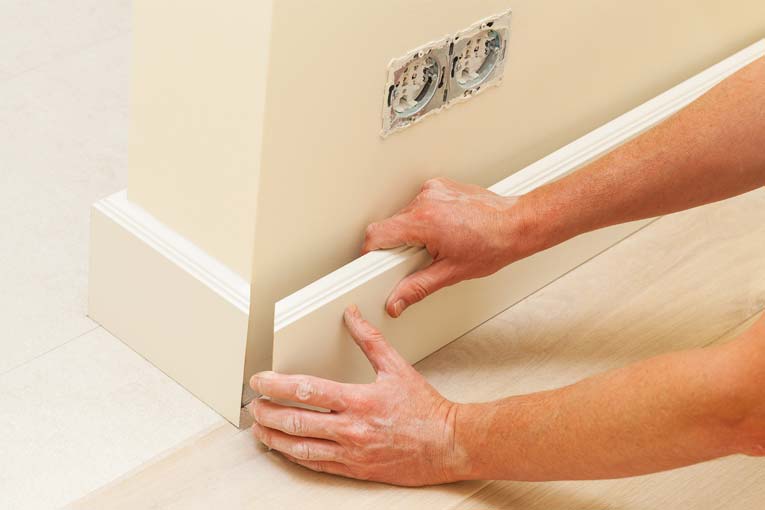
Any trim that usually continues around a room—such as crown moldings, baseboards, and chair and picture rails—should be installed in a particular order for best effect. Start by sketching the room so you can plan and notate the sequence of installation.
For a common rectangular room, start with the trim that will be seen first—across from the entry. Square cut the ends of these moldings. Next, cut the pieces for the walls on either side, coping the corners where they meet the trim on the first wall. Square cut their other ends so they butt against the last wall. Cope both ends of the final piece.
If a long wall requires joining two pieces, create a scarf joint and install it so that it points away from the most likely view.
Irregularly shaped rooms with outside and inside corners require mitered joints for the former and coped joints for the latter. Start by installing the trim on all outside corners, such as those formed by an alcove or bay.
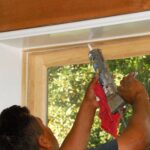
When installing mitered door and window casings, hold the pieces temporarily in place until everything is aligned, which will probably take a number of small adjustments. Start with a side casing, temporarily fastening it so the inner edge of the miter cut will meet up with one of the head casing’s miter cuts.
Next, place the head casing in position and trim it so that it fits against the mitered side casing. Finally, cut the other side casing a little long and keep trimming it until you get a good fit. Once all the pieces fit, take them down, glue them, and then nail them in place.
NEXT SEE: