If you’re a gardening enthusiast, then you’ve probably dreamed of owning a backyard greenhouse. Greenhouses provide the perfect environment for starting plants from seeds, growing colorful flowers, and producing bountiful vegetable plants. Plus, there’s no better way to get a jumpstart on spring planting and to extend the growing season than with a warm and sunny greenhouse.


The problem is that traditional greenhouses are prohibitively expensive and much too large to comfortably fit into an average-size backyard. However, there is an alternative: Build your own greenhouse with a DIY greenhouse kit. Available from most home improvement stores, easy-to-assemble kits come in a wide variety of sizes, styles, and prices. A few tools and a free weekend are all you need to get started. Here, we’ll take a look at what you must consider in order to acquire your dream greenhouse.
Local Ordinances
Before getting your heart set on owning a greenhouse, check with your local building department to confirm that you’re allowed to erect a greenhouse. In most municipalities, a greenhouse is considered an outbuilding, like a shed or garage, so you’ll need to apply for a building permit.
Likewise, if you live in a community with a homeowner’s association (HOA), you’ll have to first get approval from the HOA before building the greenhouse. Be aware that many newer planned housing communities have a strict no-outbuildings covenant, which would apply to greenhouses.
Regardless of whether you’re dealing with a town building inspector or HOA official, in order to receive permission to build a greenhouse, you’ll need to provide specific information, including its overall size and height, building materials and precise location on your property.
Speaking of location, if you intend to use your greenhouse for growing, pick a spot for it that receives at least six hours of sun per clear day. If you live in a region that receives significant snowfall, check the snow-load rating of the greenhouse to ensure it’s engineered to support a blanket of snow without collapsing.
Greenhouse Kit Basics
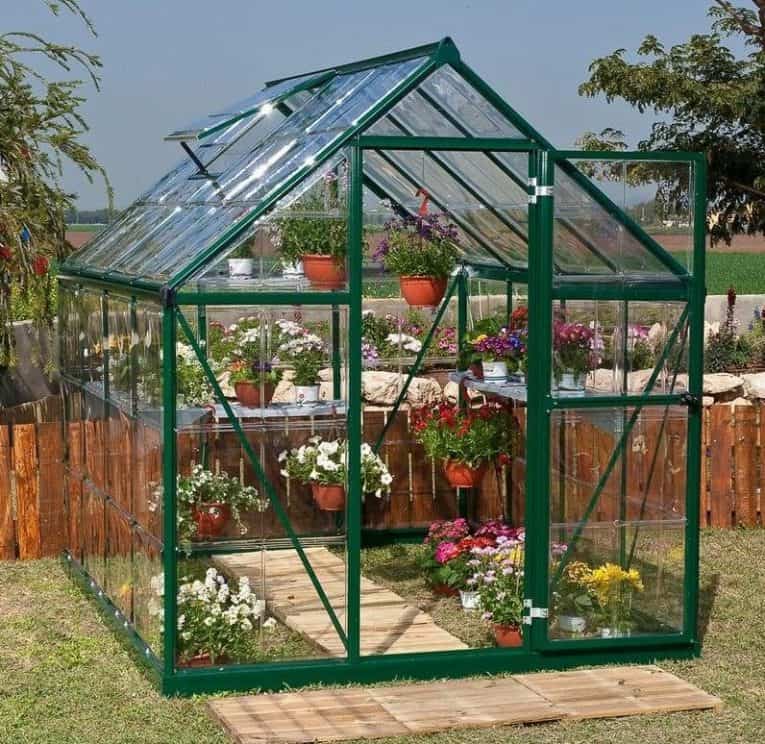
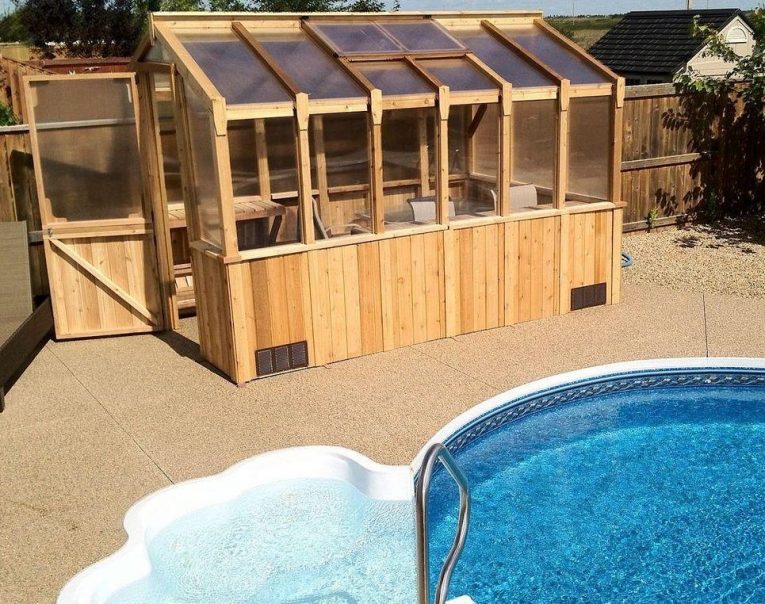
As mentioned above, greenhouse kits come in a wide variety of sizes and prices, so you’re sure to find one to suit your property and budget. The frames of greenhouses are typically made of wood (usually cedar) or aluminum. Wood is more attractive, but aluminum is stronger and requires less maintenance.
Nearly all DIY greenhouses come with glazing kits consisting of rigid plastic panels (usually polycarbonate), not glass panes. These crystal-clear panels are resilient, lightweight, and surprisingly strong. Polycarbonate panels come in different thicknesses, depending on the kit. Thicker panels are more durable and retain heat better than thinner ones, but they cost more, too. Also, note that some panels are coated on one side with an imperceptible filter that blocks out ultraviolet light. When assembling the greenhouse, be sure these coated surfaces face outward.
Some greenhouse kits have a covering made of flexible polyethylene sheeting, not rigid polycarbonate panels. Polyethylene is easier to install and less expensive than polycarbonate, but not nearly as durable or energy efficient.
Greenhouse Kit Construction
Today’s greenhouse kits are specifically designed for DIY construction. Most greenhouses can be assembled by two people in less than four hours. Just be sure to read through the instructions from beginning to end before starting. You won’t need any specialized tools or construction experience—a basic power drill will help speed assembly, and a circular saw eases trimming components to size.
The most challenging aspect of assembling the kit can be keeping track of all the parts and fasteners. It’s best to set out all the frame parts and glazing panels, then organize the various nuts, bolts, screws, and hardware items into separate containers. (Try using metal baking tins or plastic food bins.)
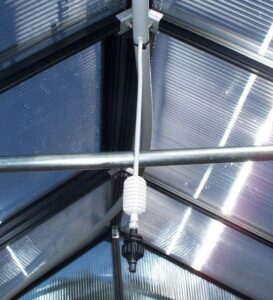
The assembly process varies from one kit to another but usually begins with putting together the perimeter of the frame to establish the “footprint” of the greenhouse, followed by bolting together the individual frame parts that make up each greenhouse wall. Diagonal bracing, if required, is installed at this time, too.
This is where a few power tools will come in handy to speed up the job. As you’re putting together the frame, be sure that all the pieces fit together correctly and make adjustments as necessary, whether you need to trim a component that’s too large or drill a hole. A power screwdriver will also help you install all those screws and fasteners in a timely manner.
The roof frame is assembled next, which usually means working on a ladder, so you might want to have an extra helper on hand to steady the ladder for you. If you need to make any cuts to the size of the pieces or drill additional holes, be sure to do so off the ladder whenever possible.
Once the frame is erected, you can begin attaching the glazing panels. To ensure the structural integrity and energy efficiency of the greenhouse, it’s critically important to install the panels precisely as shown in the instruction manual. Failure to do so will result in a leaky, weak, energy-inefficient structure.
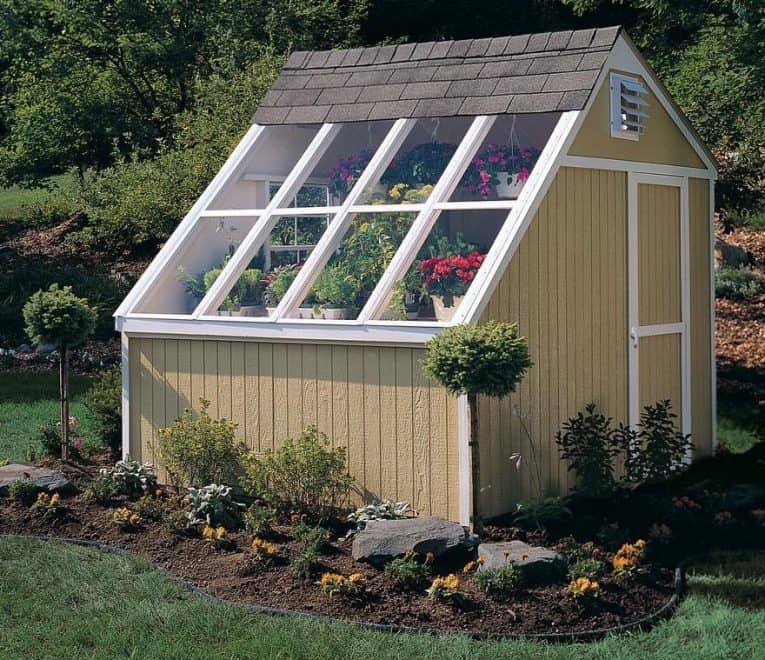
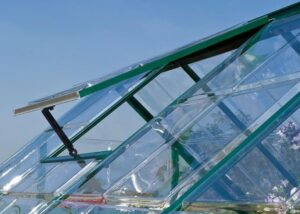
Nearly all kits include some sort of vent that allows air to flow out when the greenhouse gets too hot—and it most certainly will. The vents are usually mounted in the roof panels, but can also be located high on the gable-end walls. The best vents are equipped with a gas-filled piston that opens and closes automatically, based on the interior temperature of the greenhouse.
The final steps include hanging the door and installing ground anchors, which prevent the greenhouse from being blown over by strong winds. Note that ground anchors are often code-required by the building department, regardless of whether or not the anchors are included in the kit.
Raised-Bed Mini Greenhouses
Is your yard too small for a full-size greenhouse? Don’t let that prevent you from exercising your green thumb. Consider this hybrid kit, which is part raised garden bed, part cold frame and part mini-greenhouse.
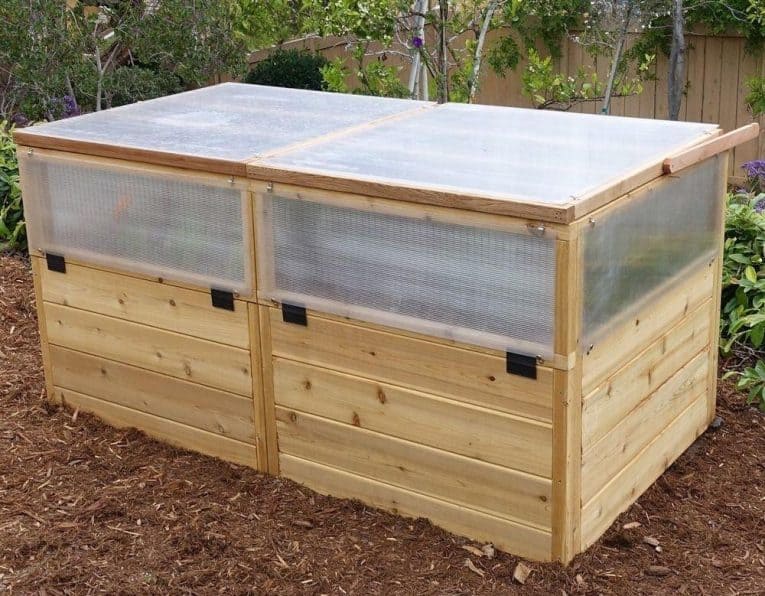
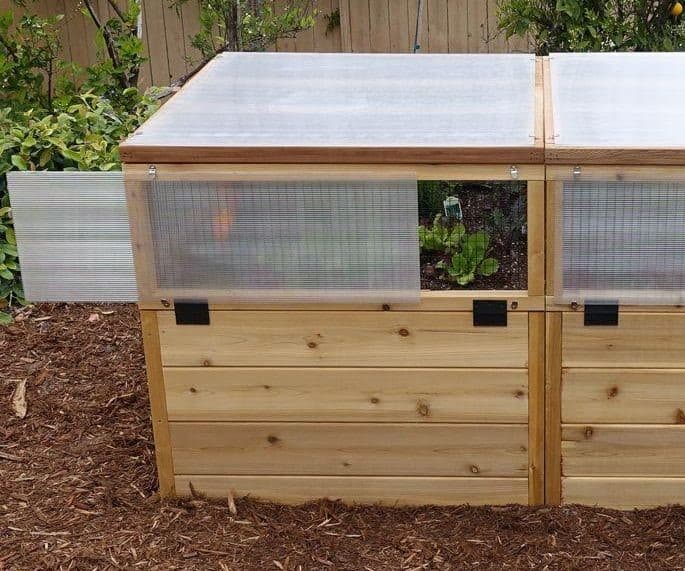
Built of decay-resistant red cedar, this 3-by-6-foot box features a hinged top that’s lined with clear polycarbonate panels. Open the top to access the interior raised planting bed, which is positioned a comfortable 24 inches off the ground. The two front panels fold down or slide open for regulating airflow and temperature.
Alternatively, you can construct your own raised bed mini-greenhouse with any scrap plywood you may have on hand. Simply use a circular saw to cut your boards to your desired size, then screw together the basic box frame. Pick up a few polycarbonate panels, and you have a year-round gardening spot on the cheap.

Greenhouse Cost Considerations
It’s difficult to say exactly how much greenhouse kits cost because prices vary widely based on size and manufacturer from a few hundred dollars to several thousand dollars. However, here are some ballpark figures.
A premium-built 8-by-8-foot red cedar greenhouse kit costs approximately $2,500 to $3,000. A similar-sized kit with an aluminum frame will run you about $1,500 to $1,800. For those on a budget, consider a smaller 6-by-8-foot aluminum frame greenhouse, which you can find for less than $600. Happy gardening!
Joseph Truini is a home-improvement expert who writes extensively about do-it-yourself home remodeling and repair, woodworking projects, and tools and techniques. He has authored six books and his work has appeared in several national magazines. To see a wide selection of the tools and supplies needed to build your own greenhouse, please go to Home Depot’s website.