Learn the best ways to cut and fasten lap sliding with this expert step-by-step guide. Contains detailed descriptions and diagrams of each step.

This is a continuation of the article How to Install Lap Siding.
Because you’ll be doing a considerable amount of cutting—and accuracy is critical—either buy or rent a power miter saw or a radial-arm saw for the job. You can cut using a circular saw but the going will be slow and less accurate.

If the house’s sheathing is plywood, you can drive nails just about anywhere, but it is best to drive nails into studs to ensure firmness. If the sheathing is fiberboard, gypsum, or other soft material, then you can fasten only to studs.
Consult the manufacturer’s literature and with local builders for the best type of nails to use. Siding nails typically are thin, with small heads. Ring-shank nails hold better than standard nails.
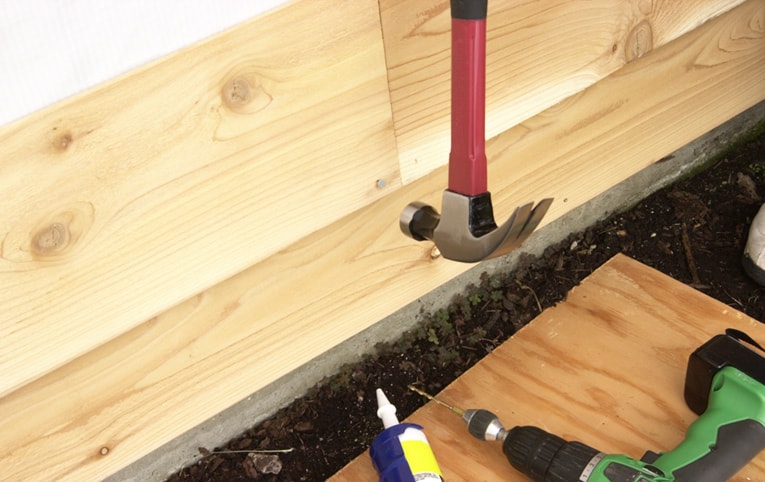
Wherever you will drive a nail less than 3 inches from a board’s end, drill a pilot hole first to prevent cracking the board.
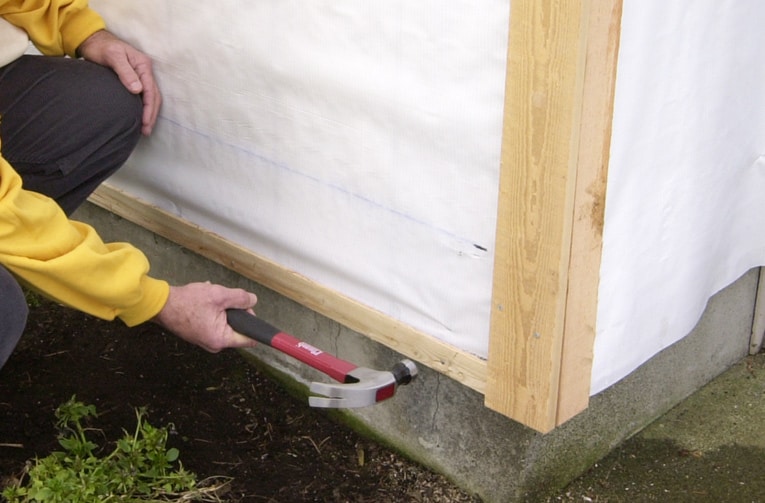
1 Install trim and starter strip, as shown in the photo above. To trim an inside corner, nail a piece of 1×1 (which you can rip yourself from a 1x board) or 2×2. At an outside corner, use a 1×3 and a 1×4, or a 1×2 and a 1×3. (The side with the narrower piece will look nearly as wide as the other because of the thickness of the other piece.) Install all trim pieces around windows and doors. At the bottom, install a starter strip supplied by the manufacturer, or install a 1×2. See that the starter board is level. Go all around the house with the starter board to make sure you will come out at the same level when the boards meet at the final corner.
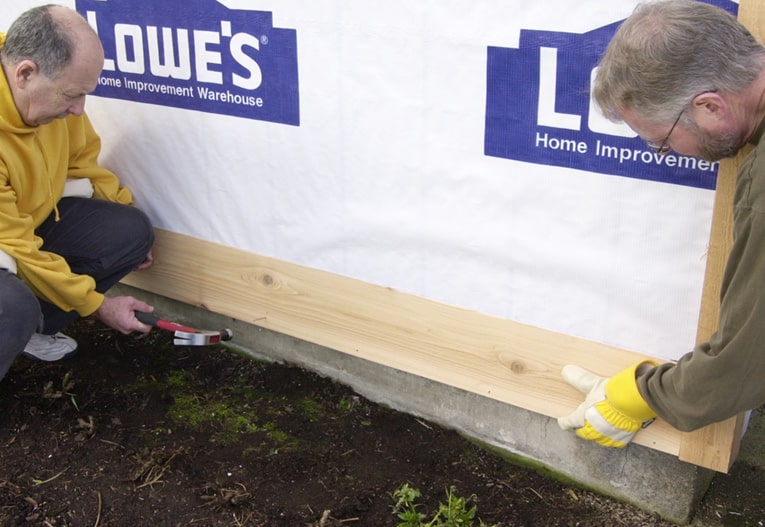
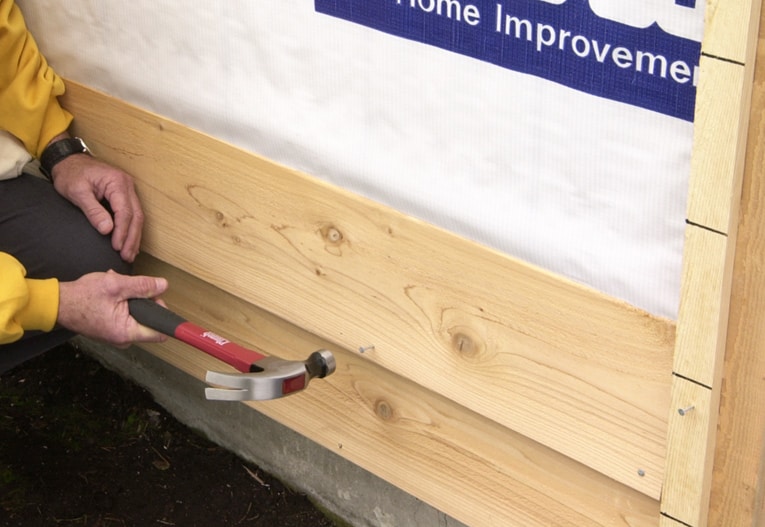
2 Install the first siding board at the bottom. Snap a chalk line to guide the top of the bottom board. Cut the board to fit snugly between the trim boards; if it is longer than 6 feet, it is best if you have to slightly bend it to make it fit between trim boards. Align the board with the chalk line and drive nails every 6 inches or so into the starter strip.
3 Lay out with a story pole. To help with the layout, make a story pole. This is simply a board marked with evenly spaced lines that indicate the reveal you have chosen. Hold the story pole at the correct height at each inside and outside corner and mark the trim boards for the locations of the siding board bottoms.
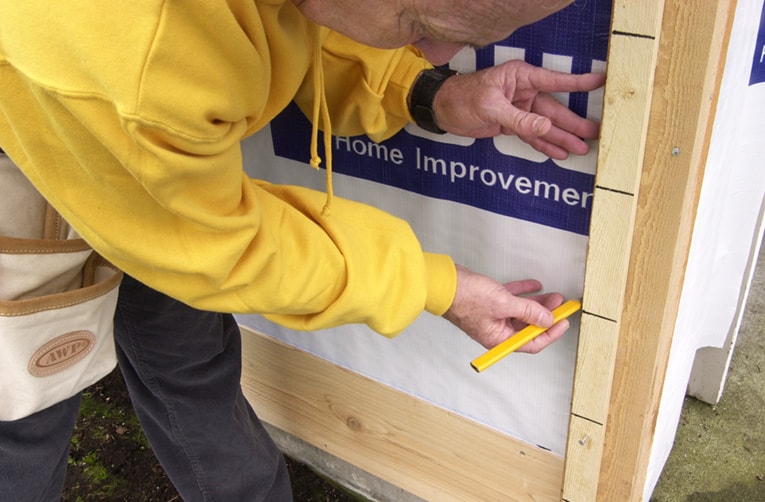
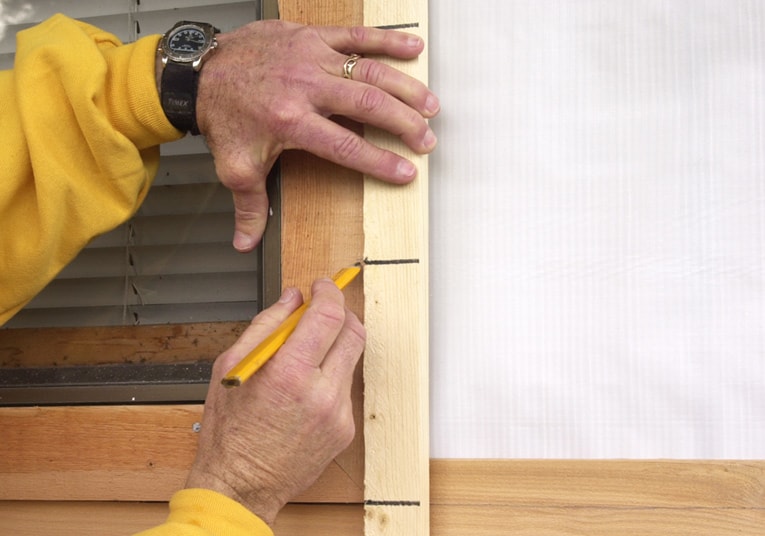
4 Mark trim boards. Again using the story pole, mark the trim pieces around windows and doors. Be sure to hold the pole at the exact same height every time you mark trim boards.
5 Install the second siding board. Cut and position the second-from-the-bottom siding board so it aligns with the layout marks you made with the story pole. Check for level to be sure your layout marks are correct. This piece will lap over the bottom board. In certain installations, nails are driven through the bottom of the siding, leaving the heads exposed. In other installations, nails are driven into the upper portion of the boards so they will be hidden by the succeeding piece. Follow the recommendations of your siding manufacturer.
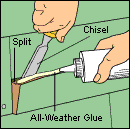
6 Make butt joints. If a single board will not span all the way between trim pieces, you will need to make a butt joint. Cut the boards so they meet in the middle of a stud. Test to make sure you have a tight fit and then apply caulk to both board ends. Drill pilot holes before driving in the nails.
7 Fit a gable. If you need to cut boards at angles to fit a pitched roof, hold a T bevel tool against the trim piece and the gable to get the angle of the cut. Tighten the wing nut and use the T bevel to mark boards for cutting.