Expert step-by-step do-it-yourself advice on how to install sheet paneling, including preparation.

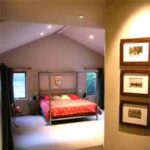
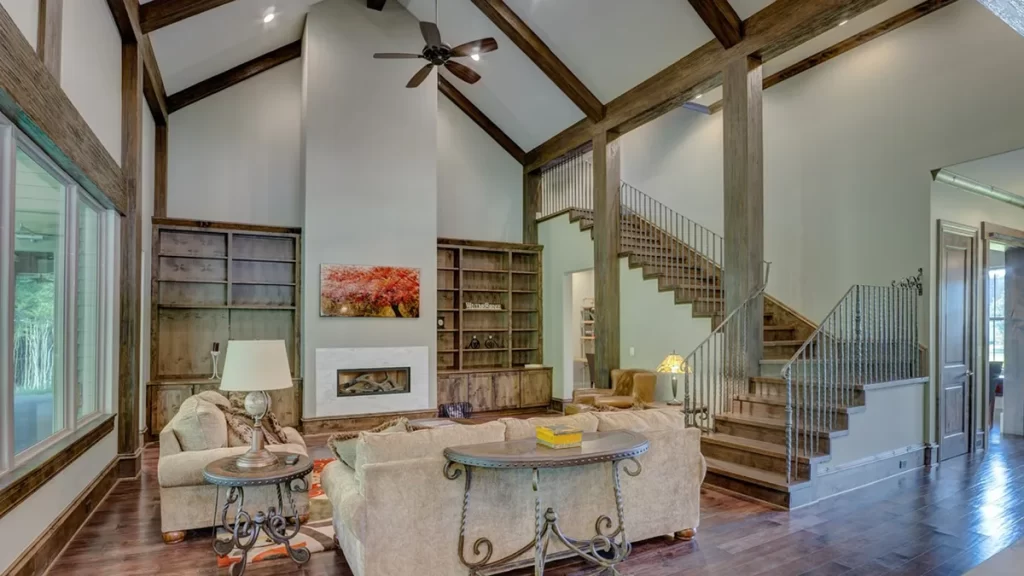
There is a paneling style for almost every decor. Choices include rustic boards, frame-and-panel designs with or without molding, and elaborate raised panels. You can cover an entire wall or choose waist- or shoulder-high wainscoting.


Paneling can be made from fine hardwoods or inexpensive pine. Finishes run the gamut as well. Panels can be given a clear finish, or they can be painted, stained, or coated with any number of decorative finishes.
Paneling is sold in two forms: sheets and boards. Sheets are typically 4 by 8 feet. Boards range from 3/8 to 7/8 inch in thickness, but the most common are 1/2 and 3/4 inch. Boards come in widths of between 3 and 10 inches and may have either square, tongue-and-groove, or shiplap edges.
Before installing paneling, place the materials in the room where they will be installed for two to five days to allow the wood to adjust to the humidity level. This will help eliminate any shrinkage or expansion problems once the panels are secured to the wall.
Preparing the Wall
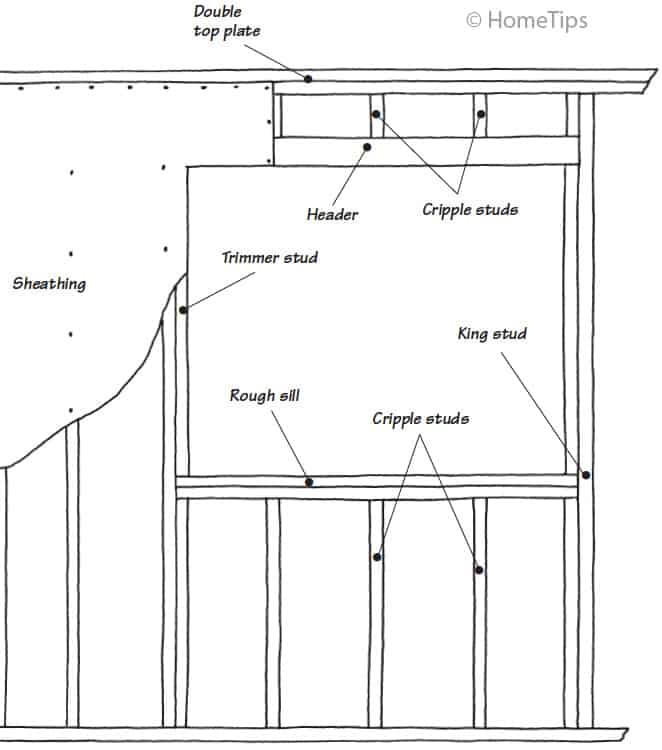
When applying sheet or board panels over a finished wood-frame wall, you may be able to attach the material through the wallboard or plaster to the wall studs; otherwise, you will have to attach furring strips—1 by 3s or 1 by 4s—to the studs as a base for securing the panels. If the wall is new and without wallboard or plaster, you can attach sheets or boards directly to the studs or to 2-by-4 blocks nailed between the studs. If you do attach furring strips to the wall studs, use nails long enough to penetrate them by at least 1 inch. Fasten the strips to masonry walls using concrete nails or screws and shield-type masonry anchors.
To ensure that the siding will sit flat on the wall, furring strips should be plumb and flat; you can make adjustments with cedar-shingle shims wedged behind the furring strips as needed. Leave a 1/4-inch space at both the top and bottom of the wall when applying the strips to allow for unevenness in the floor or ceiling.
Note that furring strips and paneling will add to the thickness of the wall. Window and door jambs must be built out to compensate for this. It is likely that you will have to add extensions to electrical switches and receptacle boxes, as well.
Installing Sheet Paneling
Cut each sheet 1/4 inch shorter than the distance from the floor to the ceiling. Apply adhesive to the framing in a wavy pattern. Drive four finishing nails through the top edge of the panel. Position the panel on the wall, leaving a 1/4-inch space at the bottom, and drive the four nails partway into the wall. Pull the bottom edge of the panel about 6 inches from the wall and push a block behind the sheet. When the adhesive is tacky. Remove the block and press the panel firmly into place by striking it with a rubber mallet or by hammering against a padded block. Drive the top-edge nails all the way in, and then nail the panel at the bottom and, if needed, through the grooves at stud locations. Cover the nailheads and the 1/4-inch gap with molding.
Fitting a panel around any opening requires careful measuring, marking, and cutting. Keep track of all the measurements by sketching them on a piece of paper.
Starting from the corner of the wall or the edge of the nearest panel, measure out to the edge of the opening or electrical box. Then, from the same point, measure out to the opening’s opposite edge. Next, measure the distance from the floor to the opening’s bottom edge and from the floor to the opening’s top edge. (Remember that you will install the paneling 1/4 inch above the floor.) Transfer these measurements to the panel, marking the side of the panel that will face you as you cut (face up for a handsaw, face down for a power saw).
1 With a helper, position the first panel at one corner of the room, but do not apply panel adhesive yet. Check the inside edge of the panel with a level to make sure it is plumb.

2 While your helper holds the panel in place, use a compass or scribe tool to scribe the corner edge of the panel so that it can be cut to fit snugly against the adjoining wall. Draw the compass along the adjoining wall so the pencil leg duplicates the unevenness onto the panel.

3 Cut the marked edge along the pencil line. A saber saw works best for this, but you will need to use a fine-toothed blade to avoid fraying the front of the panel. Or, you can transfer the mark to the backside and cut the panel on that side.

4Attach the panel to the wall, placing nails in the dark grooves where they’re least likely to be visible. Stop hammering before the nailhead reaches the surface, and set the head flush with a nailset.
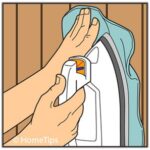
5 When a panel must be cut for a switch or receptacle, hold the panel in position against the electrical box and mark the box’s location. Snap chalk lines to the approximate place where the box will go. Then measure the distance from the edge of the adjoining installed panel to both sides of the box and transfer these dimensions onto the panel between the chalk lines.

6 Make cutouts for electrical boxes using a saber saw equipped with a fine cutting blade.

![]()
![]()