Learn how to safely and effectively remove paint from wood using various methods. Discover expert tips for stripping, sanding, and using heat to restore your wooden surfaces.

In This Article:

Whether you’re refinishing an antique dresser, prepping a door for a fresh coat of paint, or restoring weathered siding, removing old paint from wood is often a necessary step in the DIY painting or refinishing process.
Removing paint from wood isn’t a one-size-fits-all process. The best approach depends on several factors, including the type of wood, the type of paint, the number of paint layers, and the size and intricacy of the project.
For example, a delicate antique chair might require a gentler approach than a wooden deck. Similarly, removing a single layer of latex paint from a flat surface will be different from stripping multiple layers of oil-based paint from intricate molding.
This article explains different paint removal methods, including mechanical, chemical, and heat-based techniques. By understanding the pros and cons of each approach, you can choose the best one for your specific project, ensuring that you remove the paint effectively without damaging the wood.
Lead Paint Warning
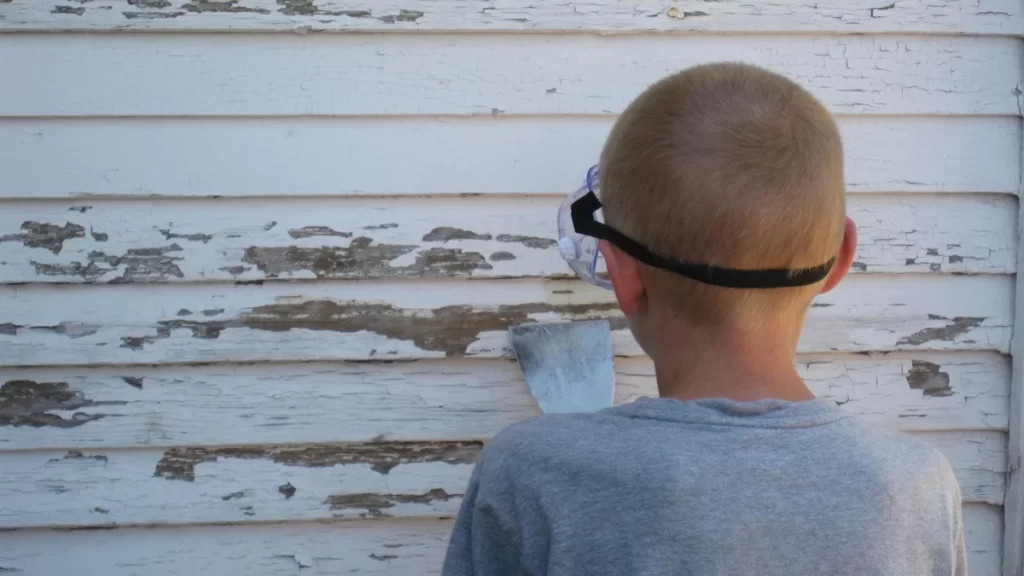
In the United States, lead-based paint was banned for residential use in 1978. If your home was built before 1978, there’s a chance that the paint you’re removing could contain lead. It’s crucial that you protect against lead dust exposure—lead is a toxic metal that can cause serious health problems, especially for children and pregnant women. Use a respirator with a HEPA (High-Efficiency Particulate Air) filter to prevent inhalation of lead dust. A standard dust mask will not provide adequate protection. Wear long sleeves, pants, and gloves to minimize skin contact with lead dust. After sanding, clean up the work area thoroughly with a HEPA vacuum and wet cleaning methods (damp wiping with disposable cleaning cloths) and follow local regulations for the proper disposal of lead paint debris.
If you’re unsure whether the paint you’re working with contains lead, it’s best to err on the side of caution and take these precautions. You can also purchase a lead paint test kit to check for the presence of lead.
Sandpaper and Scraper: The Mechanical Method
Sandpaper offers hands-on control and is ideal for smaller projects or areas with intricate details where you need precision. Scrapers are sometimes necessary for large areas with peeling paint—like siding. These are a good choice if you want to avoid using chemicals. However, they can be labor-intensive for larger projects.
Tools and Materials
- Scrapers: Choose a scraper that’s appropriate for the type of wood and paint you’re working with. A stiff putty knife is good for scraping flat surfaces, while a contoured scraper is better for curved areas or moldings. For larger projects like siding, a wider paint scraper or even a pull scraper is usually easiest and most efficient.
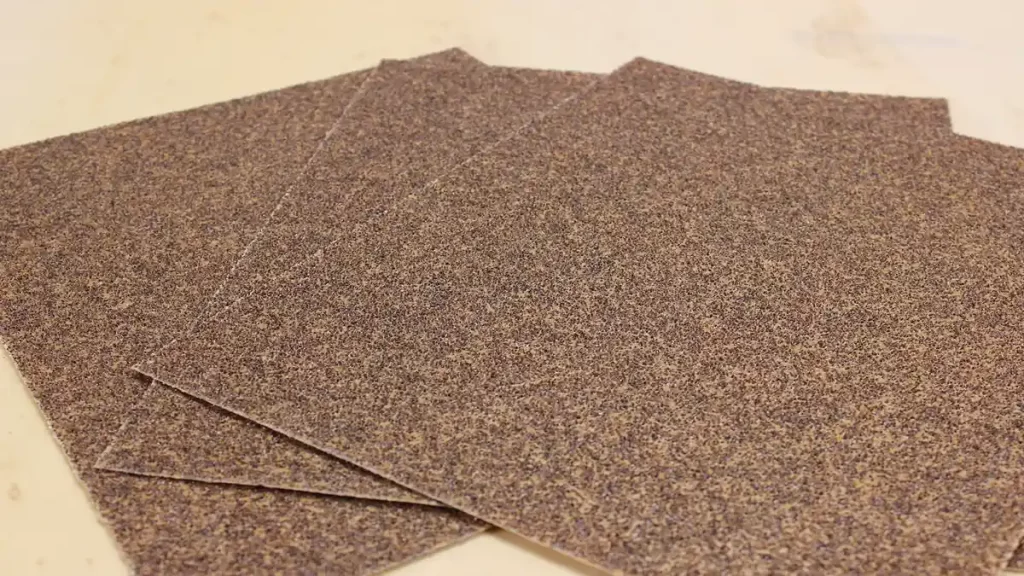
- Sandpaper: You’ll likely need a variety of grits, starting with a coarse grit (60 to 80) to remove the bulk of the paint and progressing to finer grits (120 to 220) for smoothing the surface.
- Sanding block: A sanding block helps ensure even pressure and prevents sanding grooves into the wood with a flat surface.
- Electric sander: For larger projects like removing paint from wood siding or window trim, an electric sander can save time and effort. Choose the appropriate type of sander (orbital, belt, or detail sander) based on the size and type of surface.
- Dust mask and safety glasses: Protect yourself from dust and debris by wearing a dust mask and safety glasses when sanding or scraping.
Steps
This is the typical sequence you’ll take when removing paint with a scraper and sandpaper:
- Scrape loose paint. If the paint is already peeling or flaking, start by using a scraper to remove as much loose paint as possible. Hold the scraper at a slight angle (with the blade flat against the wood) and apply gentle pressure to avoid gouging the wood.
- Sand with coarse grit. Use coarse-grit sandpaper (60- to 80-grit) to remove the remaining paint. If using an electric sander, start with a low speed and gradually increase it as needed. Always sand in the direction of the wood grain to avoid scratches.
- Smooth with finer grits. Once the majority of the paint is removed, switch to finer grits of sandpaper (120- to 220-grit) to smooth the surface. Use a sanding block for smaller areas or a finishing sander for larger surfaces.
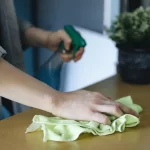
- Clean the surface. Wipe down the surface with a damp cloth to remove any dust or debris.
Tips for Success
- Work in a well-ventilated area. Sanding creates dust, so it’s best to work outdoors or in a well-ventilated area.
- Use the right pressure. Apply even pressure when sanding to avoid creating dips or scratches in the wood.
- Take breaks. Sanding can be tiring, so take breaks as needed to avoid fatigue.
Chemical Stripping
Chemical strippers are a powerful way to remove paint from wood, especially when dealing with multiple layers or irregular profiles. While chemical strippers can be used on large surfaces like siding, they are generally more practical for smaller projects like furniture. Handle them with care and follow safety precautions on the label.
Tools and Materials
- Chemical paint stripper. Choose a stripper that’s compatible with the type of paint and wood you’re working with (check the label for this information). Consider factors like the number of layers to be removed, the type of paint (latex or oil-based), and whether a liquid, gel, or paste stripper will be best for the job.
- Protective gear. Wear rubber gloves, safety glasses, and a respirator to protect yourself from chemical fumes.
- Scrapers. Use plastic or metal scrapers to remove the softened paint. Avoid using tools that are so sharp that they might damage the wood.
- Drop cloths. Protect the surrounding area with drop cloths to prevent the stripper from damaging other surfaces.
- Cleaning supplies. Have rags, mineral spirits (for oil-based strippers), and a neutralizing solution (if recommended by the stripper manufacturer) at the ready for cleanup.
Steps for Using Chemical Stripper
- Prepare the area. Work in a well-ventilated area, preferably outdoors or in a garage with open doors. Protect the surrounding surfaces with drop cloths.
- Apply the stripper. Apply a thick, even layer of the chemical stripper to the painted wood surface, following the manufacturer’s instructions. Use a disposable brush to spread the stripper, working in the direction of the wood grain.
- Allow time to work. Let the stripper sit on the surface for the time recommended on the label, usually from 15 minutes to several hours (depending on the product and the number of paint layers). You’ll notice the paint will start to bubble and lift as the stripper works.
- Scrape away the paint. Carefully scrape away the softened paint using a plastic or metal scraper or putty knife.
- Neutralize the stripper. If the stripper manufacturer recommends a neutralizing solution, apply it to the wood surface to remove any residue and stop the paint stripping action.
- Clean the surface. Clean the surface thoroughly with mineral spirits (for oil-based strippers) or soap and water (for water-based strippers) to remove any remaining residue.
Important Notes
- Test on an inconspicuous area. Before applying the chemical stripper to the entire surface, test it in a hidden area to make sure it doesn’t damage the wood or finish.
- Follow safety precautions. Always wear protective gear and work in a well-ventilated area when using chemical strippers.
- Dispose of waste properly. Follow local regulations for the proper disposal of chemical strippers and paint debris.
By carefully following these steps and taking the necessary precautions, you can effectively remove paint from wood using chemical strippers, achieving a clean and smooth surface that’s ready for a new finish.
Heat Application: Speeding Up Paint Removal
Heat can be an effective way to soften paint for faster removal, especially on larger, flat surfaces. However, it requires careful technique and might not be suitable for all types of paint or wood.
Tools and Materials
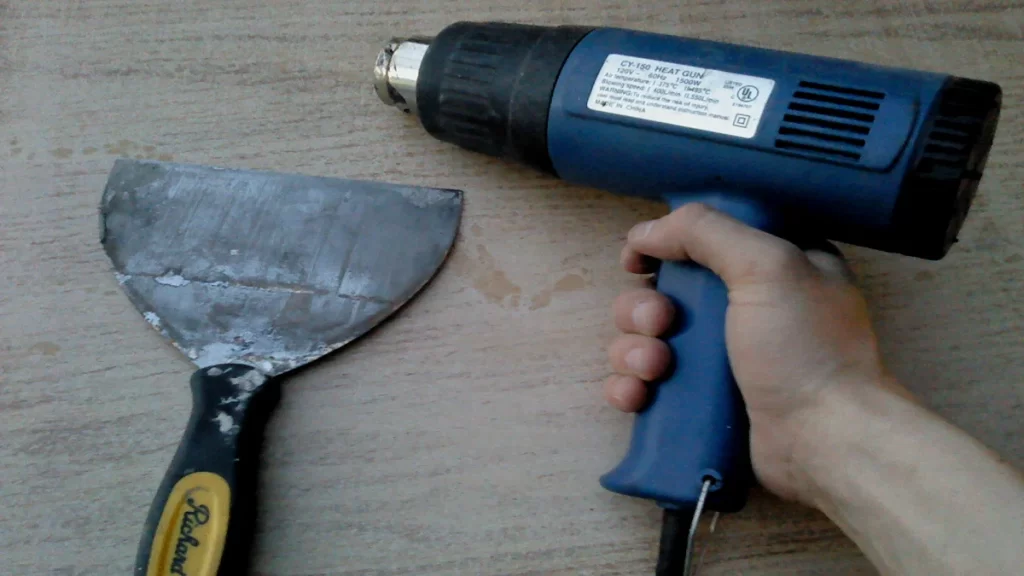
- Heat gun or infrared paint remover. A heat gun uses hot air to soften the paint, while an infrared paint remover uses infrared radiation. Infrared removers are generally preferred for delicate surfaces or those with intricate details, as they are less likely to scorch the wood.
- Scrapers. Use a variety of scrapers, including putty knives, paint scrapers, and possibly wire brushes for stubborn areas. Choose scrapers with dull edges to minimize the risk of gouging the wood.
- Heat-resistant gloves. Protect your hands from the heat with heat-resistant gloves.
- Respirator. Wear an approved respirator with to protect yourself from any fumes released by the heated paint.
- Drop cloths. Protect the surrounding area with drop cloths to catch paint chips and debris.
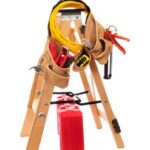
- Fire extinguisher. Always have a fire extinguisher nearby when stripping paint with heat.
Steps
- Prepare the area. Work in a well-ventilated area, preferably outdoors. Make sure there are no flammable materials nearby.
- Apply heat. Hold the heat gun or infrared remover at a safe distance from the wood surface (usually a few inches). Move the tool slowly and evenly over the painted area, applying heat until the paint begins to soften and bubble. Avoid concentrating the heat in one spot for too long—this will scorch or burn the wood and could even start a fire.
- Scrape away the paint. As the paint softens, use a scraper to gently lift and remove it. Work in small sections to prevent the paint from cooling and hardening again.
- Repeat as needed. Continue applying heat and scraping until all the paint is removed. For stubborn areas, you might need to use a wire brush or a more rigid scraper.
- Clean the surface. Once all the paint is removed, wipe down the surface with a damp cloth to remove any residue.
Important Notes
- Test in an inconspicuous area. Before applying heat to the entire surface, test it in a hidden area to make sure it doesn’t damage the wood or finish.
- Avoid overheating. Be careful not to overheat, scorch, or burn the wood.
- Use caution with thin wood or veneers. Heat can damage thin wood or veneers, so use extra caution or consider a different paint removal method.
- Lead paint safety. If you suspect lead paint, use an infrared remover instead of a heat gun to minimize the risk of vaporizing lead. Wear a respirator and follow other lead safety precautions.