From minor to major repairs, detailed step-by-step directions on how to fix damage to drywall

Most drywall repairs are simple, consisting of patching holes, filling dents, and embedding popped nails. They require only basic tools and some drywall joint compound. Also be prepared to touch up or paint the repaired area.
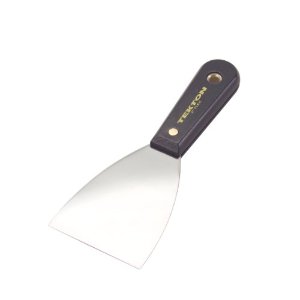
Such minor flaws as dents and small nail holes can be repaired by filling the area with vinyl spackling compound after sanding it clean. Choose a putty knife appropriately sized to the blemish, and, if more than one layer of compound is required, make sure you allow each layer to dry completely between applications.
Popped nails can be fixed by tapping the popped nail beneath the wall’s surface and then driving a second nail or drywall screw next to it to hold the first nail in place. Dimples can be filled with joint compound. See more about these repairs below.
How to Fix Holes in Drywall
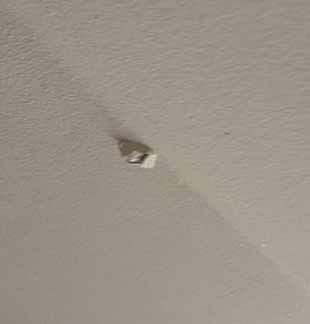
To fix a small hole, fill it with vinyl spackling compound, but first slightly dent the surface with a hammer to produce a void.
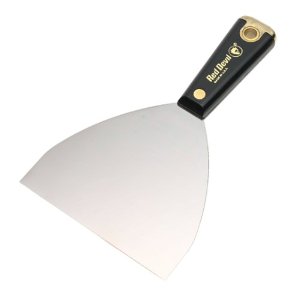
Clean the hole and dampen it with a sponge. Apply the compound with a 3-inch putty knife, drawing it smoothly over the dent, flush with the wall’s surface.
For a medium-sized hole, put self-adhesive fiberglass mesh drywall joint tape over the hole first, and then apply vinyl spackling compound.


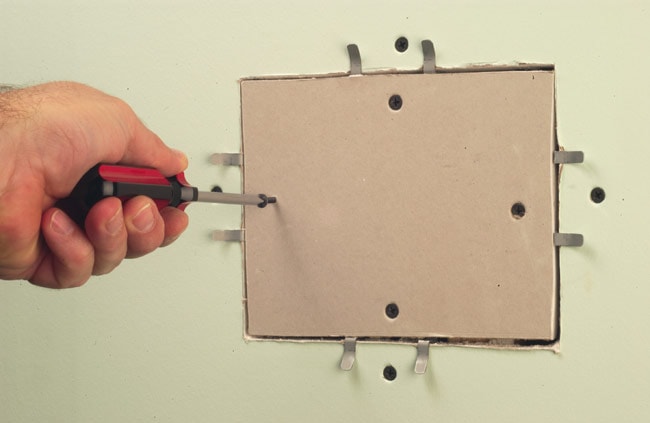
If a wall has a large dent or hole, the damaged area must be replaced with a new piece of drywall of identical thickness. The tricks involved in doing this well are 1) to fasten the new replacement piece securely, even where wall studs are not available for attachment, and 2) to blend in the new piece of drywall with the rest of the surface so it appears seamless.
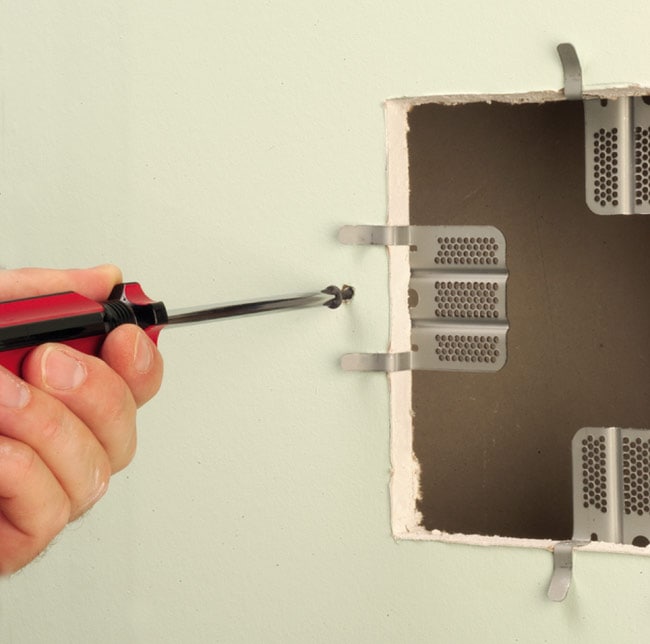
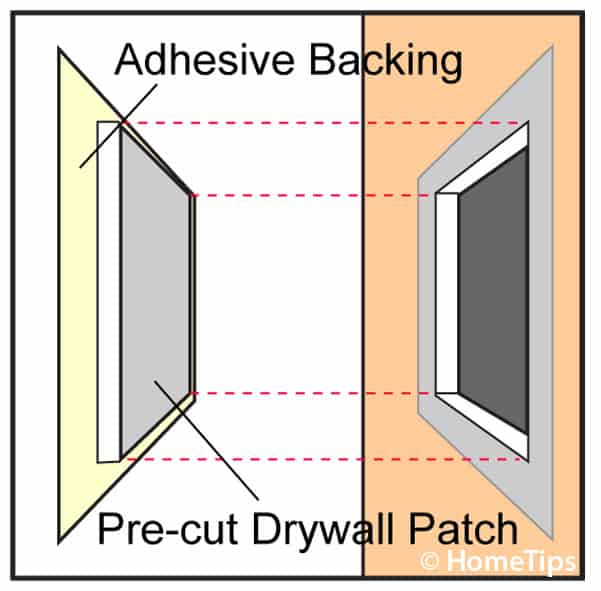
For deeper or larger holes, drywall repair kits are sold that usually include either simple metal clips that support a replacement piece or some sort of backerboard that inserts into the hole and suspends itself in place while you cover it with joint compound. Browse drywall repair kits at Amazon.
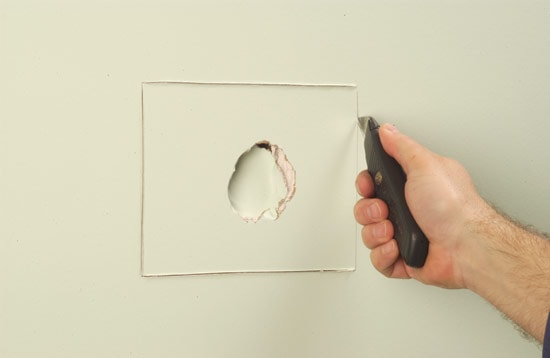
Alternatively, you can make your own drywall patch from a small piece of drywall. Before applying the patch, you cut the hole in the wall to a rectangular shape that fits the patch, using a utility knife, saber saw, or jab saw. If you use a utility knife, you will need to score repeatedly along a straightedge to cut all the way through the drywall.

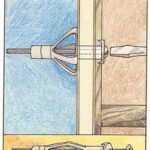
If necessary to hold the patch, you can make your own backerboard from a piece of scrap plywood or drywall. Thoroughly smear the backerboard with joint compound (this “glues” it to the inside wall face), and use a string to hold it in place while the compound dries. Then just cut the string off and use more compound to smooth out the repair, as detailed above.
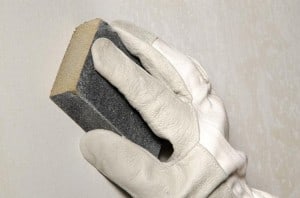
If the hole is deep, allow the patch to dry, sand lightly with 120-grit sandpaper, and reapply spackling compound. Sand very lightly and then touch up with paint to match.
If the hole is very large, it’s often better to cut the drywall back to a stud on each side of the break. Use a screw gun to fasten a 2-by-4 nailer to the open face of each stud and then cut a new piece of drywall to fit the opening. Tape and compound all of the joints as you would in new drywall installation. (For more about repairing the surface of a drywall wall, see How to Repair Drywall (Sheetrock).
The best way to attach the replacement piece will depend on its size and whether or not there are wall studs backing it. Once the replacement piece is securely fastened, blending in the surface so the repair is not noticeable usually requires three applications of drywall joint compound. Because the area has to dry completely after each application, this can take a couple of days.
To do this, your supplies will include ready-mix joint compound; 2-inch drywall tape, either perforated or mesh; taping knives in 4-, 6-, and 10-inch sizes; and 400-grit sandpaper and a sanding block.
Load about half of a 4-inch taping-knife blade with joint compound and, holding the knife at a 45-degree angle, apply it to the seams. Apply the next layer with a 6-inch blade after the first layer is completely dry, usually after 24 hours. Do the same for the third layer, only this time use the 10-inch blade. Finally, smooth the surface when it is completely dry with a wet sponge and sand the seams with the sandpaper wrapped around the sanding block.
How to Fix Drywall Cracks
Hairline cracks in drywall, particularly at the top corners of windows and doors, are signs that the wall framing has settled or moved a little—a common condition and one that’s easy to repair. But, if the crack isn’t repaired properly, it’s likely to reappear.
1. Using a utility knife with a sharp blade, widen the crack in the drywall so that it has a V-shaped profile that will readily accept compound.
2. Using a broad-bladed putty knife, spread joint compound over the groove so that it fills the area and covers an inch or two on either side. Smooth the compound and then allow it to dry.
3. Apply self-adhesive fiberglass joint tape over the groove.
4. Using a 5-inch drywall knife, completely cover the tape with a second coat of joint compound, “feathering out” the compound smoothly and evenly a couple of inches beyond the earlier coat. Allow it to dry.
5. Sand the area smooth with fine sandpaper. (Be careful not to sand down to the tape or to scuff the paper surface of the surrounding wallboard.)
6. Touch up with paint to match (or repaint the entire wall for a truly seamless repair).
How to Repair Drywall Corners
Drywall corners are vulnerable to getting banged and bruised by traffic through a house. Beneath the joint compound that covers and finishes the corner is a length of lightweight metal “corner bead” with either a right-angle or curved profile. The object is to straighten out this dented piece of metal and re-cover it with drywall compound. Here’s how to do it:
1. Use a utility knife to cut away loose drywall compound from the damaged area.
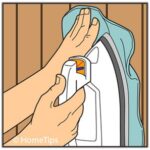
2. Reshape the dented corner bead. To sculpt flattened or bent areas, gently pound a bolt or an upside-down nailset with a hammer.
3. Tack down one edge of the loose metal corner bead with drywall nails.
4. Using a putty knife, remove all loose existing joint compound.
5. Tack down the other edge of the metal corner bead to secure it.
6. Using a 6-inch-wide drywall knife, fill one side of the corner and draw it out so that it’s smooth. Allow the compound to dry.
7. Fill the corner’s other side, smooth it out, and allow the compound to dry.
8. Gently sand with fine sandpaper wrapped around a block. Fill with a second coat if necessary and sand again.
How to Fix Peeling Drywall Tape
Drywall tape can peel for a variety of reasons—poor application, high room humidity, nail pops, even destructive kids and pets. You can make repairs easily, but it may keep happening unless you eliminate the cause, such as by placing a dehumidifier in a room where dampness persists.
If the problem is confined to a small area, you don’t need professional drywall skills to do an adequate job, but if the tape is peeling off the walls in several places, or in areas of prominent visibility, consider calling in a pro who can give you quality results. Here’s how to do it:
1. Use a sharp razor knife to cut away each end of the tape a foot or so beyond the damaged area. Sand down the remaining ridges of dried drywall compound with a moderately coarse drywall sanding pad. Sand almost to the drywall surface (you don’t want to go too far and cut into the drywall paper), and vacuum away the dust.
2. Use a 5-inch taping knife to lay a thin bed of joint compound over the drywall joint. The compound should be uniform in thickness and width, with no gaps or large air pockets, and should extend at least 2 inches on each side of the joint.
3. Cut a piece of drywall tape slightly shorter than the missing tape section. Place it atop the joint and use your taping knife to smooth the new tape into the compound. Be sure there is no air trapped under the tape or wrinkles anywhere along its length.
4. Smooth a second thin coat of joint compound over the tape. Keep the knife blade flat and take care not to disturb the tape’s position. Allow it to dry overnight.
5. Carefully sand and scrape away any high spots where the compound has dried, and then use a wide-bladed taping knife to lay another bed of joint compound over the entire area of repair. Allow it to dry thoroughly. Sand again, using progressively finer sanding sheets to blend, or “feather,” the compound into the rest of the wall surface.
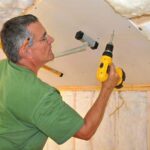
How to Fix Popped Drywall Nails
When wall studs and ceiling joists bend and twist, which often happens in new homes built with wood that dries after it is installed, the framing members can push and pull away from the drywall, causing the drywall nails to pop out of the wood.
This usually happens near the center of the boards, where the most pronounced bending is likely to occur. If it’s too late to call the builder back to take care of this annoyance (it’s rarely structurally threatening), you can do the repair yourself.
Before beginning any repairs, first establish that they really are nails since newer houses use drywall screws instead. Here’s how to fix a popped nail:
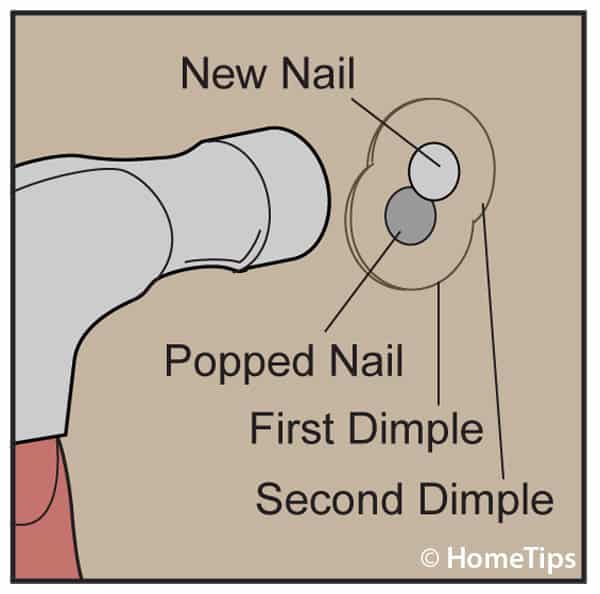
Don’t pull out the old nail. Instead, drive a second nail—or better yet, drive a drywall screw—in near each popped nail to re-anchor the drywall at that spot and then tap the original nail back in place.
If the nails protrude far enough, they can tear or push the drywall tape off the wall. Where this happens, you’ll have to cut away and replace the tape. Cut back only as far as necessary—the ends of the tape still firmly embedded in joint compound should not have to be removed.
Use joint compound to cover the nails or screws. When that has dried, sand the area, prime, and paint.