How to Install a Ceiling Fan: Step-by-Step

How to install a ceiling fan, explained in easy-to-follow step-by-step instructions that show you how, including information on installing a hanger bar for the necessary support.
Installing a ceiling fan is a good project for the do-it-yourselfer, as you can simply replace a traditional lighting fixture with a fan or fan-and-light kit. You can wire the fan’s light to be controlled by the light switch on the wall and allow the fan to be turned on manually by pulling a cord, install a second switch to control the fan, or purchase a unit operated by remote control.

You’ll need to ensure that the junction box to which you will connect your fan can support its weight (it should say “suitable for fan support”), that you have enough clearance between the fan blades and the ground (at least 7 feet), and that your fan is the appropriate size for your room. For more, see Sizing & Locating a Ceiling Fan.
How to Install a Ceiling Fan: Step-by-Step
Following are instructions for how to install a ceiling fan at an existing ceiling box.
1 Remove the old light fixture. (See How to Replace a Light Fixture for information about how to do so.)
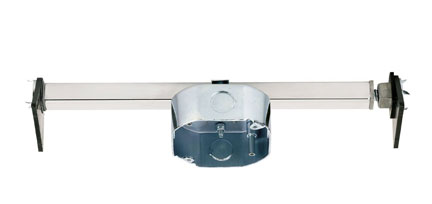
2 Install a ceiling fan mounting bar. If the ceiling box is connected at its center to a bar hanger attached to two joists, then continue on to Step 3.
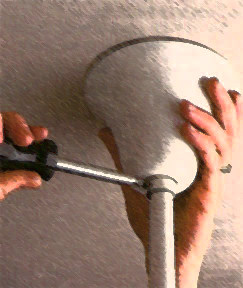
If it is not, you will have to install a ceiling fan box with a mounting bar. Take out the old ceiling box, and insert the hanger bar for the mounting box into the ceiling hole. Ram the edges (or “feet”) of the bar toward the two ceiling joists by turning the center of the bar, and use a wrench to tighten the bar and embed the sides into the joists. Attach the ceiling box to the hanger.
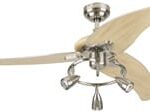
3 Insert the fan’s downrod through the canopy. Thread the motor’s wires though the downrod and canopy. Screw the downrod onto the motor.
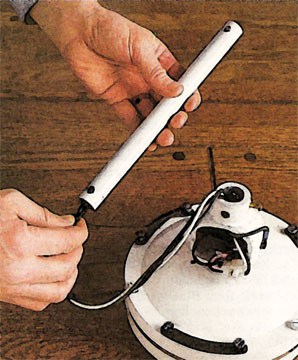
4 Screw the fan’s ceiling plate to the electrical box, first threading the wires from the box through the plate. Suspend the fan from the ceiling box’s support.
5 Wire the fan according to the manufacturer’s directions.

6 Remove the fan from the hook, put the canopy over the ceiling plate, and screw the canopy into place. Affix the fan blades.
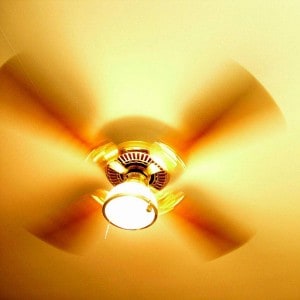
7 Finish by wiring the fan’s light fixture (if your fan has one) according to manufacturer directions, and screw the fixture into place.
NEXT SEE: Ceiling Fans Buying Guide