Instructions for installing a gas dryer, including connecting to the gas line and to venting
When you buy a new dryer, you can usually pay a small fee to have it delivered and hooked up. But you can also undertake installation yourself. The job is quite simple if the laundry area is already set up for the machine.
All clothes dryers need an electrical outlet for the motor; gas dryers use a conventional 120-volt receptacle, but electric dryers need a 240-volt receptacle to also supply power for the heating elements. A gas dryer involves connecting both a gas supply line and a vent to the appliance.
During installation, be sure the circuit breaker to the dryer’s circuit is turned off and the gas pipe’s valve is closed.
The following instructions are a general guide. Be sure to follow all of the manufacturer’s instructions.
Step-by-Step Dryer Installation
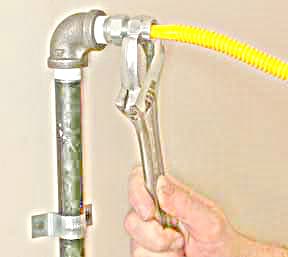
1 To hook up a gas dryer, turn the gas off at the shutoff valve. Wrap the threads of the gas supply pipe with pipe-wrap tape (use the type made for gas connections), and then tighten a stainless-steel connector onto the pipe.
Thread the flexible gas supply pipe onto the connector and the dryer’s gas valve, and tighten both connections. After turning on the gas, check for leaks by mixing a 50/50 solution of dishwashing detergent and water, daubing this onto the connections and watching for bubbles.
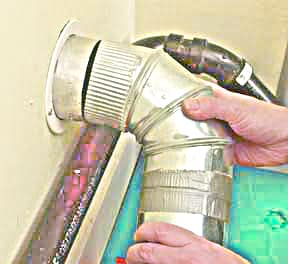
2 Fit metal duct piping onto the vent connector at the wall, and, using elbows along with lengths of straight pipe, run the vent to the dryer’s outlet. Drive 3/4-inch sheet-metal screws through the pipe into the flanges to hold the vent pipe in place.
Wrap the joints with duct tape. Be sure the vent exhausts to the outdoors.
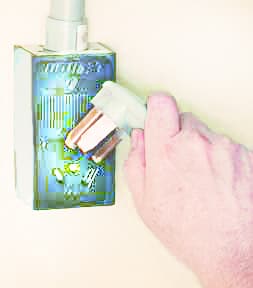
3 Plug in the dryer. An electric dryer will have a large, 240-volt plug like the one shown at right. A gas dryer will have a conventional plug. Push the dryer into place, leaving a couple of inches on each side for air circulation.
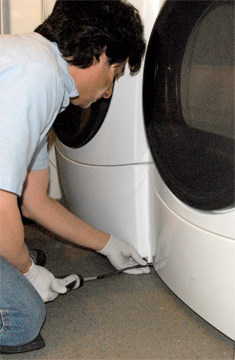
4 After positioning the appliance, check the top for level. If necessary, turn the adjustable feet at the front of the unit to properly level it.
The following video will show you more about dryer installation. Though it has a very robotic voice, it clearly guides you through installation of a Whirlpool dryer. Manufacturers vary, but this video will give you a clear idea of the steps involved for almost any dryer. It covers many important points, including clearances and connections needed for safe use.




 Don Vandervort writes or edits every article at HomeTips. Don has:
