Expert DIY advice on how to replace a damaged exterior door threshold, including how to replace a threshold gasket. Includes step-by-step directions, helpful illustrations, and videos.

How to Replace a Threshold
How to Replace a Threshold Gasket
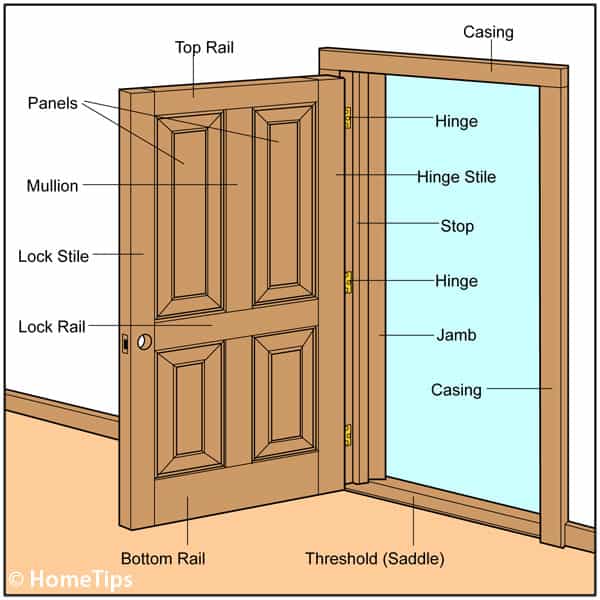
A threshold at the base of an exterior door provides a weathertight transition between the interior floor and the exterior siding. Because of its location, it gets a lot of wear and tear—from both foot traffic and weather.
Repairs are sometimes possible, especially to rotted woodwork. For more about this please see Repairing Rotted Woodwork. In most cases, complete replacement makes more sense because it’s relatively easy to do and will last longer. Replacement is what you’ll find in this article.
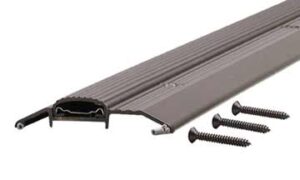
Classic thresholds are made of durable hardwoods, such as oak. Newer options are extruded from aluminum.
A threshold is important for properly sealing your home against water damage and air infiltration.

How to Replace a Threshold
Replacing a door threshold is not just for the sake of appearances, it can also be a real energy saver. The threshold at the base of an exterior door takes a beating with constant foot traffic and weathering. As it ages or—worse—rots, it looks bad and ceases to do an effective job of sealing out the weather. That?s when it’s time to replace it.
The following instructions will guide your through replacing a wooden threshold:
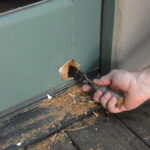
1 Remove the damaged threshold. If necessary, cut it in two and pry out the pieces. Be careful not to cut or pry against your finish flooring.
2 Mark and cut the replacement threshold to fit. You may be able to use the two sections of the old threshold to help measure and mark the new threshold—if you do, be sure to allow for the width of the saw cut you made during removal.
3 Cut the replacement threshold. (If you’re installing a metal one, use tin snips and a hacksaw or a saber saw with a metal-cutting blade to make the cuts.)
4 Brush or sweep the area where the threshold will go.
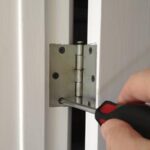
5 Set the new threshold into position and test it for fit. Temporarily remove it and apply silicone caulk to seal it to the floor. Replace it and attach it to the floor with screws, countersinking their heads (for a metal threshold, follow the manufacturer’s directions; if it includes a rubber gasket, cut this to length and install it as well).
Here is a helpful video that shows the process for removing an old, rotting oak threshold and replacing it with a new oak threshold. This is a little more involved, because it also shows replacing the wooden trim on each side of the door in addition to the threshold.
Here is another video that shows how to install an aluminum adjustable threshold. This is a good example of working with newer construction—a plywood subfloor in particular.
How to Replace a Threshold Gasket
If you have an exterior door with a threshold that’s capped by a rubber gasket and the gasket is broken or badly worn, here is how to replace it:
Open the door. Use an old chisel or screwdriver to pry out the splines that hold the gasket in place (if there are splines), and then pry up the gasket and pull it out of its groove.
Take the old gasket to a home improvement center or hardware store and buy an exact replacement. Most new gaskets just press into place (you can force the new gasket, if necessary, by pushing it against a short wooden block).