This article is an expert step-by-step guide for installing vanity sconce lights in the home, with instructions on mounting fixtures, grounding wires, and more.
One simple way to brighten up a bathroom is to install new lighting. Replacing a vanity light also allows you to upgrade a key element of your bathroom’s decor. Vanity lights come in a wide variety of shapes and sizes; all are easy to install over an existing electrical box, requiring less than an hour from start to finish.
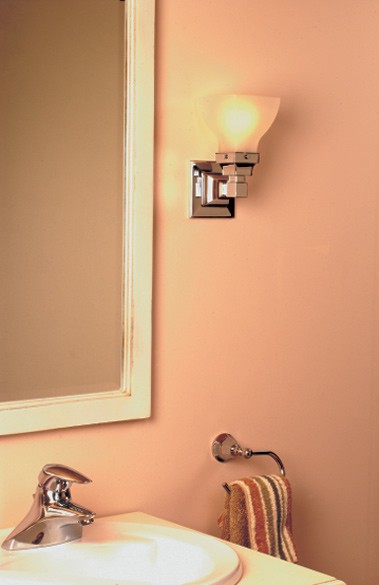
Some electrical boxes are located directly above a mirror or medicine cabinet, others—like the one shown here—are at each side.
- How to Dim LED Lights
- Understanding Color Temperature in Home Lighting
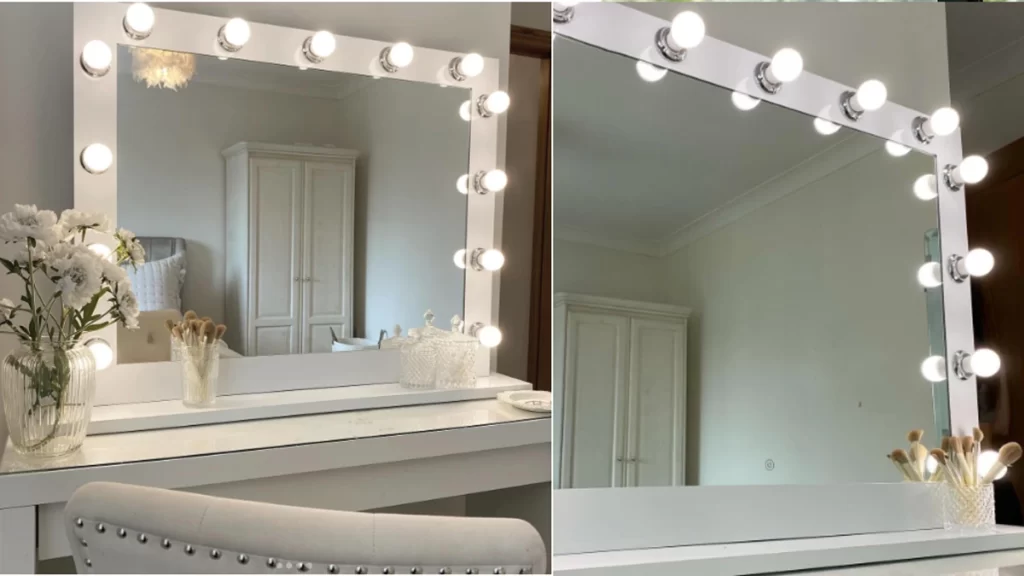
- Light Up Your Look—Stylish Vanity Mirrors with Lighting
- Smart Home Upgrade: The Best Motion Sensor Lights for Security and Convenience
- Dining Room Lighting Delights—Illuminate Your Space with Style
- Stylish Floor Lamps—Light Up Your Living Room
Before purchasing a fixture, make sure it will fit the space without bumping into an adjacent wall or interfering with a mirror or trim. Follow the manufacturer’s instructions precisely. To create strong but gentle light that doesn’t cast shadows, choose a fixture that utilizes halogen bulbs and has a frosted diffuser.
Before you begin any work, turn off the power to the existing fixture at the electrical service panel. Remove the globe or diffuser and the bulb(s). Unscrew the retaining nut that holds the decorative cover plate onto the electrical box.
If the old fixture doesn’t come off easily, run the blade of a utility or putty knife around the edges of the plate to free it from caulk or paint. Disconnect the wiring and set the fixture aside.
Quick tip: To create strong but gentle light that doesn’t cast shadows, choose a fixture that utilizes halogen bulbs and has a frosted diffuser.
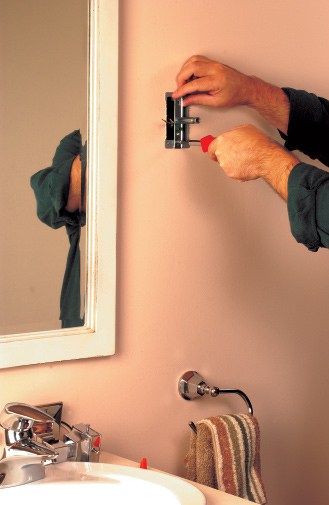
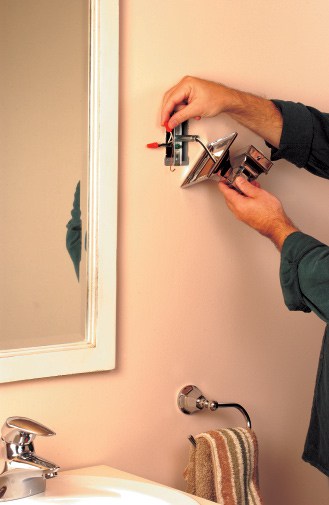
1 In older homes, incandescent light fixtures are often mounted directly to an electrical box. Electrical codes now require that the fixture be mounted to a flat metal bar called a mounting strap that is secured to the box. Most new fixtures include the mounting strap and screws.
2 Before installing the fixture, inspect the wires coming out of the box. If the ends are nicked or tarnished, cut them and strip off 1/2 inch of the insulation with a wire stripper. Then, following the manufacturer’s instructions, attach the fixture’s wires to the circuit wires with the nuts provided.
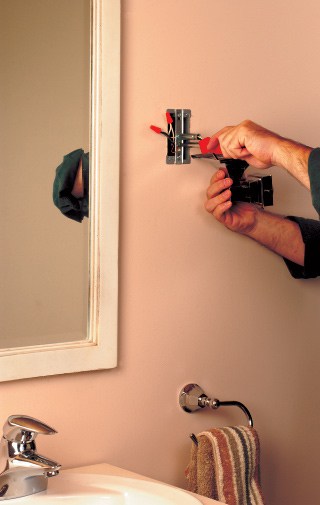
3 All lighting should be properly grounded. This is particularly important in a bathroom, where the chance of electrical shock is higher than in other rooms because of the presence of water. In hooking up the ground wire, make sure to follow the manufacturer’s instructions. On many lights, you’ll hook the ground wire to the mounting strap, as shown.
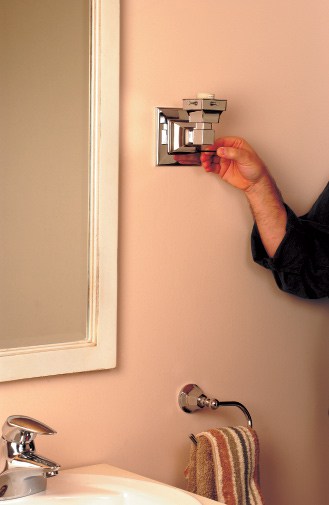
4 Mount the fixture to the box as directed by the manufacturer. Finally, screw in the appropriate bulbs, making sure their wattage does not exceed the maximum allowable for the fixture. Attach the diffuser, which typically is held in place with a decorative cap or retaining nut. Tighten only friction-tight to avoid cracking the diffuser.
Featured Resource: Get a Pre-Screened Local Lighting Installation Pro




 Don Vandervort writes or edits every article at HomeTips. Don has:

