Thinking about installing kitchen cabinets? These illustrated step-by-step instructions will guide you through hanging both base cabinets and wall cabinets.

If your handy with do-it-yourself projects, you may be able to install your own cabinets, but make sure you have all of the tools and materials you’ll need—and a strong helper—before you begin.

If this job looks a little too complex, be aware that many dealers offer installation, either by their own personnel or by independent installers. When you order your cabinets, ask for estimates and/or referrals. The job usually goes a bit smoother if you hire a cabinet installer who is familiar with the particular product you’re purchasing. Make sue to ask the installer for references. Another option is to install the cabinet boxes yourself and hire a finish carpenter or cabinet installer to handle the trickier jobs of mounting and adjusting the doors and drawers as well as for any special trim work.
Installing new cabinets doesn’t necessarily require hiring a professional—but it does take a fair amount of do-it-yourself skills and basic tools. The key is to install all the cabinets perfectly level and plumb—otherwise, the cabinets may look shoddy, doors and drawers may not close properly, and appliances may fit poorly. You’ll need at least one helper for lifting and holding cabinets in place during the fastening process.
Preparing for Cabinet Installation
When installing new cabinets, plan to do the job after the completion of the rough wiring and plumbing but before the finish flooring has been installed. By installing the flooring after cabinet installation, you won’t use more flooring than needed and the new floors won’t run the risk of construction damage.
If you’re replacing outdated cabinets, remove the old cabinets carefully so you don’t damage the walls and so you can use them for taking critical measurements (or, in some cases, as patterns for the new cabinets). The best strategy for removal is to take off all of the doors, pull out the drawers, and lift out any removable shelves.
Most cabinets are secured to wall framing members through their backs with nails or screws, which you will need to pull. Be sure to have a helper when you remove upper cabinets-as you extract the fasteners, you’ll need help holding the cabinets up. If cabinets are screwed together through their side panels, also remove these screws so you can remove the cabinets one by one.
The walls that back new cabinets need to be level, smooth, and clean. To check them for flatness, place a long straightedge against them. Mark any bumps or voids so that, during installation, you can adjust for them.
Unpack your cabinets and make sure all the components are included. If your cabinets arrive disassembled, follow the manufacturer’s instructions. Wait until after cabinet installation to add drawers, doors, and shelves. If you remove any parts, be sure to label them so you can return them to their proper places.
The first wall and base cabinets are key-if you get them installed level from back to front and side to side, the other cabinets should follow suit. It’s easiest to start with the wall- mounted cabinets so the base cabinets won’t obstruct your work.
Installing Wall Cabinets
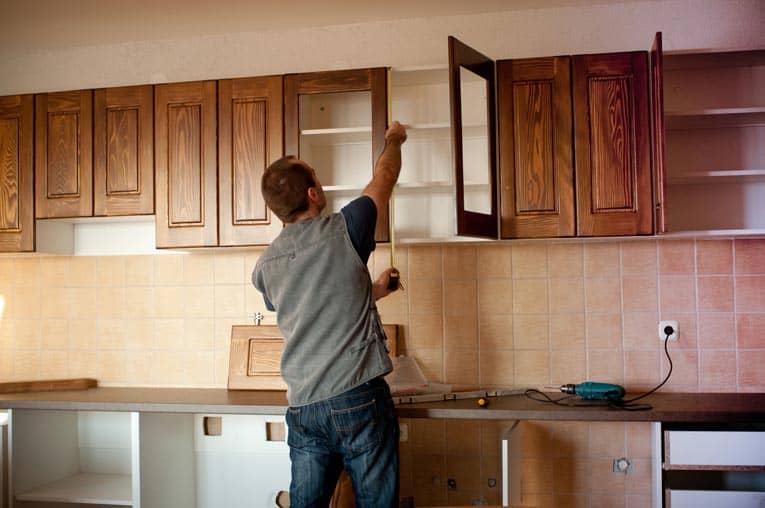
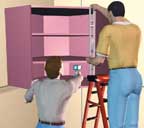
When installing kitchen cabinets, it’s easiest to install the upper wall cabinets first; this way, the base cabinets are not in your way during the necessary lifting and fastening.
When moving them around, you will discover that upper cabinets are heavy—just imagine their weight when they’re loaded with dinnerware or foodstuffs. The wall cabinets need to be installed with the correct type of screw. It is imperative to fasten cabinets securely to the wall stud framing behind the wall’s surface material.
Some screws require separate finish washers, and some do not. Don’t use drywall screws—they are not strong enough. The screws you use must go through a strong part of the cabinet, such as a support rail that runs along the cabinet back. Every cabinet should be secured by at least three screws that penetrate the wall framing by at least 1 1/2 inches.
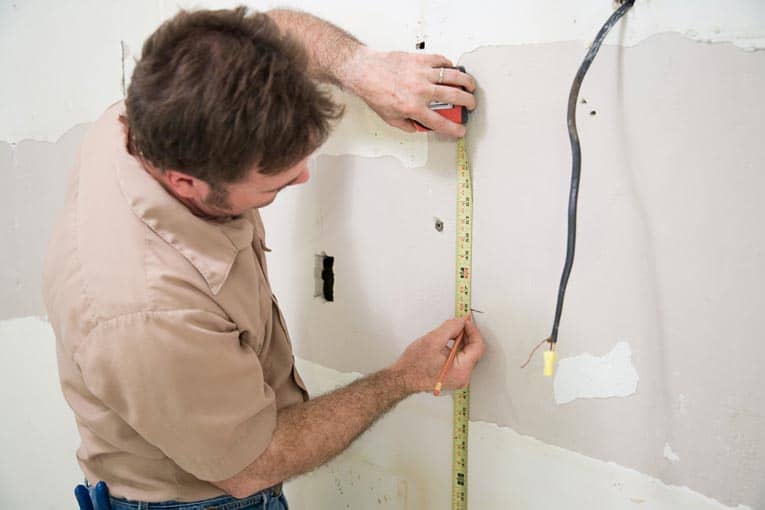
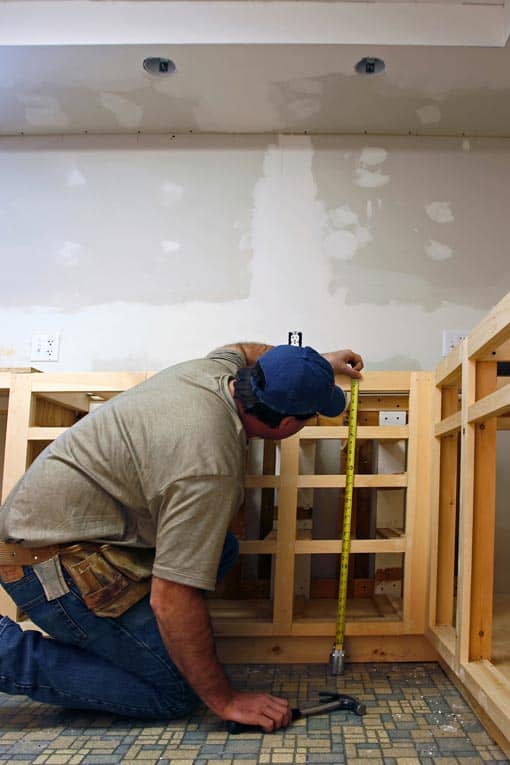
- Use a level and with a pencil to draw a perfectly parallel line across the wall about 3 inches up from the floor. Measure down from this line to the floor to find the floor’s high point (if it has one), and mark a line at that point. From there, measure up 34 1/2 inches and draw a level line across the wall to designate the top of the base cabinets.
- Establish a line for the bottom of the wall cabinets. From the 34 1/2-inch line, measure up another 19 1/2 inches and mark a level line across the wall to indicate the bottom of the wall cabinets. Lightly mark the cabinets’ dimensions and placement on the wall to double-check your layout.

3. Locate the wall studs, using a stud finder and, with a pencil, mark their locations above and at least 6 inches below the mark you’ve made for the bottom of the wall cabinets. Draw straight vertical lines between the top and bottom marks to indicate the center of the studs.
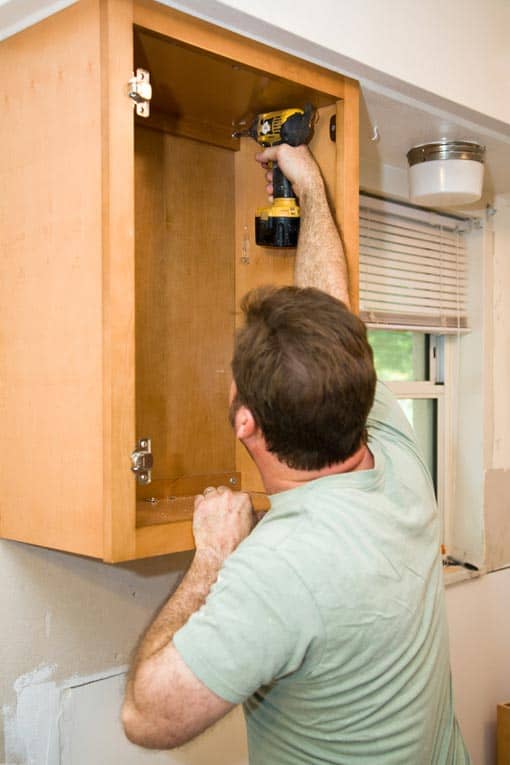
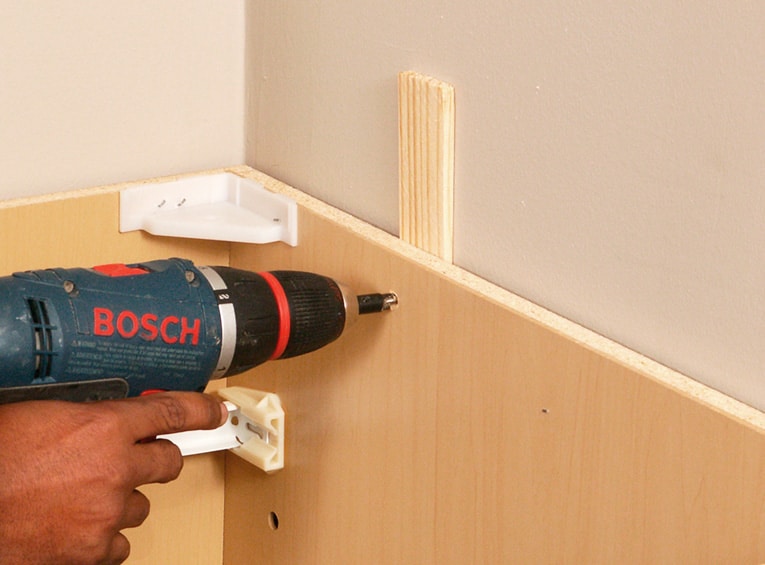
4. Screw a temporary 1-by-3 support rail to the wall, aligning the top edge of the rail with the line for the bottom edge of the wall cabinets. Attach it by driving three or four 2-inch screws through the rail into the wall studs.


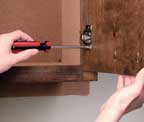
5. If your cabinet setup includes a corner wall cabinet, install it first, with a helper. Drill pilot holes through the sturdy cabinet back or its support rail and into the wall studs. Screw the cabinet to the wall using two screws that are long enough to penetrate the studs by at least 1 1/2 inches, and then check the top for level and the front edge for plumb. To correct the position, back off the screws, tap shims behind the cabinet at stud locations, and then drive the screws home and add several more into each stud for secure attachment.
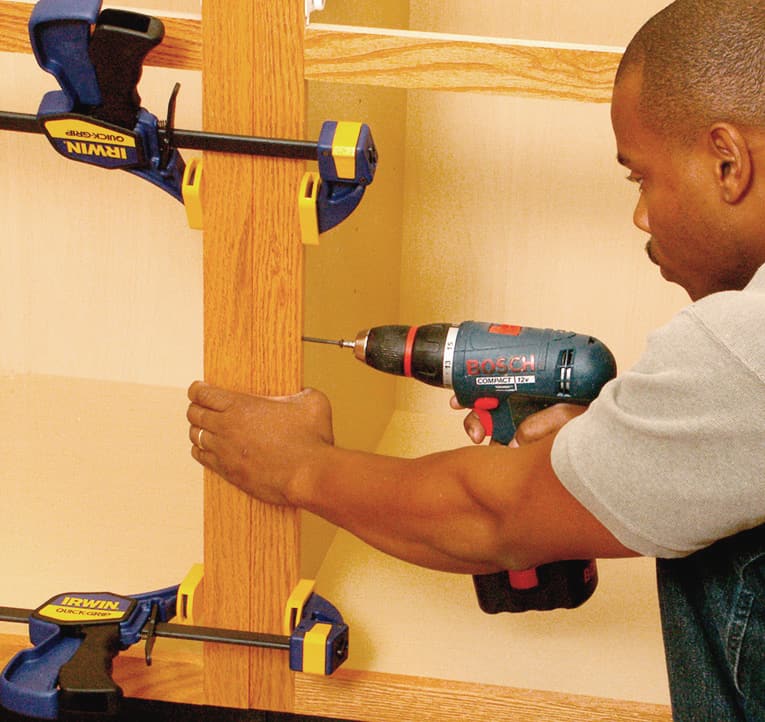
6. Install the adjacent cabinets. As you install each one, secure it to its neighbor with a clamp and check it for plumb. On face-frame cabinets, it’s easiest to drill two 1/8-inch pilot holes through the sides of the face frame and screw the cabinets together.
With frameless cabinets, drill bolt holes through shelf-peg holes, and then bolt the two together. Be sure not to fasten through shelf-peg holes that you will need for shelves.
Installing Base Cabinets
After all the upper wall cabinets are in place, install the corner or end base cabinet.
- Level and shim the corner cabinet. If necessary, use shims to level it and raise it up to the high point of the floor so that its upper edge aligns with the line on the wall. Be sure it is level from front to back and from side to side, and then screw it to the wall studs.
- Add the first adjoining cabinet. Align it the same way you did the first cabinet. If necessary, tap shims under and behind the cabinet to adjust for plumb and level. Clamp together the face frames. Then drive screws through one face frame into the other, as shown, to permanently fasten them.
To turn a corner with base cabinets, push the adjoining cabinet in place and clamp the two units together. Add a filler strip if needed to allow doors and drawers clearance.
3. Drive screws through the cabinet back (and shims) into the wall studs. Trim any excess material from the shims with a sharp chisel or knife. Continue to add adjoining cabinets in this manner, joining them as you did the wall cabinets. Be sure the lower cabinets line up with the upper ones.
 Sunset Publishing Corp.