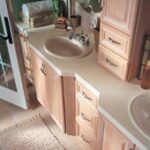
Few elements affect the feel and functioning of a bathroom as much as the cabinetry. Installing cabinetry does not require professional skills, but an eye for precision is all-important.

If you’re installing more than one base cabinet, you will need to make sure the units are level, plumb, and flush with each other so that they will work properly and look right. To ensure this, the first cabinet must be level and plumb, both from side to side and front to back, because all of the other cabinets will be aligned to it.
A corner cabinet should be installed first. Plan to put in cabinets after rough wiring and plumbing but before new flooring.
If the cabinets don’t arrive assembled, put them together according to the manufacturer’s directions, with the exception of the doors, shelves, and drawers. For preassembled cabinets, remove these parts, labeling them to take the guesswork out of reassembly.
The wall to which you are affixing the cabinets should be smooth, level, and clean. Place a long straightedge against it to make sure it’s flat. Mark any bumps or bulges.
During installation, tap short pieces of wood shingles, or shims, beneath and/or behind the cabinets as necessary to make slight adjustments. If the irregularities are significant, compensate for them by using a scribe rail.
Upper cabinets should be fastened securely to wall studs, particularly if they will be loaded with heavier items such as small appliances or big containers of bathroom cleansers.
Most cabinets have a support rail that runs across the back; screw through this or through a strong part of the cabinet. For each cabinet, use at least three screws that penetrate the wall studs by a minimum 1 1/2 inches.
Step-by-Step Bath Cabinet Installation
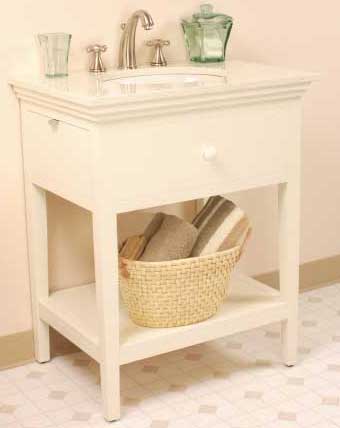
Installing a freestanding bathroom base cabinet can be a relatively easy DIY project and, with the right tools and materials, can be accomplished in a weekend. However, it’s easy to get a quote from a local cabinet installation contractor if you feel the job’s too much to handle yourself.
If you choose to do it yourself, here’s how:
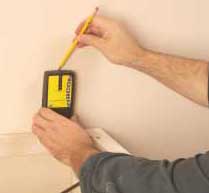
1Using a stud finder, locate the wall studs to which the cabinet will attach.
Mark the stud locations on the wall with a pencil where you’ll be able to see the marks after the cabinet is in place.
Draw straight vertical lines to indicate the center of the studs.
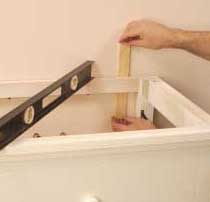
2Level the cabinet from front to back and from side to side (if necessary, use shims to raise it to the high point of the floor or to adjust its position).
Note: On some vanities, such as the one shown, adjustable levelers built into the legs eliminate the need for shims.
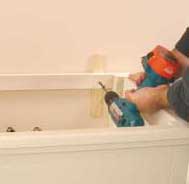
3Drive screws through the cabinet back rail (and shims) into the wall studs.
Trim the shims with a sharp chisel or knife so they won’t be visible when the countertop is in place.
With the sink and faucet set installed, position the countertop and attach it to the cabinet from underneath.
![]()
![]()