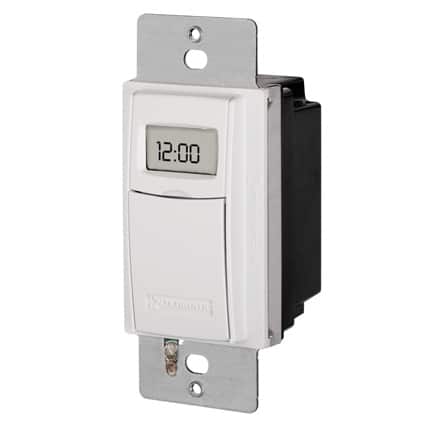
Expert DIY tips on how to install an electronic timer switch. Learn to affix a switch that will automatically turn lights off and on with this step-by-step guide.

It is fairly simple to replace a standard wall light switch with a timer switch. Following are instructions for how to affix a timer that has a neutral white wire. If your timer has no such wire, follow the instructions outlined in How to Install a Dimmer Switch.

1 Make sure the electricity is shut off to the circuit. Remove the cover plate and the existing light switch.
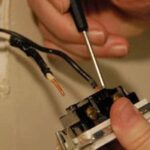
2 Divide all the wire ends so that they are not in contact with one another or with the switch box.
3 Turn the power back on to the circuit and use a voltage tester to test the pairs of black and white wires. (The wires that cause the tester to glow are the wires that supply the box with power.)
4 Turn the power off again. Begin splicing the wires in the box together with the leads of the timer switch, starting with the green ground wire and green ground lead (if there is a green wire and lead) and continuing on to the neutral white wire and white lead.
5 Next, splice the “hot” wires, the box’s black wire to the switch’s black lead. Splice the final switch lead to the other black wire in the box.
6 Tuck all the wires into the switch box, and screw the timer switch onto the wall.
7 Finally, screw the cover plate back into place, then turn the power to the circuit back on.