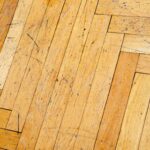
Squeaky floors are very common in older homes. Wood floors creak when something—usually a board—works loose and rubs against another board or against the subfloor. Whether you have access to the area under your floor or not, we’ll cover techniques for reducing the noise from a loud floor.

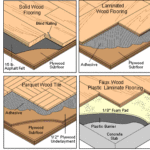
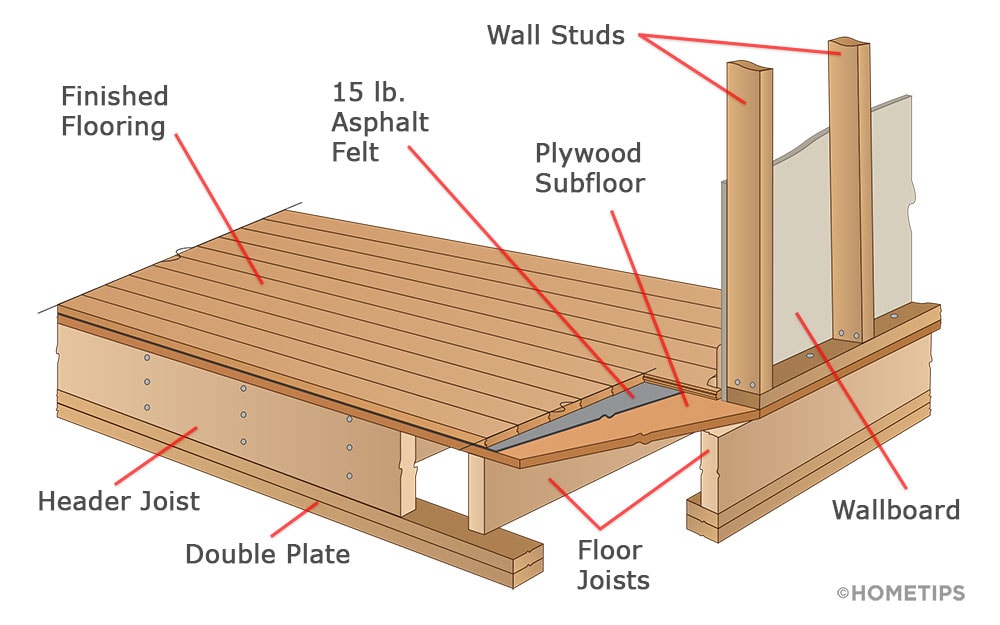
First let’s take a look at the structure of flooring.

How to Stop Floor Squeaks from Above
If you live in an apartment or have a basement with finished ceiling (meaning, you can’t view the underside of the floor clearly) you’ll be limited to the following techniques.
Use Dry Lubricant Between Floor Boards
Lubricating floor surfaces to reduce the friction caused when they rub together can be a great place to start. Especially if you live in a dry climate, the lack of humidity can cause wood floors to dry out slightly, which can make squeaking louder.
This is an easy solution but not always effective. Try working a little powdered graphite, talcum powder, or baby powder between floor boards and then cleaning up the surface. Work the powder in by stepping on and around the noisy board to generate movement, and see if you notice any improvement.
As an alternative, you can try squirting small amounts of wood glue into cracks between boards and working it in with a putty knife. Wipe up the excess glue and weight down the surface until the glue dries.
Fix Squeaks Beneath Carpeted Floors
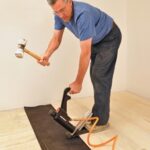
If the floor is squeaking under a carpet, we recommend trying a The Squeeeeek-No-More Kit which can be purchased at Amazon. To use this kit, you’ll need to:
- Locate the Joist by tapping a hammer around the problem area and listening for a dull “thud.”
- Load one of the waxed, break-away screws into the tripod assembly.
- Using a power drill, drill the screw into the joist as far as it will go.
- Place one leg of the tripod fixture over the exposed screw head and break it away at floor level. The screw will break below the carpeting, and below the surface of the wood subfloor. This prevents it from sticking up past the plane of the subfloor.
The following video will show you how to use the Squeeeeek-No-More on carpeted, vinyl, and wood floors.
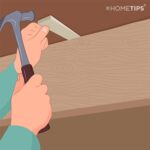
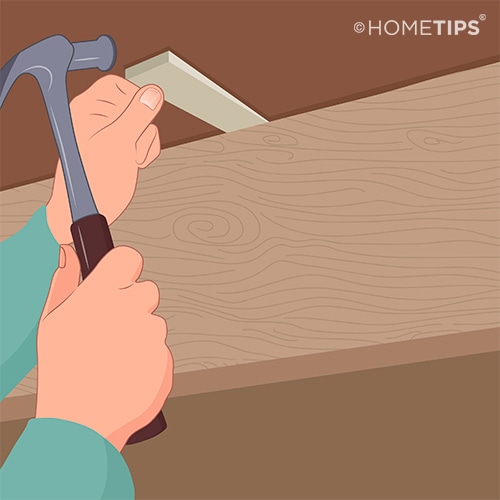
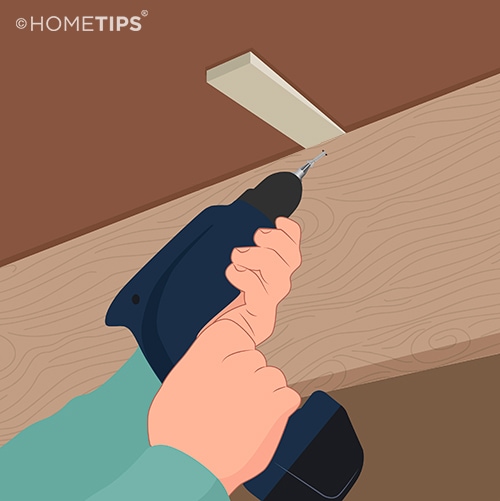
Carefully Drive Nails through Flooring
If you can’t get beneath the floor, another option is to drive ring-shank nails (nails with circular ribs similar to screws) at a slight angle into floor joists, as shown below. Before driving them in, drill pilot holes so that the wood won’t split. Using a nailset to avoid damaging your flooring, sink the heads slightly below the wood’s surface.
(Note: If you re-sand the floor in the future, these nailheads can be troublesome because they may tear up the sandpaper on the power sander.) Fill the nail holes with wood putty colored to match the flooring.

Fix a Squeaky Floor from Below
Stopping the movement of flooring components altogether is a more permanent solution to floor noise. To determine exactly what is making noise, go under the floor, to a basement without a finished ceiling or to a crawlspace, and then listen while somebody walks above you. You might have to remove insulation that’s under the floor or between the floor joists to gain better access.
If your problem includes bouncy or sagging floors, try these floor repair tricks.
Check for Errant Nails
Check for nails that have missed the floor joists and are rubbing up against them, causing a squeak to occur. If you find incorrectly-placed nails, cut them off with a good pair of diagonal cutters.
Also look for areas where the subfloor may not be nailed down with enough nails. If there is a gap between a joist and the subflooring, drive a glue-coated shingle or shim (a small wedge) between the joist and subfloor just tight enough to stop the squeak.
Insert Shims into Gaps Between Joists and the Subfloor
Creaky floors occur due to a separation between floor parts like joists and the wood subfloor. To fill these gaps:
- Apply some carpenter’s glue to a wood shim (a wedge-shaped piece of wood).
- Gently hammer it in to the opening. (Be careful not to push it too far though, you could end up creating a bulge in the flooring surface above.)
- If you find that this silences the creaky spot in the floor, repeat for other problem areas.
- To secure the wedge, drive a screw through the corner of the joist to hold it in place.
- To clean up the shims, wait for the glue to dry and carefully use a utility knife to slice into the wedge along the joist line. Then simply break it off so it’s even with the joist.
Drive a Screw from Underneath the Floor
If the floor is still squeaking, you can try driving a short screw through the subfloor into the underside of the flooring surface. (Important: Be sure the screw is not too long or it will pop through the surface!)
Insert it through a fender washer (a circular metal washer) before driving it. It’s easiest to use square-drive or drywall screws and a power screwdriver or cordless power drill with the appropriate tip. You can also choose wood screws which are slightly less likely to break during installation.
Tighten the Subfloor to a Joist
For under $10, you can use this well-designed contraption to secure an area of flooring more securely to the underlying joist. To use this device:
- Locate the loud area of flooring.
- From beneath, mount the square metal plate to the underside of the subfloor using the supplied screws.
- Make sure the threaded rod is extending down near an area of the joist which is free from obstructions.
- Position the hooked bracket under the joist, and tighten the nut on the threaded rod until it creates sufficient tension on the subfloor.
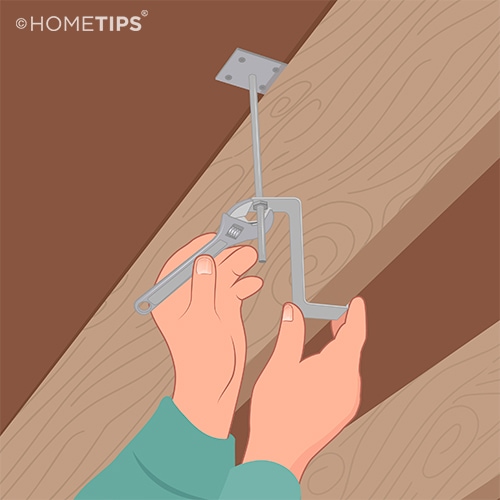
This should help to prevent the movement that was causing the squeak.
You can learn more about Squeak-Ender here, including where to purchase one.
Check the Bridging Between Joists
Squeaks coming from between joists may be caused by inadequate bridging. Re-nail any loose parts and, if necessary, install a piece of bridging against the subfloor to reinforce it, as shown here.

Nailing solid blocking between floor joists can strengthen support for the subfloor, reducing movement. If the joist is sagging and the subfloor is flat, cut a piece of 2-by-4 long enough to extend 12 inches beyond the gap on either side. Nail it to one side of the joist.
Tighten Flooring to the Subfloor
Finish flooring (the exposed flooring material) that does not fit flush with the subfloor can also be tightened from below. Drill a couple of 1/4-inch holes through the subfloor, taking care not to drill through the flooring surface.
Press the nozzle of a carpenter’s glue bottle into the holes and force glue up into the space between subfloor and finish flooring. Then have someone stand on the raised spot while you drive screws through the subfloor into the finish floor. Be sure the screws are long enough to grip the finish floor without going all the way through, and use washers to ensure the screws will not be pulled into the subfloor.
Another method is to pre-drill pieces of 2 by 2, 18 inches long, at convenient angles for driving 2-inch or 2 1/2-inch screws into the subfloor and joists. Partially drive the screws into the pre-drilled holes. Coat the screws with carpenter’s glue and power-drive them into place.