Expert advice on stucco siding, including advantages and drawbacks, with helpful a diagram and photos of stucco wall construction.


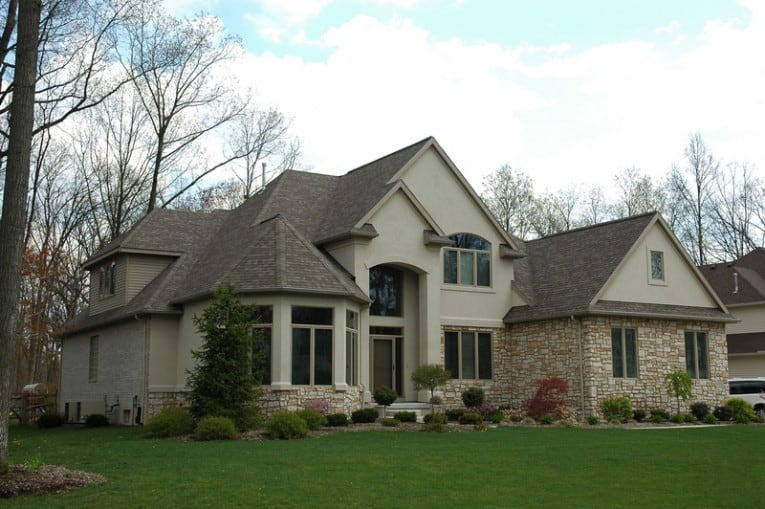
Stucco is a plaster-like exterior finish that is popular as a siding material on many types of homes, from Southwest and European-style to contemporary.
Because stucco is essentially concrete, it has several considerable advantages over siding materials such as wood. First, it is tough and durable—when properly maintained, it will last 50 years or more. And it’s seamless, so weather doesn’t have cracks and crevices to penetrate. Because it’s a form of masonry, it isn’t prone to damage from fire, rot, or insects and it does a good job of blocking noise.
On the downside, stucco can be brittle and, as a result, crack with settling of the house or with earthquakes. This said, stucco is formulated today with epoxy, making it more elastic and thus less likely to fracture. If it does crack, it can be repaired, as discussed in the article How to Repair Stucco.
One more downside is that, in extremely rainy regions, water can soak into stucco, eventually penetrating walls. With any stucco installation, proper flashing is an absolute must to prevent damage to the interior of the wall. Application must ensure that any water penetrating through the material will be carried away properly.
Check what local contractors advise before you paint stucco. If painting is an option, choose a 100 percent acrylic latex paint specially formulated for stucco surfaces. Also see How to Paint Stucco.
Traditional Stucco Construction
Traditional stucco is made from a mixture of Portland cement, fine sand, water, and hydrated lime. In addition, it may contain acrylic or glass fiber additives that improve its strength and flexibility.

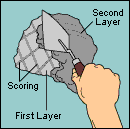
It is applied wet in three coats: a base layer called the “scratch coat,” a second “brown coat,” and a final “finish coat.”
After the first coat is applied, a notched trowel is used to “scratch” the surface with horizontal grooves so that the next brown coat has something to grip. Then comes the brown coat and, finally, the finish coat.
Before each successive coat is applied, the previous is allowed to dry—typically a day or two before applying the brown coat, and from one to two weeks before applying the finish coat. In hot weather, each coat is lightly sprayed with water periodically so that it cures slowly and evenly—drying too quickly will weaken it. And the final coat may crack from shrinkage if it doesn’t cure slowly.
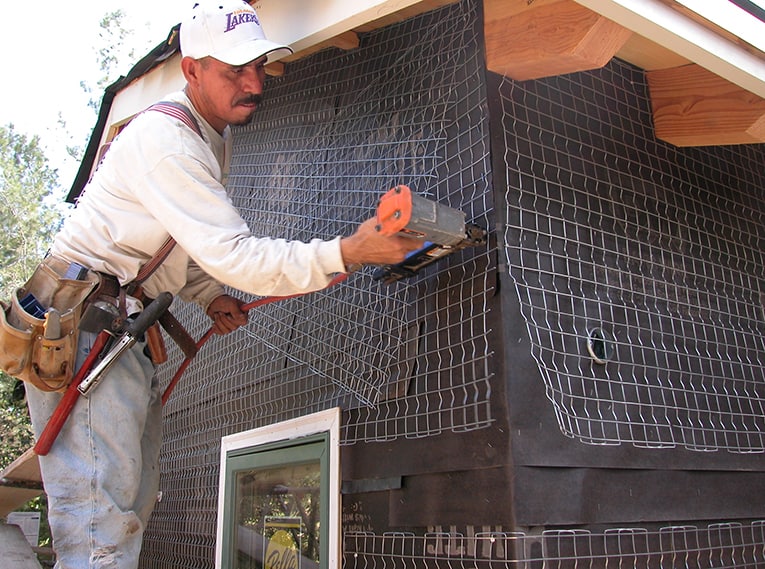
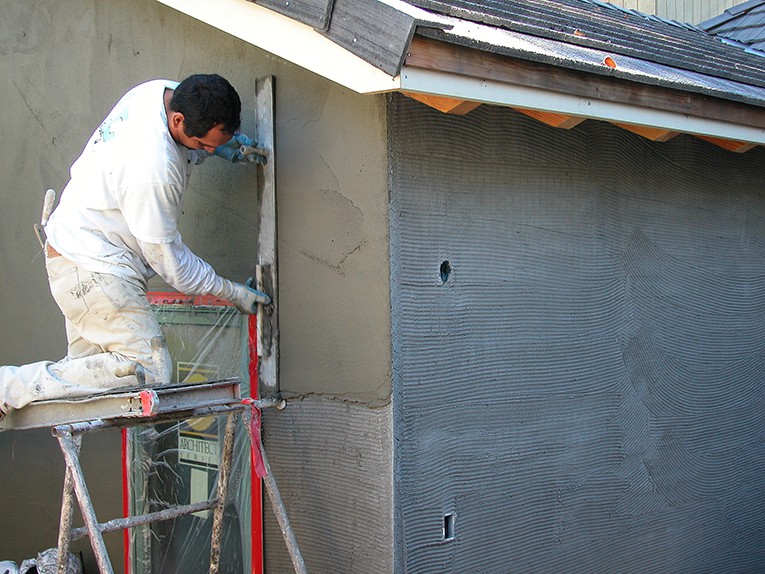
Stucco is applied over a base of wire mesh that grips it and helps to prevent it from cracking. The diagram above shows how an older stucco wall is built—note how this is different than the newer type of construction shown in the photos below. With the older type, chicken-wire-like mesh called “stucco netting” is fastened over horizontal wooden slat spacers to allow pockets for the stucco to squish into and grip.
With newer stucco construction, a much heavier, three-dimensional wire lath is nailed, screwed, or stapled to directly to studs beneath the base of weather barrier and sheathing. Contemporary forms of wire lath include woven-wire lath, welded wire lath, and expanded metal lath.
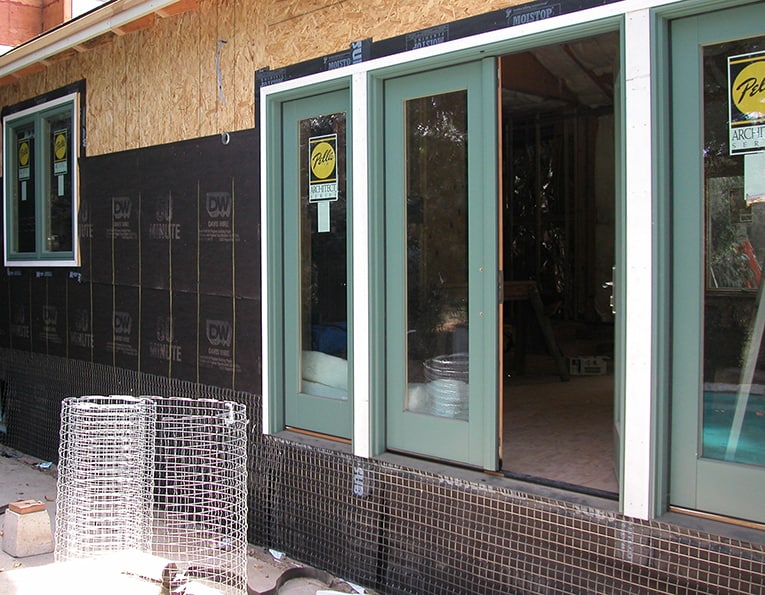
Because stucco is porous, the base—typically plywood or oriented-strand board sheathing—must have at least one layer of weather-resistant, vapor-permeable asphalt-impregnated building paper (“felt”) or plastic-based building wraps or stucco wraps. This barrier must reject weather and water but allow vapor to escape. In many cases, two layers are used because the stucco sticks to the top layer, making it less effective. A “weep screed” at the foundation line allows water to drain away.
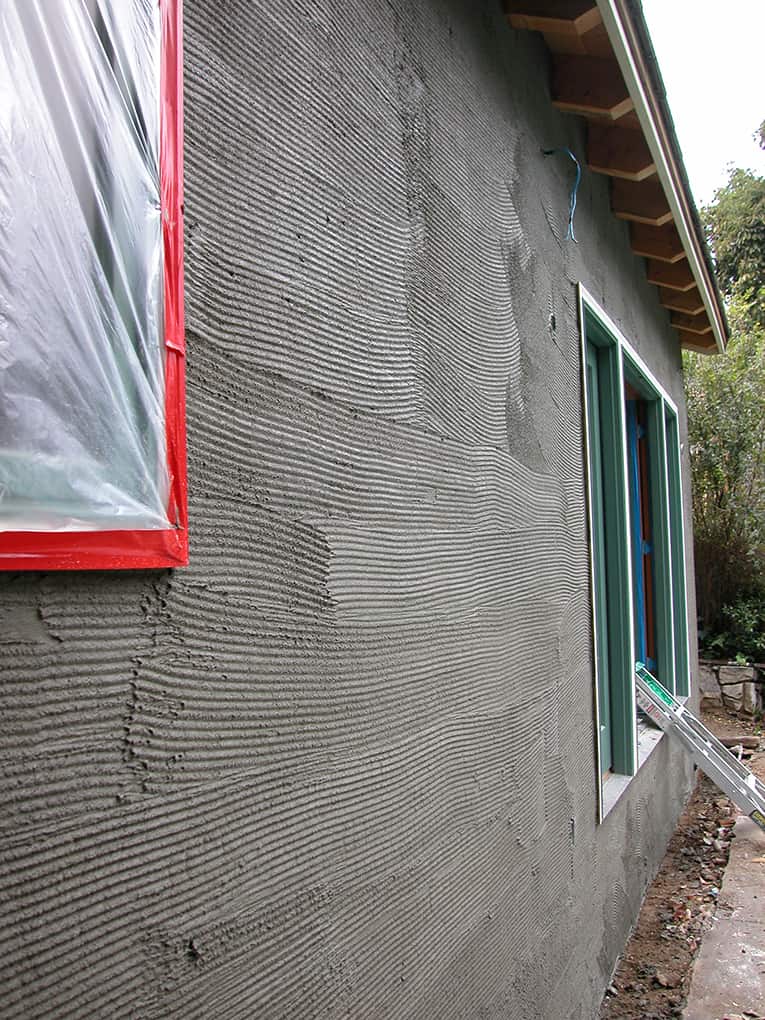
The first two coats can be troweled or sprayed onto the wall. The final coat is typically troweled onto the surface and given one of many possible textures, from smooth to sandy or irregular.
Rather than painting stucco, pigment is typically mixed into the final coat. A popular option is to use an acrylic-based finish as the final coat. Because acrylic finishes are resilient, they are far less likely to crack and also help minimize moisture penetration into the stucco.

Stucco can also be applied over properly primed solid masonry surfaces such as concrete block, brick, or older stucco. To ensure adhesion, however, it should not be applied over a painted surface without sandblasting first.
Thin-Coat Stucco Systems
Modern synthetic stucco can be applied as one base layer and a finish layer, which is thinner and has a shorter application period than conventional stucco—closer to one week than two.
The base for this system is similar to the one discussed above: wire mesh over weather-resistant, vapor-permeable building paper. The makeup of the material is different, however. The base coat, mixed with only water and sand, contains chopped fiberglass and acrylic polymers that make it stronger.
The finish coat is typically a colored elastomeric formula mixed with a fine aggregate. The result is a smooth, water-resistant finish that is less likely to crack than ordinary stucco. It usually looks a little more uniform in color, too.
One downside is that, because it is thinner than traditional stucco, it can be damaged more easily. Another is that, if soaked, it takes longer to dry out. And last but not least, these systems are proprietary and must be applied precisely to specifications or the warranties may be voided.
Exterior Insulation and Finish Systems (EIFS)
This form of synthetic stucco, known to professionals as EIFS, short for exterior insulation and finishing system, is different than traditional stucco. With EIFS, panels are covered with an acrylic coating that looks like plaster. The panels may be foam- or fiber-cement board siding (foam has considerably higher insulation values). The polymers are generally sprayed onto the panels.
EIFS systems have a reputation of moisture-related problems, primarily because of improper application. Fundamentally, if not properly backed by a membrane, flashing, and proper drainage system, water can become trapped in the walls, causing rot and mold. Before opting for an EIFS system, do your homework! High-quality professional installation is absolutely imperative.
Cost of Stucco
Stucco isn’t as expensive as a premium-grade cedar siding, but costs considerably more than vinyl or fiber-cement siding. The only way to really get a fix on cost is to get an estimate, but figure it will probably cost from $6 to $11 per square foot for materials and labor.