Expert advice on repairing and replacing wood roof shingles, locating leaks, repairing and replacing damaged shingles and removing moss from wood shingle roofing.


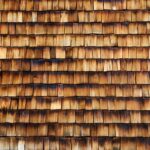
Wood shingles can last between 15 and 40 years. Their durability depends on your climate, their exposure to the weather, and the slope of your roof. As a rule, the steeper the roof, the longer the material will last because rain won’t pool and ice and snow won’t accumulate.
If your roof is leaking, or you suspect you have cracked or damaged shingles caused by a recent severe storm, check your roof for curled, broken, or split shingles. Wind and rain can erode shingles and cause them to lift from the roof. You can also go into your attic and look for signs of water—either dampness or stains. If only a few shingles are damaged, you can repair or replace them. But don’t attempt to work on your roof if it is steeply pitched or when it’s raining. Don’t go onto your roof if it’s even slightly damp; instead, work in calm, warm weather. Limit how much you walk on your roof to prevent causing more damage. If you have any doubts about the safety of going onto your roof, call a roofing contractor to do the work.
A shingle that has lifted from the roof can simply be re-nailed down and the nail heads sealed with roofing cement. Repair a split shingle by closing the gap between the two pieces, nailing them to the roof deck, and sealing the crack and nail heads with roofing cement.
Cracked, warped, missing, or broken shingles need to be replaced. Here’s how to do this:
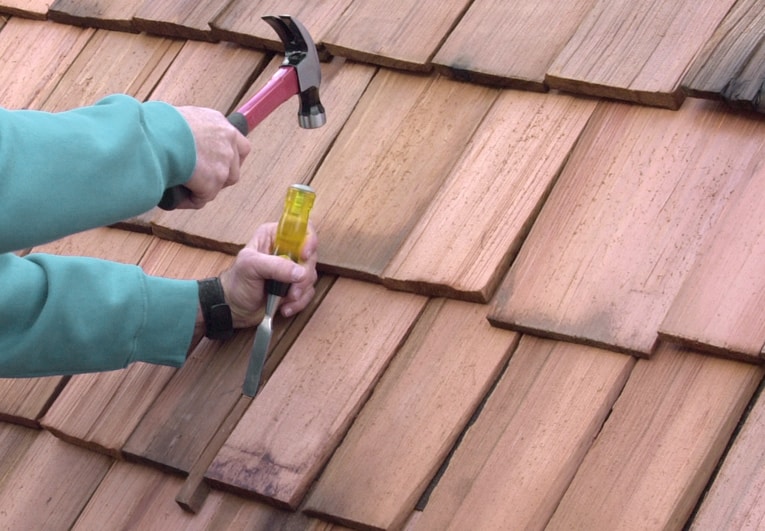
1 Split the defective shingle along the wood grain, using a hammer and chisel as shown in the photo at the top of the page, and pull out as many pieces of the shingle as you can.
2 Slide a flat bar up under the shingle and pry out the nails with a few hammer blows. (Or, for a neater job, you can cut off the nails using a hacksaw or a special shingle ripper as shown here, available at hardware stores or roofing supply companies). Take care not to damage the roofing paper or sheathing beneath the shingles.

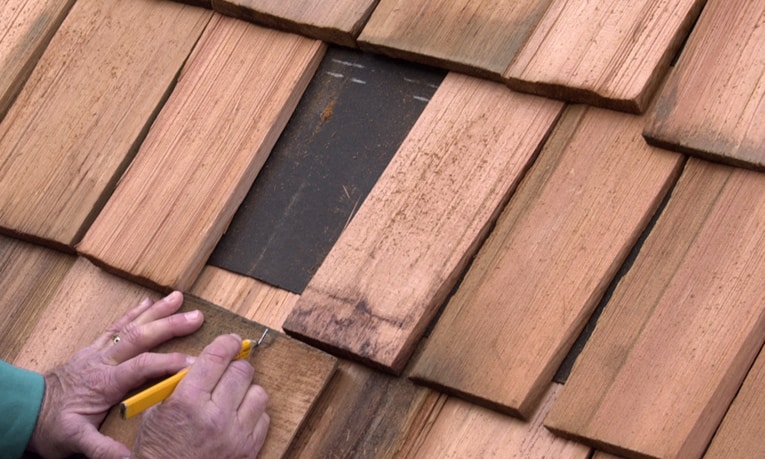
3 Measure and cut a replacement shingle to fit the space, making it 1/2 inch narrower than the space (leaving 1/4-inch clearance on each side so the wood can expand with moisture changes). If shingles have very tight, straight grain, you can split them—otherwise cut them with a power saw. (A table saw works best for cutting.)
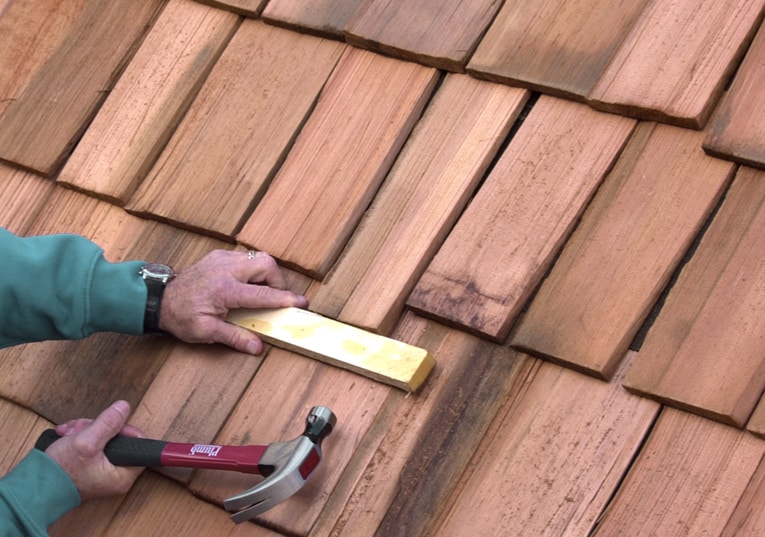
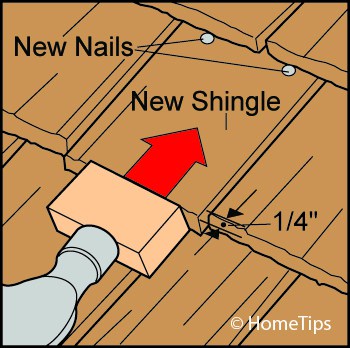
4 Tap the replacement into place with a hammer, protecting the shingle with a wood block as shown below. Stop about 3/4 inch before it is flush with its neighbors, and leaving 1/4 inch on either side for expansion.
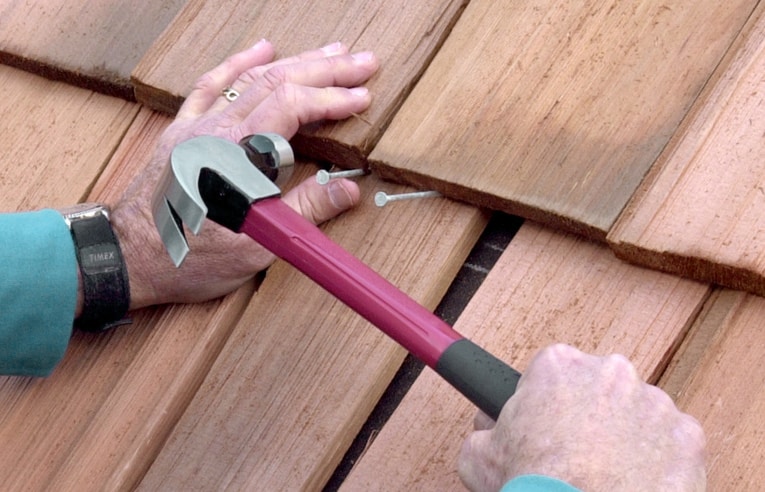
5 Drive two roofing nails just below the butt of the shingle above it, angled slightly upward. Then place a wood block against the replacement and tap it upward the final 3/4 inch.
Another common problem in particularly moist climates is that moss can grow on wood shingles, particularly beneath trees that provide heavy shade. Cutting back tree limbs to encourage sunlight helps eliminate the cause, as does hosing down the roof twice a year. Once it becomes established, moss can be removed by a power-washing specialist using a power washer with hot water and fungicides.