This guide will teach you how to install crown molding, a decorative trim that can add style and elegance to your home. Learn the tricks of cutting and installing crown molding yourself.

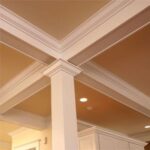
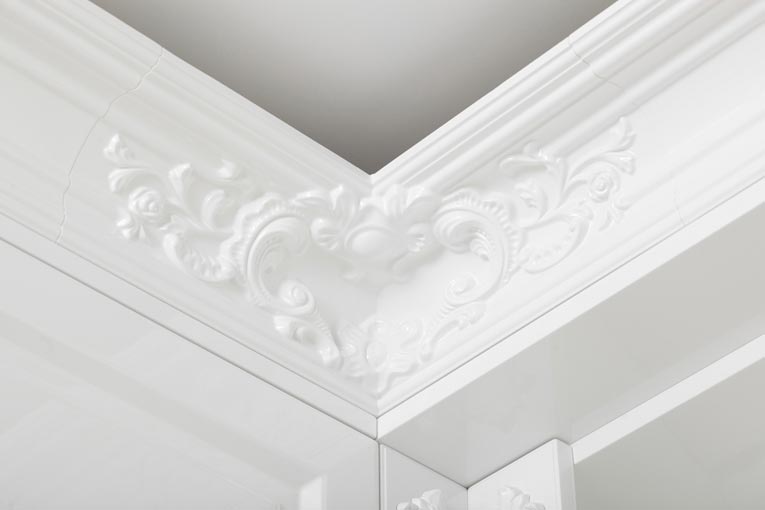
Of all the interior trim options available, crown molding makes the greatest impact in an otherwise plain room. Gracefully bridging the transition between walls and ceiling, it provides an eye-pleasing line that delineates the space.

Marking and Cutting Crown Molding
To mark for crown molding, use a 3- to 4-foot length of the molding itself as a guide rather than a ruler or tape measure. Holding the molding in place, mark the ceiling first and then the wall line.
Cutting crown molding can be a bit confusing. As you move from ceiling to saw, it’s easy to lose track of what cut goes where. Here’s an easy way to stay oriented:
Think of the ceiling as a picture in a frame, with the crown molding acting as the frame. When you’re cutting, the surface of the saw table becomes the “picture” and the saw fence the “wall.”

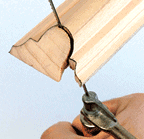
This means that you will make all cuts with the moldings upside down, as shown. Remember this and you won’t be confused about how to place the stock on the saw.
You should cope joints wherever possible, so inside-corner junctions will have a square cut on one piece and an inside miter on its mate.
Outside corners, if you have any, require outside miters on both mating pieces. Fine-tune the fit with a block plane, rasp, and sandpaper.
Fastening Crown Molding
Install crown molding with nails and glue, predrilling and driving the nails into the wall framing wherever possible. With large, heavy crowns, you may want to use backing blocks.Cut triangular blocks from 2-by stock of sufficient width to fill in the angled back of the crown. Screw the blocks to the wall framing with 3-inch wallboard screws. Nail the crown molding to the blocks.
When you fasten crown molding, nail it to the ceiling first and then to the wall. This ensures a true line at the ceiling, where the eye most needs to see it. Any gaps that may appear in the wall line due to irregularities in the wall surface are usually easy to handle.
If the ceiling is uneven, test-fit with the molding resting on the bumps, shimming and caulking in the hollows. This will usually look fine. In extreme cases, you may want to run the molding 1/4 inch below the ceiling and leave it uncaulked.
![]()
![]()