Mounting new electrical boxes is a simple process, but the job does require careful planning.

Whether you are upgrading the electrical system in an old home or planning your electrical needs for new construction, it helps to draw out your plans on paper. You don’t have to create a to-scale rendering for it to be a helpful tool when adding new circuitry.

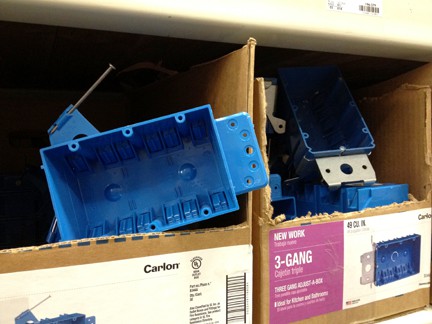
Before you buy electrical boxes, you want to be certain they have the right mounting holes for the devices you plan to install. For instance, you might discover that an adapter plate will be helpful in the process of mounting a particular new box.
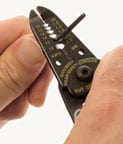
Also be sure the boxes have correctly placed knockout holes for routing cable in and out. Some boxes have built-in clamps for securing cable, or you might need to purchase cable connectors.
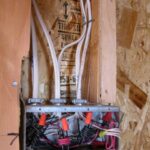
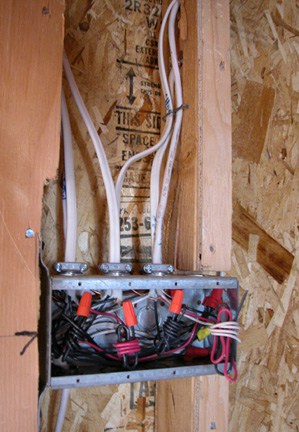
Electrical boxes that are mounted to wall studs during new construction must be positioned so that, when drywall is added, the face of the box will be flush with (or very slightly inset from) the wall’s surface. This generally means mounting them so they extend 1/2 inch beyond the face of the wall studs if 1/2-inch-thick drywall will cover the wall studs. Be sure they don’t protrude further than the thickness of the wall-covering material—you’re better off mounting them so that they sit about 1/16-inch shy of the wall’s surface so the cover plate will sit flat against the wall.
Keep in mind that typical room electrical receptacles should be placed a consistent 12 to 18 inches above the floor. These dimensions are set by codes.
Also, avoid placing a switch box on the hinge side of a door opening; you want the switch to be readily accessible upon opening the door.
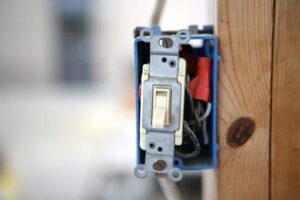
Boxes, whether metal or nonmetallic, should be simple and straightforward to mount using one of the following techniques:
• Screw-on handy box—attach this box directly to the framing.
• Box with flange—nail the flange to the side of an exposed stud or joist, aligning the front so that it will be flush with the finished ceiling or wall.
• Nail-on electrical wall box—butt this box against a wall stud and nail it on.
• Adjustable hanger bar—when a ceiling box spans two joists, this two-piece bar can be narrowed or expanded to fit the space between them. As a plus, the box will slide along the bar, allowing you to create the perfect placement for a lighting fixture.
• Pancake box—while this application has nothing to do with breakfast, its ease of installment makes it an option you might just “flip” over.