Expert advice on how to paint interior walls and ceilings, including following the correct sequence and using the correct equipment and techniques.
With good preparation and a few tricks of the trade, painting interior ceilings and walls is a simple process that can yield professional results.
As important as having clean, smooth surfaces is following a specific sequence. Here are the general rules to follow:
If you are staining or clear-finishing trim, do so before painting the ceiling and walls. Carefully mask all of these surfaces only when you are sure that they are completely dry. For information on paint preparation, see Preparing for Painting.
Any surface that needs a base coat should be primed. Whether your surfaces will need a base coat will depend on the surface and the kind of paint you have chosen. When you buy your paint, consult with your paint dealer about whether a primer is needed (mention the current wall color) and, if it is, the best primer to use. Priming does not have to be as precise as painting, but primer must cover the surfaces fully. Apply it to the ceiling first and then the walls.
Paint in the same order as you applied the primer—ceiling first and then walls. Brush or roll from top to bottom. If the primer you chose was of good quality, you may need only one coat of paint.
If you are painting rather than staining or finishing trim, do so after you have painted the ceiling and walls. Go from top to bottom, such as ceiling molding to chair rails to baseboards. You can paint window and door trim either before or after you paint the baseboards, though before is better if you are painting the whole room as a single project.
How to Cut-In With a Paintbrush
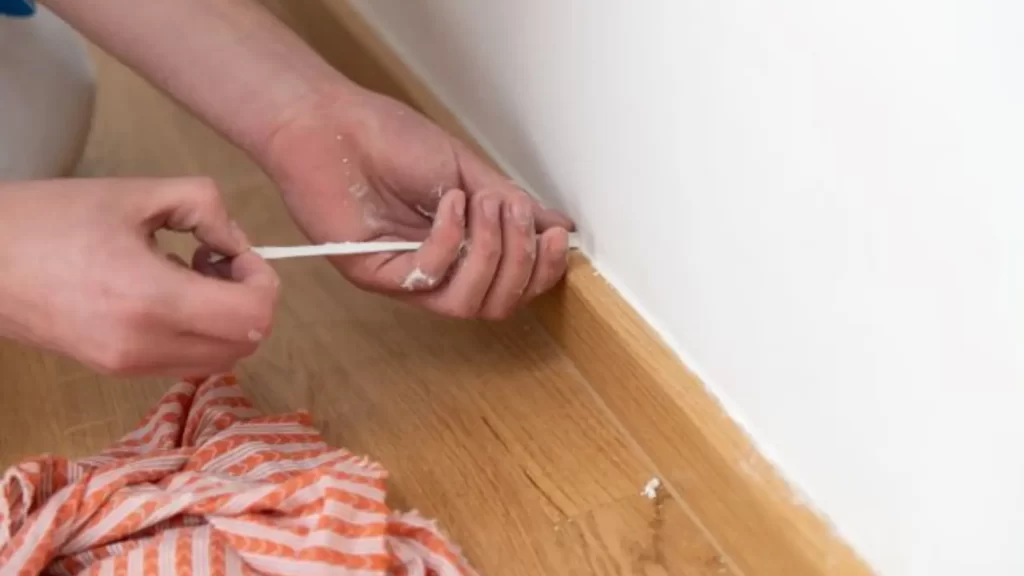
Although a roller is easiest for applying paint to the broad surfaces of walls and ceilings, a roller will not apply paint all of the way into corners or to the edges of trim. You’ll need to “cut-in” the corners and areas around trim with a paintbrush.
Cut in the corners before you roll paint on the main surfaces. This means painting both sides of each corner starting about two brush lengths away and painting in to the corner. Use a 2- or 3-inch brush for paints. You can cut-in around the trim either before or after rolling.
Because the drying time of flat and eggshell latex paint is so short, you can cut-in an entire room before filling in the walls. Semigloss or gloss latex and alkyd paints take much longer to dry but will leave a demarcation line if the walls are not filled in while the paint is still wet. For this reason, if you are using any of these paints, you should cut-in one corner and fill in the wall before cutting-in the next corner.
If the same paint is being used for the wall and ceiling, you can cut-in the ceiling-to-wall connection just as you would the corners of a room. If the ceiling is being painted a different color, paint it first and then the walls.
Whether painting a ceiling or a wall, be sure to cut-in around light fixtures, outlets, windows, doors, and any other fixed items before filling in the rest of the surface with a brush or roller.
How to Use a Paintbrush
To paint “purists,” neither a paint sprayer nor a paint roller can quite achieve the quality finish that a good paintbrush can. If you fall into this category and are planning to paint a large surface, there are a few techniques that can help you achieve the best results.
Before you even dip a brush into a paint tray or bucket, you must properly prepare it, which means removing any bristles that have come loose. To do this, roll the brush back and forth in your hands and then shake it well.
When you are first using a new brush, start by slowly stirring it in the paint; this will slightly spread the bristles, allowing them to hold the paint better. Dip the brush straight up and down two or three times until the bristles are saturated about a third of their length.
Then, to make sure your brush does not drip, slap it against the side of the bucket. Do not run the brush against the rim of the bucket as this will remove too much paint and may also cause the bristles to stick together.
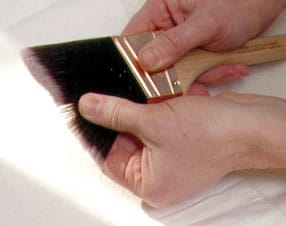
After cutting-in the corners, work in sections about 3 feet square. Hold the brush so that your thumb rests on one side of the ferrule (the metal strip that connects the bristles to the handle) and your four fingers are spread evenly on the other side. Unlike holding the brush by the handle, this allows you to control the angle of the brush without having to change the position of your hand.
Apply the paint smoothly over the first section, holding the brush at a 45-degree angle. When you get to the end of a stroke, let up on the pressure and then reverse direction. Paint back in to the wet edge to prevent lap marks. When you have finished a section, paint the section into the previous one to blend them.
If you are using paint that has a glossy finish, complete your strokes away from the room’s main source of light as the tiny marks a brush leaves will be noticeable if they are toward the light. By the same principle, paint in the direction of a wood’s grain, not against it. You can also diminish brush marks by very lightly running the brush, unloaded, over each section before it dries.
How to Use a Roller
If you have chosen to apply paint with a roller, do so after cutting-in the corners. Then, when you fill in with the roller, the goal is to blend the brushed areas with the rolled areas so the entire paint job looks seamless.
If you’re using a roller to begin with, it is likely the project is large enough to require several gallons of paint. You can use either a paint tray or a 5-gallon bucket into which you have inserted a grid made from wire mesh, which is the better option for big jobs. By using a bucket, you are also able to combine paints from two or more cans to eliminate any slight variations in color.
If you are using a new napped roller, you must first clear it of lint. To do this, simply roll it over the sticky side of a piece of masking tape. A foam roller is ready to use with no preparation.
Whether you are using a tray or a bucket, fill the roller with paint just short of it dripping. With a tray, paint should just fill the reservoir. After dipping the roller into the paint, run it up and down the ribbed portion of the tray to remove excess paint and achieve even distribution.
If you are using a bucket, fill it with 1-2 gallons of paint and, after dipping the roller into the paint, run the roller up and down the wire mesh to remove excess paint and distribute the paint evenly.
How to Paint a Ceiling With a Roller
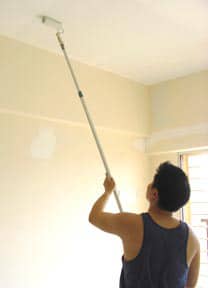
There are a few different options for painting a ceiling, but by far the best one is using a roller on an extension pole. Painting with a brush or roller while standing on a ladder is not only neck-straining work but also arduous because it requires moving the ladder every few feet as you finish a section. In addition, using a roller on an extension pole gives you a better angle at which to work and prevents paint from dripping on you.
To begin, start at a corner and roll slowly along the ceiling’s shorter dimension. Make an M or W shape across a 3-foot section and then reverse direction, filling in the unpainted areas as you go. Continue painting the ceiling in 3-foot sections, taking care to distribute the paint as evenly as possible and reloading the roller as needed.
When you have finished rolling the entire ceiling, run the roller from corner to corner around the perimeter of the ceiling. Do not load the roller with paint, and roll each edge in one continuous stroke.
How to Paint a Wall With a Roller
The easiest way to paint a wall is to use a roller.
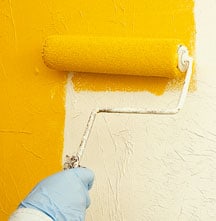
Start by loading the roller until the paint is evenly distributed but not dripping. Begin at one corner and make an M or W shape in a 3-foot section without lifting the roller from the surface. When you get to the end of the “letter,” lift the roller and reverse direction, filling in the unpainted areas. Take care not to spin the roller when you lift it from the surface.
Continue painting the wall above and below the section you have finished using the same M or W pattern. When you have finished painting the entire wall, run your roller, unloaded, along the four edges of the wall using one continuous stroke for each edge. This will blend the cut-in brush strokes and the roller marks.
NEXT SEE: How to Paint Interior Trim






 Don Vandervort writes or edits every article at HomeTips. Don has:


