Proper preparation makes painting interior walls, ceiling, and trim easier, reduces the possibility of making messes and mistakes that could require hours of tedious cleanup, and helps ensure a quality, long-lasting job.

Here are a few key steps you should take when preparing to paint a room:
Clear the Room
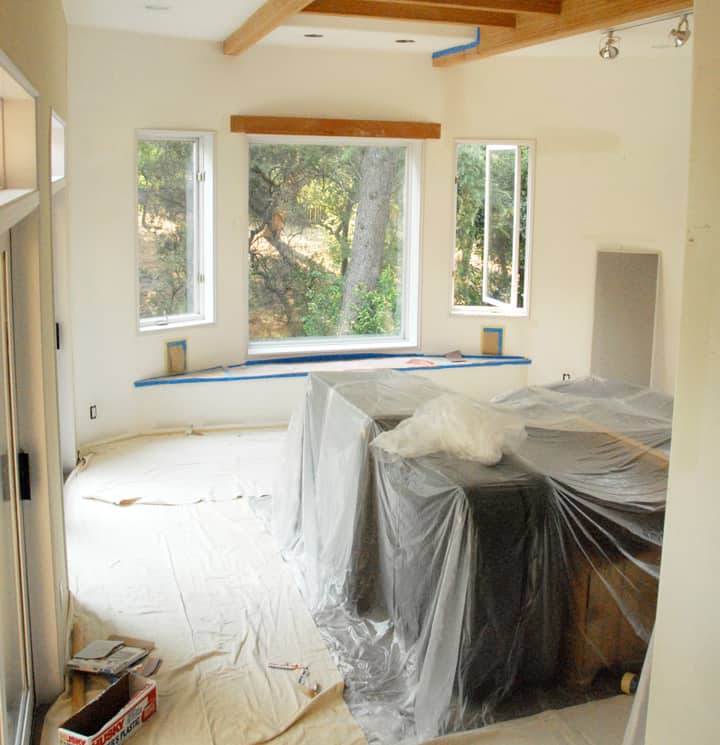
Move light furniture and all decorative objects out of the room. Remove everything possible from the walls, including all heating-register covers and electrical faceplates (turn off the power first). Put a piece of painter’s tape over switches and receptacles. Ideally, remove knobs, handles, and locks from doors and windows or else mask them.
Push heavy furniture into the middle of the room and cover with dropcloths. Cover the floor with plastic sheeting and—on top of that—a canvas dropcloth. If you cannot take down a light fixture, tie a plastic garbage bag around it.

Remove Wallpaper
Although you can sometimes paint over wallpaper if it is in good shape and not pulling away in spots, it is usually better to remove it. After all the adhesive is removed, wash the wall with an abrasive cleanser, rinse it well, and let it dry for 24 hours.
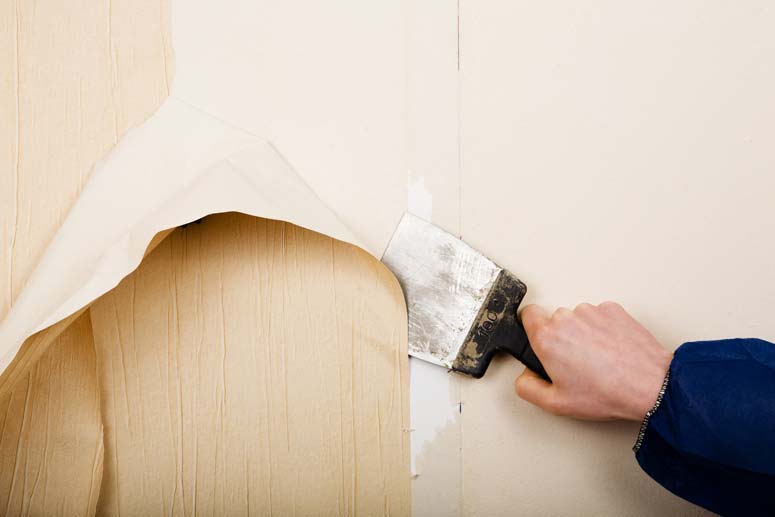
For more about this, see How to Remove Old Wallpaper.
Scrape or Strip Peeling Paint
Chipped or peeling paint must be scraped off before new paint can be applied. The trick is to scrape hard enough to remove the paint but not so hard that you dig into the surface.
The best scrapers have edges that can be sharpened with a metal file. A broad knife does a fast job on large areas; a hook-blade scraper is more convenient for small areas. A wire brush is effective for removing any paint that is lightly flaking.
Sometimes the old finish on woodwork is in such bad condition that the paint must be removed entirely. The easiest way to strip old paint from woodwork is with a commercial paint-stripping gel; carefully follow the instructions on the container. For more, see How to Strip Paint from Trim.
Make Wall, Ceiling & Trim Repairs
Small holes, cracks, and other minor surface blemishes are relatively easy problems to fix on your own. For extensive damage, you may need to call in a professional. Large cracks in a wall or ceiling may indicate uneven settling of the foundation. If you can fit the tip of your little finger into a crack, consider having the foundation inspected.
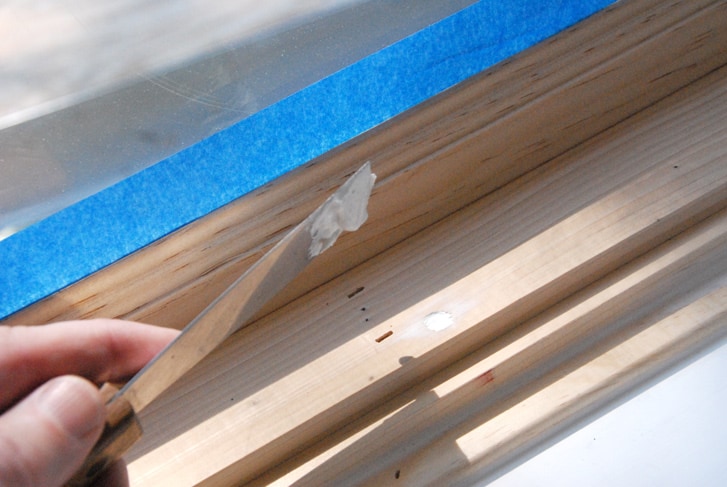
Use your finger or a putty knife to fill nail holes or very small cracks with joint compound or with wood filler if you are patching wood. Before patching other small holes and cracks, brush them clean and dampen the surface.
Using a putty knife, apply a layer of joint compound or wood filler. After patching the area, allow the patch to dry and then smooth and spot-prime it.
For a small hole larger than a nail hole, cut two lengths of a self-adhesive mesh joint tape that is wider than the hole. Center one piece over the hole and press. Center the other piece over the hole to form an X with the first piece and press. Then, using a putty knife, cover the mesh with one or more layers of joint compound. When the material is dry, sand and spot-prime the surface area.
For more about this, see Drywall & Other Wall Repairs.
Sand Rough Areas
One reason to sand a surface is to smooth it. Sand newly patched areas, bare wood, and areas that have been scraped before painting. Use fine-grade sandpaper.
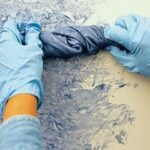
Another reason to sand is to rough up glossy surfaces so paint will adhere better. You can use fine-grade sandpaper or, for alkyd paints, liquid deglosser. Trisodium phosphate (TSP) or a phosphate-free substitute works as a light-duty deglosser. Always wear rubber gloves when using liquid deglosser or TSP. Rinse the wall thoroughly afterward and allow it to dry for 24 hours.
Clean Surfaces
After vacuuming the room, use a tack cloth to dust all the surfaces that will be painted. Then wash walls that have a grease film (kitchens) or a soap film (bathrooms) with TSP or a phosphate-free substitute. Wash greasy or mildewed surfaces both before and after you sand.
For very greasy spots, sponge on paint thinner, blot it dry, and then wash the area with the cleaner.
Wearing rubber gloves and safety glasses, scrub mildewed areas with a mixture of 3 ounces TSP or a non-phosphate substitute, 1 ounce dry detergent, 1 quart chlorine bleach, and 3 quarts water. Allow the areas to dry thoroughly (about 24 hours).