Expert advice for removing an old toilet and installing a new one, safely and correctly.

If your toilet is leaking, outdated, or simply ready for replacement, you can install a new one yourself in just an afternoon. You’ll find that modern toilets are more efficient and often quieter and easier to clean than old models. While replacing an existing toilet is a straightforward DIY project, installing one in a new location requires extending drain and supply lines—a job best handled by a licensed plumber.
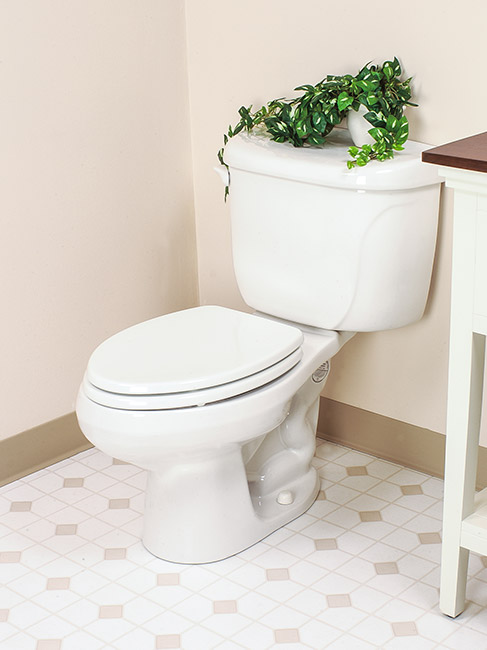
When shopping for a toilet, you’ll find both one-piece and two-piece toilets. Although one-piece toilets have tank and bowl already assembled, two-piece models are much lighter in weight and therefore easier to handle if you’re doing the installation yourself.
Before You Begin
Always turn off the water to the toilet at the shutoff valve and flush the toilet to empty the tank and bowl. Use a sponge or towel to soak up any remaining water. Disconnect the water supply tube from the bottom of the toilet tank by turning its coupling nut counterclockwise— have a bucket or towel handy to catch any residual water inside the supply tube and toilet tank.
Safety Tip: Ceramic fixtures are heavy and can crack if handled roughly. Always lift with your legs, not your back. If needed, get help when carrying or placing a toilet.
Bill of Materials
Have these parts and tools ready before you start:
Parts & Materials
- New toilet (including bowl and tank)
- Wax ring or wax-free seal (with or without plastic collar)
- Closet bolts and bolt caps
- Flexible water-supply tube that matches shutoff valve thread
- Plumber’s putty or silicone caulk
- Plastic or composite shims (for leveling)
Tools
- Adjustable wrench
- Screwdrivers
- Putty knife
- Utility knife
- Level
- Sponge and bucket
- Towels or old rags
- Penetrating oil (for corroded bolts)
- Hacksaw (if needed to remove rusted bolts)
Step-by-Step Installation
Step 1: Remove the Old Toilet
- Turn off the water supply valve and disconnect (and drain) the supply tube.
- For a two-piece toilet, unbolt the tank from the bowl. Use a wrench underneath while holding the bolts steady inside the tank with a screwdriver.
- Lift the tank away and set it on an old towel.
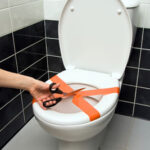
- Pry the caps off the floor bolts, loosen the nuts with an adjustable wrench, and rock the bowl gently to break the wax seal. Lift the bowl straight up and tilt it slightly forward to avoid spills.
- Stuff an old rag into the open drain to block sewer gases.
Expert Tip: If the floor bolts are too corroded to remove, coat them with penetrating oil and wait 10 minutes, then try again. As a last resort, cut them off with a hacksaw.
Step 2: Clean the Flange and Prepare the Area
Scrape away all remnants of the old wax gasket using a putty knife. Inspect the floor flange and closet bolts. Replace any corroded hardware, and make sure the flange is securely fastened and level with the floor.


Step 3: Prepare the New Toilet
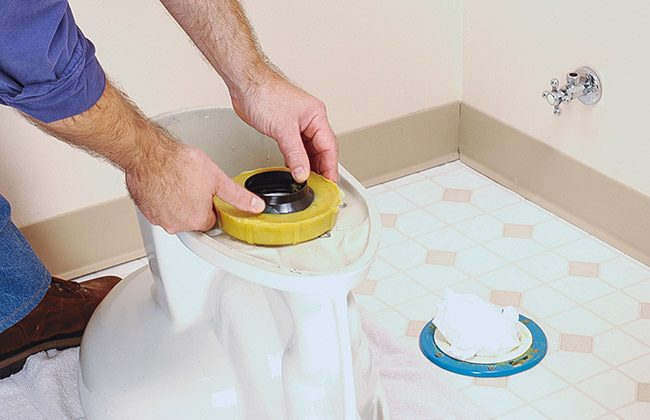
Lay the new bowl upside down on a padded surface (or lay a one-piece toilet on its side). Press a new wax ring onto the horn (the outlet at the toilet’s base). If your wax ring includes a plastic collar, make sure it will fit snugly into the floor flange. Run a thin bead of caulk around the base of the bowl to prevent moisture from seeping underneath.
Expert Tip: For a cleaner installation, consider using a wax-free toilet seal. They’re easier to reposition if you need to reset the bowl.
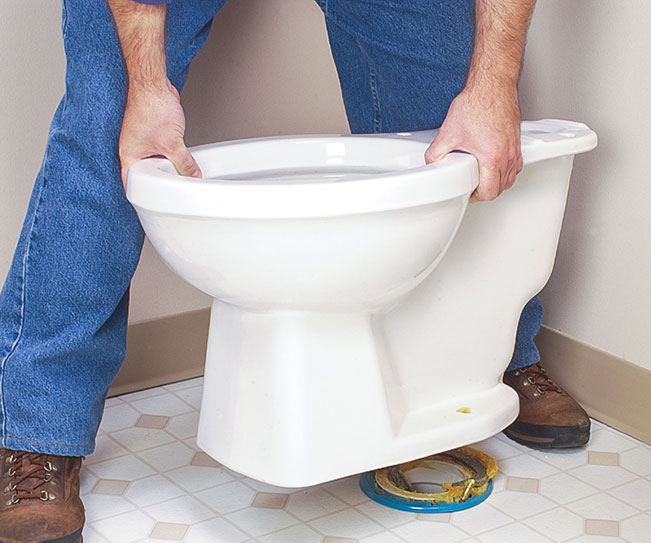
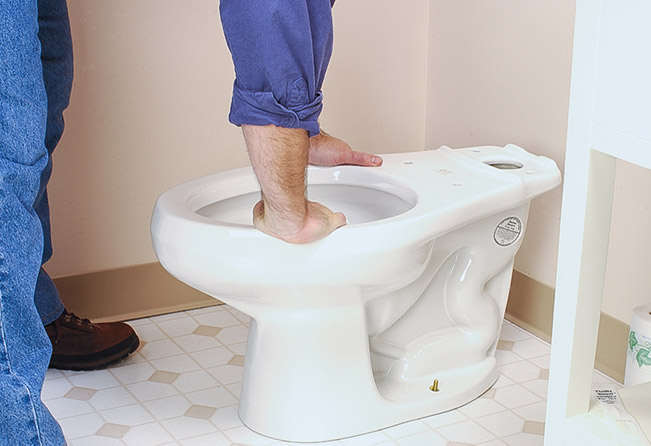
Step 4: Set the Bowl
Remove the rag from the drain. Lower the toilet bowl onto the floor flange, aligning the bolts with the holes in the base. Rock it gently while pressing down to seat the wax ring. Use a level to ensure the bowl is square to the wall; if not, insert shims as needed.
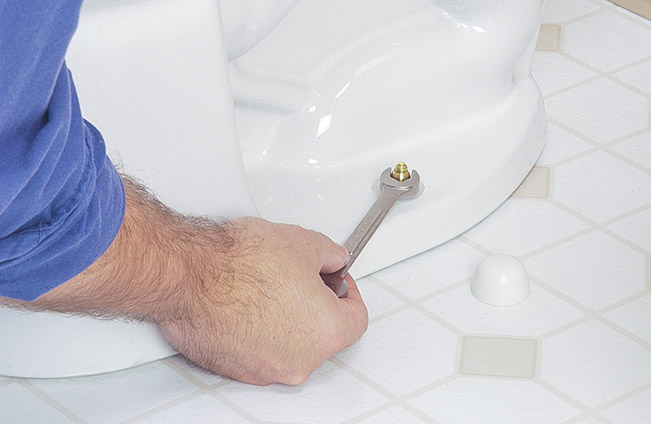
Step 5: Secure the Bowl
Install washers and nuts on the bolts, tightening them alternately a little at a time to keep even pressure. Stop as soon as the bowl feels firmly seated. Be careful—over-tightening can crack the porcelain! Cover the bolts with caps, using plumber’s putty to hold them in place.
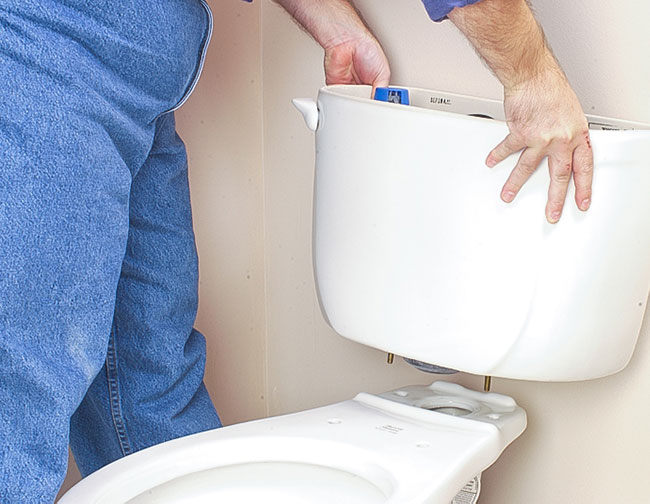
Step 6: Install the Tank
If your tank isn’t preassembled, attach the flush valve and tighten the large spud nut inside. Set the rubber gasket (tank cushion) on the bowl and lower the tank into position. Insert the mounting bolts through the base and alternately tighten the nuts until the tank is snug and level.
Attach the water-supply tube and open the shutoff valve. Allow the tank to fill, then inspect for leaks around the base and connections.
Expert Tip: After the first few flushes, recheck bolt tightness—sometimes gaskets compress slightly and need a minor adjustment.
Final Steps
Once everything is leak-free, apply a neat bead of caulk around the toilet base where it meets the floor. Smooth it with a wet finger or caulking tool. Allow the caulk to cure.
Maintenance Note: Avoid using harsh cleaners that can deteriorate seals. Check for leaks or loosening every few months—minor adjustments early can prevent larger repairs later.
![]()
![]()