Expert advice on how to install wood or fiber-cement lap siding, including how to prepare exterior walls and lay out siding for installation.

Preparing Walls for Lap Siding
Lap Siding Installation Layout
Lap siding, also called horizontal siding or clapboard, may be made of wood, fiber-cement, plywood, hardboard, or similar materials. Despite the variety of materials, installation methods are basically the same, with a few variations in fasteners, joints, and so forth.
For example, you install fiber-cement lap siding in much the same way as wood siding, but most manufacturers advise you to leave 1/8-inch gaps at the ends of the boards to allow for expansion and then caulk the gaps. Always follow the manufacturer’s directions.
Most lap siding is beveled, meaning that the bottom edge is thicker than the top.
As its name “lap” implies, an upper siding board laps over the board below it by 1 to 2 inches.
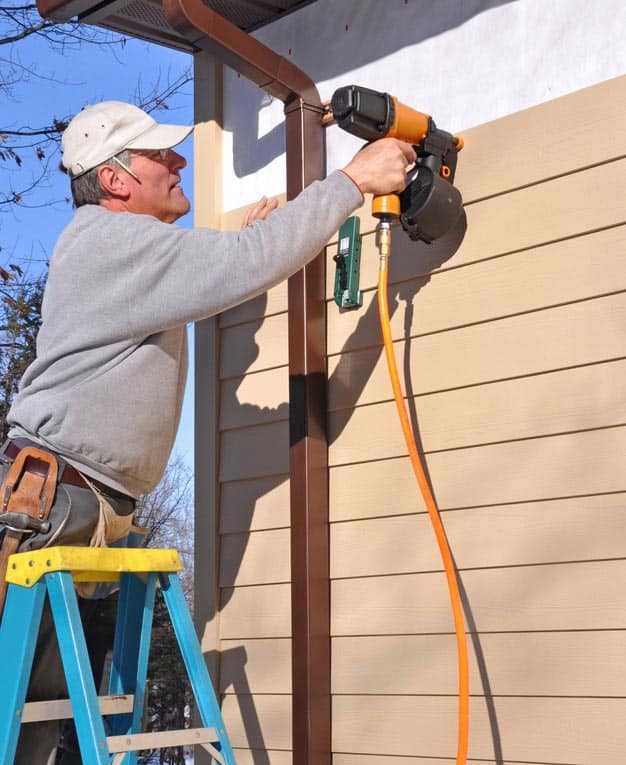
On thick profiles of siding, nails may be hidden, meaning they are driven into the upper portion of a board so they are covered by the lower part of the board above it. Otherwise, nails may be left exposed and covered by paint, in which case they are driven into the lower portion of a board so they pass just above the upper edge of the board below them.

If you are planning to paint your siding, it’s a good idea to prime all the pieces on all sides before installing them; that way, the backsides will also be protected against rot and the boards are less likely to cup or twist. Always prime the cut ends of boards before installing the boards.
In some custom installations, lap siding is carefully mitered at outside corners. This makes for a classic look but calls for very good carpentry skills and boards that are certain not to shrink. The method discussed here is an easier and more common one—installing corner trim first and then butting the siding to it.
Preparing Walls for Lap Siding
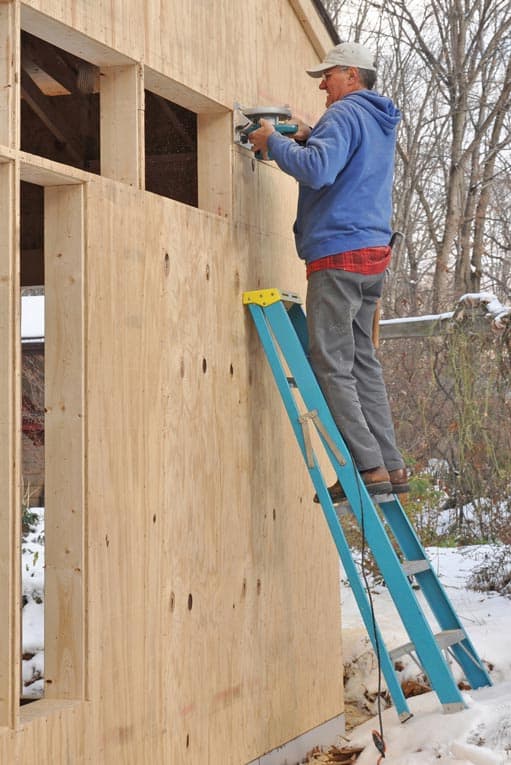
The walls should be stripped of all previous siding, and the surface should be fairly smooth and flat because lap siding will follow along any contours.
Some 3/4-inch-thick patterns of siding can be applied directly over wall studs.
Thinner patterns should be installed over a base of plywood or oriented strand board sheathing.
Staple a layer of house wrap to the sheathing, working from the bottom up, and overlapping joints by several inches so that any water that reaches it will shed down the wall. Again, follow the manufacturer’s recommendations.
Around windows and doors, install metal flashing before applying the trim to be sure water will not infiltrate. Some installers install vertical strips of roofing felt over the studs— these help you locate the studs, and they help seal the nail shanks to prevent moisture penetration.
Lap Siding Installation Layout
Determine how the boards will look where they meet an eave at the top. You may be able to install a trim piece there after the siding is installed, or you may need to cut the siding to fit precisely.
Determine the desired “reveal”—the vertical width of the boards that will be exposed. For instance, you may have 8-inch-wide boards with a 5 1/2-inch reveal. If you buy siding that has installation grooves, such as shiplap or bevel-rabbeted siding, the reveal will be determined by the rabbet or the shiplap. You simply stack boards on top to get a consistent reveal.
On non-grooved siding, you will need to make sure the reveals are all equal by checking the spacing frequently or using a story pole as described in Cutting & Fastening Lap Siding.
In most cases, the siding will wrap all the way around the house. The last boards must meet at the same level or the installation will look unprofessional. This means you must establish and mark a level baseline all of the way around the house. Use a water level, line level, or transit level to make these layout lines.
You may want to modify the layout so you have full-width boards at the top of windows or doors, especially if you have a number of windows at the same height. Be sure to work out this spacing ahead of time. Here is an excellent video on exactly how to do this: How to Make a Story Pole for Exterior Lap Siding.
NEXT SEE: Cutting & Fastening Lap Siding