Learn how to install a vessel sink with this expert step-by-step guide, which includes planning and creating space for it, plus a helpful video

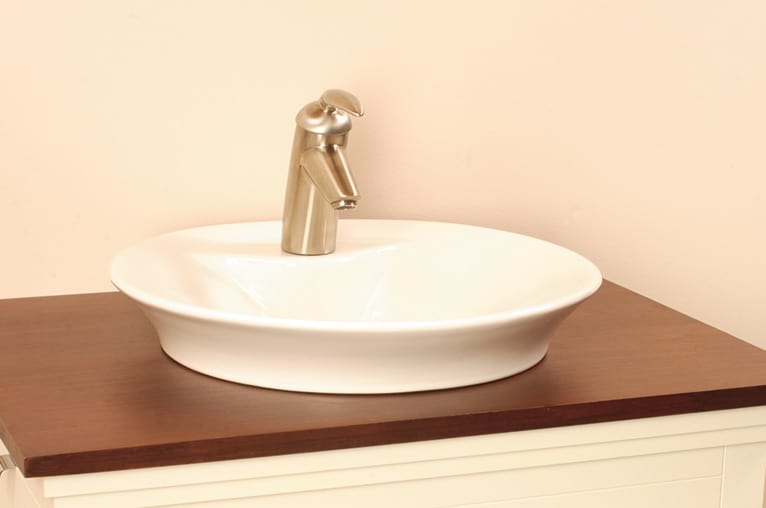
An above-counter bathroom sink—called a vessel sink—is a stylish, contemporary choice that will updates the look of any bathroom. These stylish bathroom sinks sit on the countertop—or recess partway into a hole in the counter—to create a stylish focal point.
When you choose a vessel sink, be aware that it stands at a different height than other conventional bathroom sinks that drop below the counter. With this in mind, choose a vanity that will support the sink at a comfortable height—typically 36 inches from the floor to the sink’s rim.
Also be aware that if the faucet mounts on the countertop (not the sink), it must be tall enough to reach up over the sink’s rim from the countertop. Some bathroom faucets have a tall neck that’s made specifically for this purpose.
Of course, if you intend to recess the vessel partway into a hole, this will affect the sink’s overall height and the height of the faucet required. Consider the portion that drops below counter level when figuring your measurements. Note that the sink in the photographs below is designed with a secondary rim that supports the sink partway below the counter.
If the sink will recess into the counter, you’ll need to cut a hole for it. This means you’ll want to choose a countertop material that you (or a professional) can cut. Some above-counter sinks are designed to fit specific cabinets, and some manufacturers also provide precut countertops that make installation a snap.
Most manufacturers include complete instructions. Be sure to follow their directions precisely.
This video will take you through the process of disconnecting the water supplies and drain to an existing sink, removing the old vanity, and installing a new vanity with a vessel sink.
Below is an illustrated sequence that shows how to mark and cut the countertop and mount the bowl.

1. Locate and cut the opening following the instructions for a Countertop Sink.
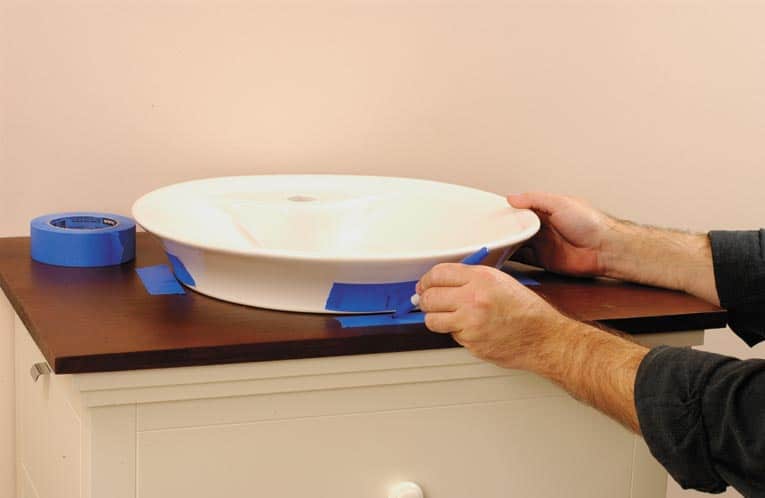
Mount the faucet and drain assembly on the sink. Then temporarily position the sink where it will go.
2. After making sure of its alignment and clearance, mark both the countertop and the sink with painter’s tape for placement.
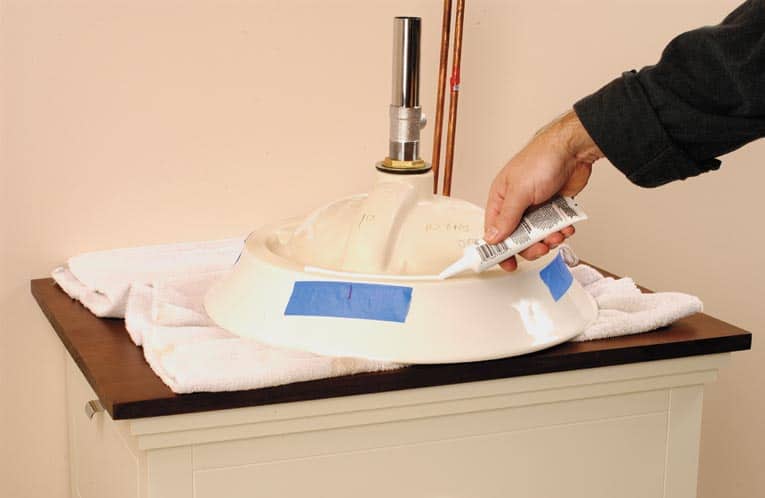
3. Place the sink upside down. Apply a tub-and-tile caulk around the underside of the rim, following the directions on the label.
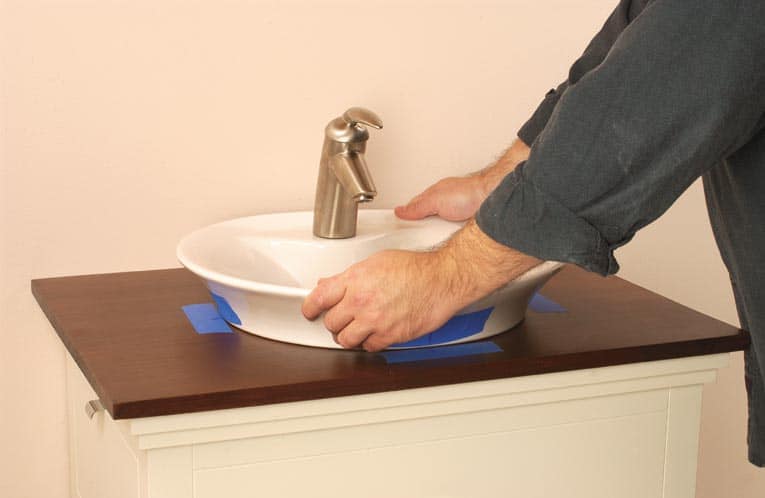
4. Position the sink in the opening, align it with the guide marks, and press down. Allow the sealant to set according to label directions, then connect the drain pipes and water-supply lines.
![]()
![]()