Expert, step-by-step illustrated guide shows you how to remove interior trim without damaging the trim or the wall.

If moldings and trim are badly damaged, it’s best to replace them. This work isn’t particularly difficult, but it does take a little experience at making accurate cuts using a miter box. If this isn’t something you have done before, you’re probably better off calling a finish carpenter or cabinetmaker to do the work.
If you are removing molding and trim as part of a remodel with the intention of reusing them, you may be able to save a few dollars by doing the work yourself.
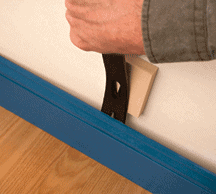
If paint is binding the molding to the wall, use a utility knife to score the paint along the edges of the molding. Then use a stiff putty knife to separate the molding slightly from the wall and create a space for a pry bar. Slide the putty knife back and forth until you hit the finishing nails that hold the molding to the wall and then follow these steps.
How to Remove Baseboard
1 Insert a pry bar at one set of nails and place a scrap of wood behind the bar to protect the wall. Pry gently outward to bow the molding away from the wall and loosen the nails. Move to the next set of nails and repeat the process until you’ve loosened the molding along its entire length.
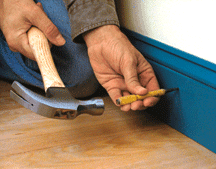
2 Sometimes the nails won’t loosen, and prying will cause the nails to pull through the molding. If the nails are stuck, use a nailset to drive them about three quarters of the way through the molding’s thickness. You need not go all the way through.
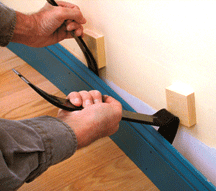
3 Work with a pair of pry bars to remove the molding, leapfrogging the bars in turn to gradually ease the molding away from the wall without cracking or breaking it. With the molding off, use a hammer or pry bar to remove any nails that remain in the wall. Label each piece as you remove it so you know where to replace it later.
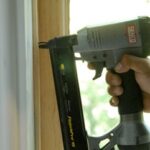
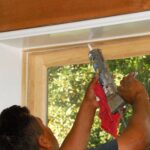
Removing Door and Window Trim
Door and window trim is often nailed with a small nail at the mitered corners. If you pry at these points, the wood may split. First, use a mini-hacksaw to cut off the nails at the joint. If you do end up splitting trim when removing it, just glue it together and then put a rubber band around it or tape it with masking tape until the glue dries.