Expert advice on home repairs and improvements to get done before fall and winter arrive.

As the days grow shorter and the leaves begin to change, now is the time to handle home improvement projects that will prepare your home for fall and winter. Take advantage of mild weather and extended daylight hours—and avoid the rush to find professional services—by getting a head start on home repairs and improvements now. In this checklist, we offer a few priorities that will help you protect your home, minimize energy costs, and maximize comfort.
Check the Roof
Addressing roofing issues early prevents leaks and water damage during winter storms. You can hire a roofer to do a roof inspection for $100–300 (the average cost of a roof inspection is about $225).
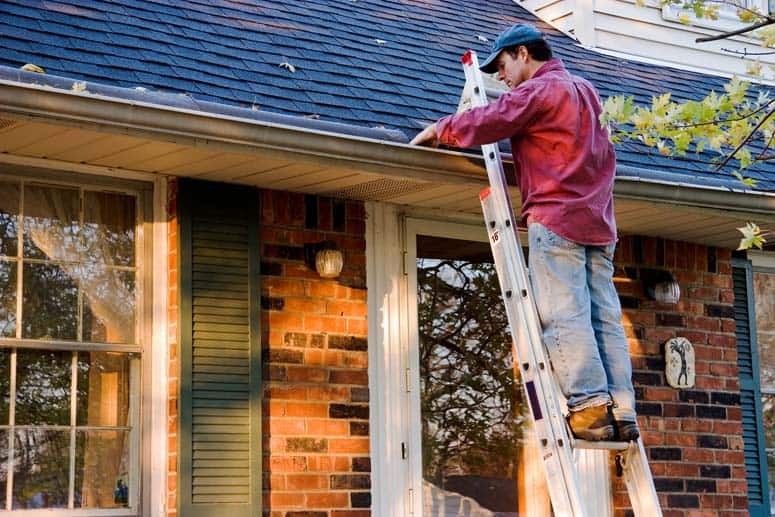
Do not climb onto a roof that is steep, wet, or icy. Instead, consider checking the surface from a ladder or, if you can’t safely climb a ladder, use a pair of binoculars to scan for broken or missing shingles. From the top of a ladder, you can check the gutters along a typical asphalt-shingle roof for fine, gravel-like granules that wash down from the roof’s surface. An accumulation of these usually means the surface is wearing away and replacement time is near. If the situation is serious, call roofing contractors and request free bid.
Check the Gutters
While you’re on the ladder, look into the gutters. If they are clogged with leaves and debris, either call a gutter specialist or clean the gutters yourself. Gutters prevent basement and foundation flooding and water damage to siding, windows, and doors. When clogged with leaves and debris, they will fill with rainwater and overflow. To make matters worse, the added weight of the water may pull them loose from the eaves. See Rain Gutter Cleaning & Maintenance.


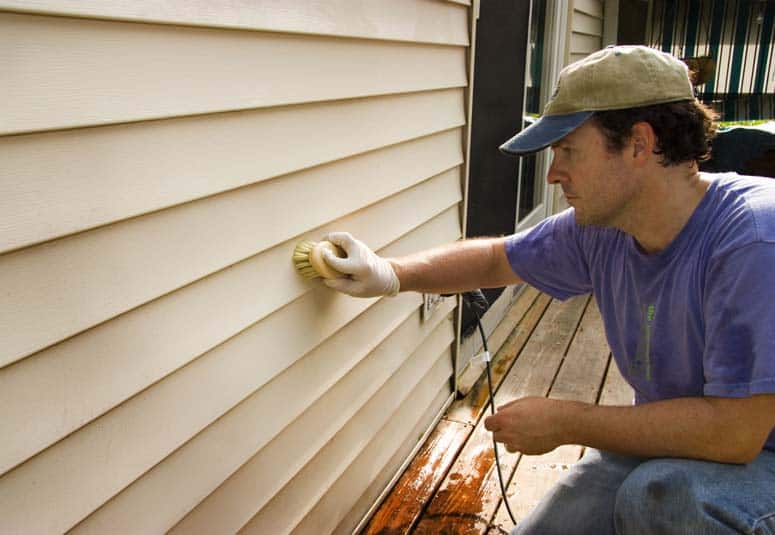
Inspect and Clean the Siding
Check the siding for cracks, damage, and separations. In most cases, you can seal up any leaky spots with clear caulking compound (or buy paintable caulk and touch up with paint). If your home has wood siding, be sure to see How to Repair Wood Siding. For more serious siding repairs, call a siding contractor.
If close inspection of the paint reveals problems such as blistering, peeling, alligatoring, or chalking, either touch them up (if the areas are small) or call a painting contractor.
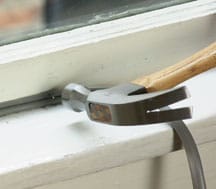
Check the Weatherstripping
Also look to see if windows and doors are effectively sealed with weatherstripping. Weatherstripping will prevent drafts and winter heat loss. If weatherstripping is damaged, it’s usually easiest and most effective to entirely replace it rather than try to repair it. See Weatherstripping Windows and/or Door Weatherstripping Options.
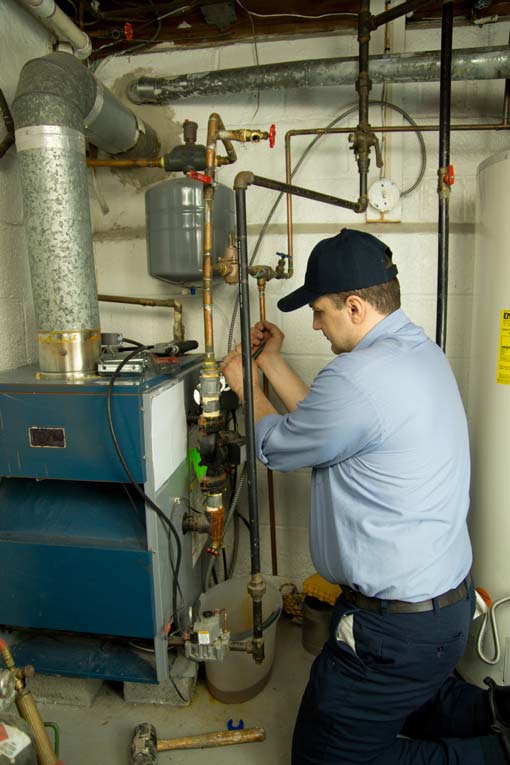
Service the Heating System
If your home is heated by a forced-air furnace, turn off the power to the unit and replace its disposable filter or clean its permanent filter according to the manufacturer’s recommendations. While the furnace cabinet is open, brush and vacuum the blower blades. If you see potential leaks around air ducts, seal them by wrapping them with duct tape. For more, see Furnace Troubleshooting & Repairs. If you are not experienced at this type of work, call a furnace technician.
Sweep the Chimney
If you can see past the damper in the throat of the chimney, shine a flashlight up from inside to look for black, scaly creosote buildup on the inner walls. Creosote buildup must be removed periodically to prevent chimney fires. The amount of buildup inside the chimney will depend on how much wood you burn seasonally (especially resinous wood such as pine) and how long it has been since the last cleaning. Cleaning is generally recommended at least once a year for an active fireplace. For more about techniques, see Chimney Cleaning & Care. Call a chimney sweep to have this done.

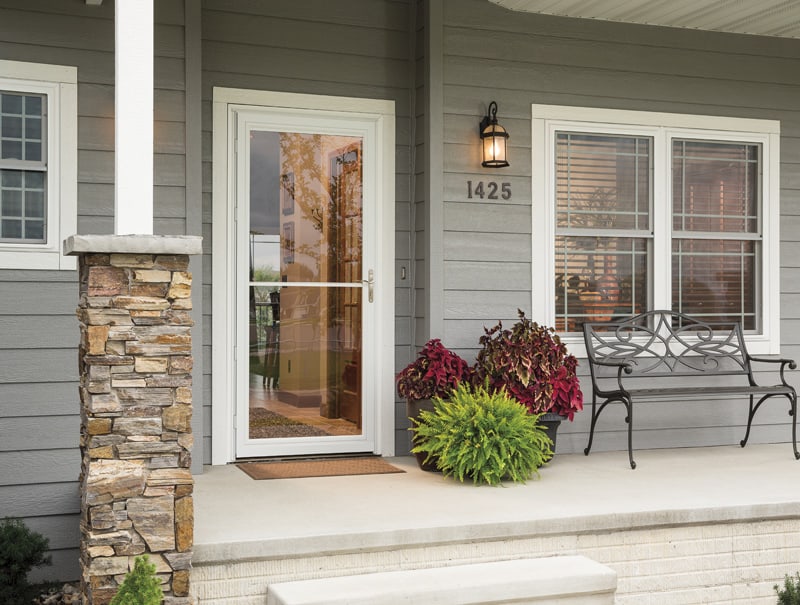
Adjust Storm Doors
A storm door can reduce energy costs and prevent drafts. To keep your storm door working properly, put a couple of drops of light oil or spray a little WD-40 on the hinges and latches. Be sure the door closer is adjusted and working smoothly; to adjust the closing speed of a pneumatic closer, just turn the adjustment screw in the end cap. If you have a combination storm and screen door with interchangeable glass and screen panels, switch from screens to glass panels. (For more information, see the section on screens and storms.) If you need a new storm door, see the Screen & Storm Door Buying Guide.