On the first really hot day of summer, the last thing you want is to flip the switch on your central air conditioner only to find that it doesn’t work.

Expert advice on ways you can clean and prepare your central air conditioner before the cooling season arrives. Includes how-to information on cleaning the condenser coils, checking the coolant lines, and testing the unit.
When an air conditioner unit sits idle for months, collecting leaves and debris, a bit of maintenance is often needed to get it running properly.
If you don’t do this maintenance before summer arrives, you may end up waiting several hot days for a busy service pro—and paying top-of-the- season prices, to boot.
Now is the time to get your A/C system working well. You can call an A/C pro to do this–but that may cost you $250 or more.
Here you will learn how to replace the filters, clean the condenser coils, and otherwise get your AC unit into tiptop shape so that it’s ready to operate and cool your home efficiently.
Central Air Conditioning Basics

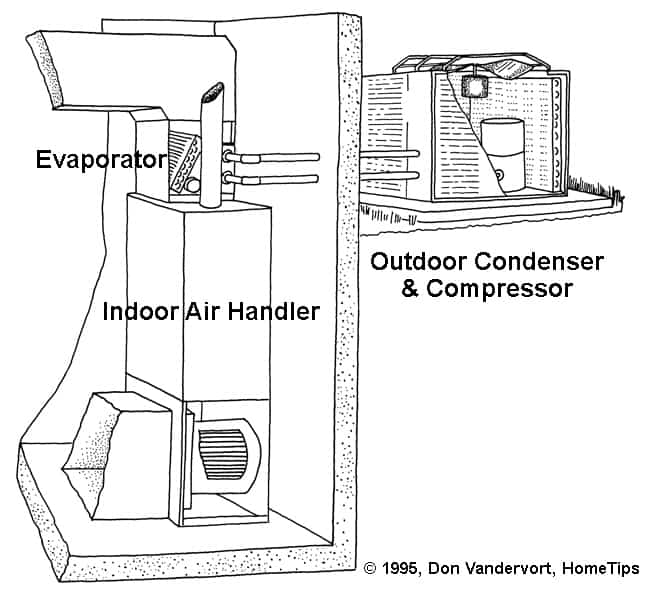
A central air-conditioning system employs two main components: a condenser unit, which is typically located outdoors, and an evaporator unit mounted on the air handler or furnace.
Together these extract heat from room air through refrigeration technology. The air handler or furnace blower blows the resulting chilled and dehumidified air through ductwork to the home’s rooms.
(For more about this, see How a Central Air Conditioner Works.)
Repairs to a central air conditioner’s sealed refrigeration system are not a do-it-yourself job. They should be handled by a professional HVAC service.
You can, however, do certain cleaning and maintenance tasks yourself to ensure efficient operation and keep the need for professional service people to a minimum. Some of those tasks are detailed below.
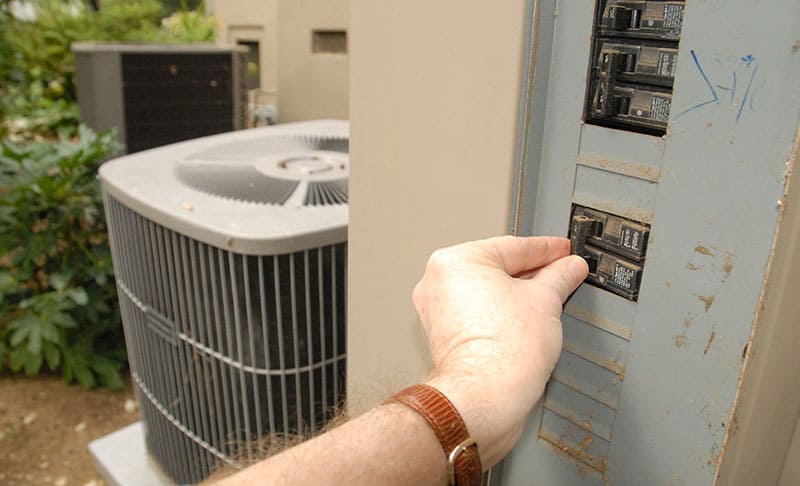
Safety First—Shut Off Power
Before working on a central air conditioner, always turn off the power to the condenser at the service panel, as shown at right. The condenser also typically has a 240-volt weatherproof disconnect box located near the unit; this contains a lever, fuses, or a circuit breaker to shut off the condenser. Turn this off, too.
(Note: The condenser contains a capacitor that stores an electrical charge and can be dangerous. Allow about a half hour for the charge in the capacitor to dissipate. As an added precaution, avoid touching all electrical components. The furnace or air-handler cabinet often has a separate switch or a circuit breaker in the main electrical panel to control it. Shut this off, too.)
1) How to Clean or Replace the AC Filters
This is the easiest and often most important step. Most systems have a replaceable or reusable filter in the furnace or air-handler cabinet (usually located inside or very near the air-inlet side). Some systems also employ air filters in the return-air registers inside the house. Clean or replace all return-air, furnace or air-handler filters twice a year or whenever they begin to look clogged with dust. If you don’t, air flow will be restricted, reducing efficiency, and you will recirculate dust into your home.

For information on how to do this, see How to Replace Furnace & AC Filters.
2) How to Clean the Condenser Coils
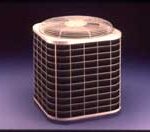
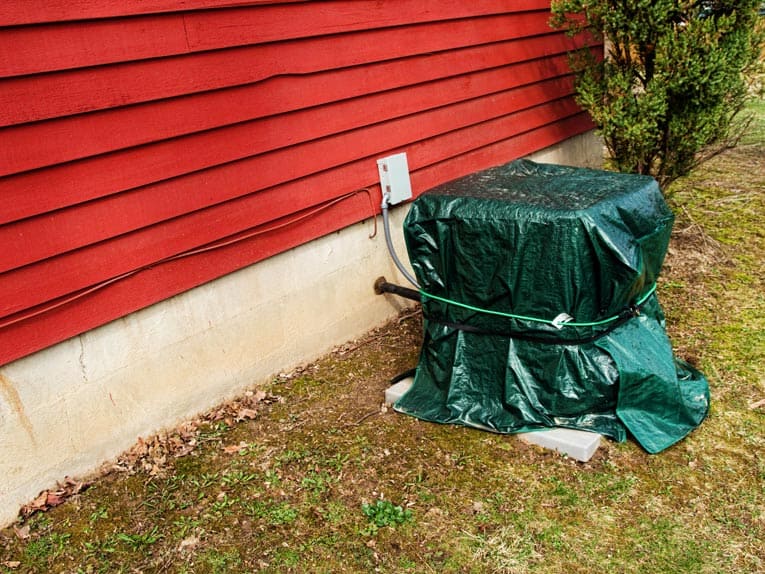
A central air conditioner’s condenser unit, typically located outdoors, is a large metal box with sides that look like grilles. Behind the grilles, you can see fan blades. Ideally, it is protected through the winter by a condenser cover or tarp to prevent accumulation of debris inside it.
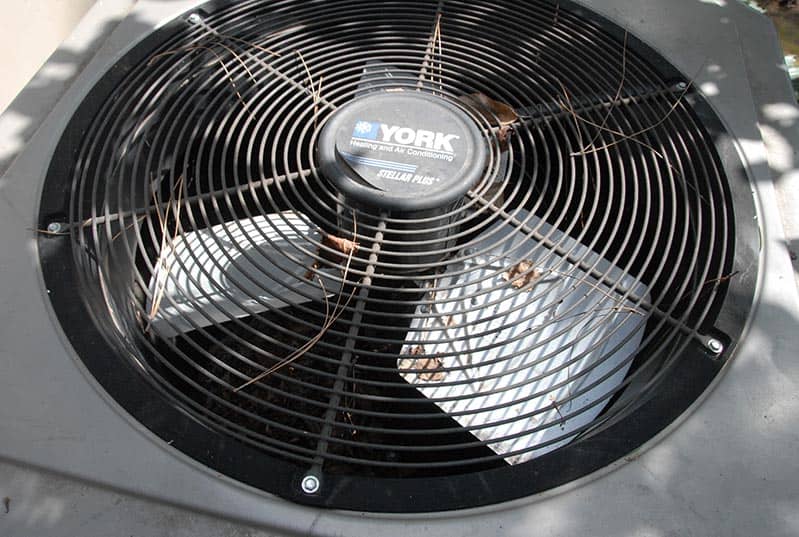
Otherwise, it is likely to contain leaves, dirt and debris—and you will need to clean it.
The large fan blades inside the metal box move air across radiator-style fins (condenser coils). If dirt and debris has gotten inside the unit, some of the coils are probably clogged, as shown here.
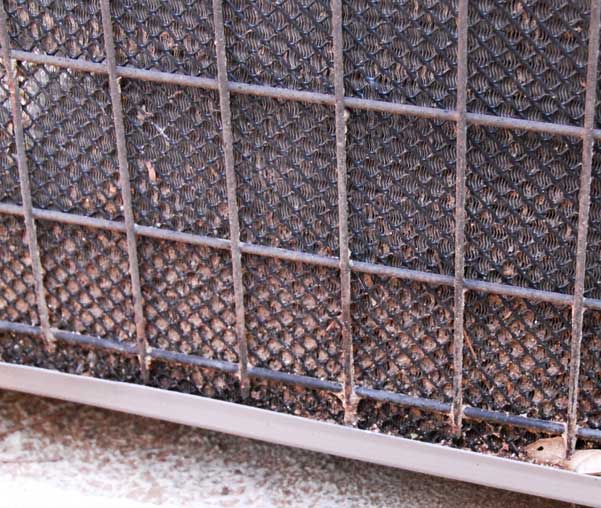
Anything that obstructs the flow of air will cut down the condenser’s efficiency, so these coils should be cleaned at the beginning of every cooling season if they are clogged.
To clean the coils, you’ll need to remove the side and top panels or protective grilles from the condenser unit, using a screwdriver or a nut driver, depending upon the type of fasteners that have been used. Be sure the power to the unit is turned off before you open up the condenser.
Just unscrew the side panels and pull them away from the unit, and then lift off the top, which may be heavy due to the weight of the fan attached to it. Don’t tug any of the wires connected to the fan.
Using a refrigerator coil brush (Shop on Amazon) or a soft brush on a vacuum, gently clean the coils from the outside of the unit. Be careful not to bend the delicate fins or damage the coils. If you do bend the fins, you can straighten them with a “fin comb” made for this purpose. After cleaning from the outside, vacuum the coils from the inside.
To release stubborn debris, spray on a commercial AC coil cleaner from the inside, being careful not to spray the fan or electrical components. Shop for AC coil cleaner on Amazon.

Sometimes it’s necessary to use a hose with a trigger-style nozzle to blast dirt and debris out of the coils from inside the unit with a strong but focused stream, but be very careful if you do this. Take care not to bend the fins, flood the area, or spray water on electrical components or the fan motor—cover those parts with a plastic garbage bag. Also be aware that doing this can cause mud to block some of the areas between the fins, so you will need to be thorough. Shop for trigger-style hose nozzles on Amazon.
3) Clean and Clear Debris from Condenser
Scoop leaves and debris out of the base of the condenser and, if it has a drain, make sure the drain is clear.
Use the vacuum and a rag to clean the blower’s fan blades. Then tighten any loose mounting bolts and, if the fan motor has oil ports, put a few drops of lightweight oil or spray WD-40 into the ports for lubrication. Mop up any excess water inside the unit, and then reassemble the condenser.
Cut and remove any weeds or vines that may obstruct airflow through the condenser unit.
4) Check the Coolant Lines
The refrigerant tubes or pipes that run from the evaporator on the air handler to the condenser outside are typically covered with foam coolant line insulation to prevent them from losing energy.
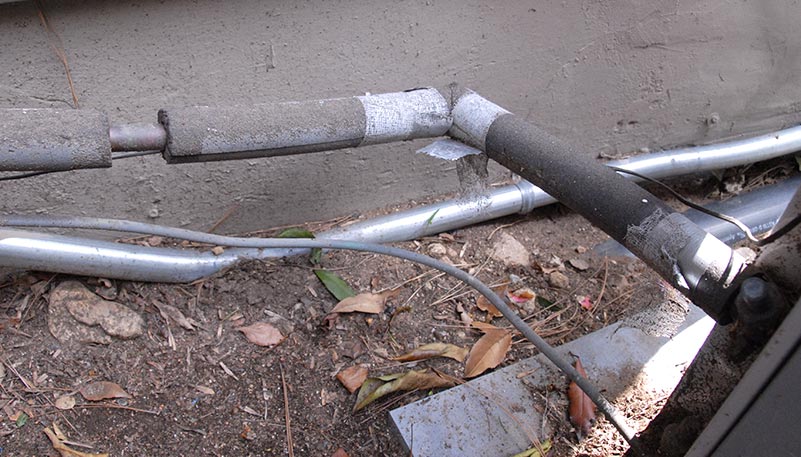
If you see areas where the insulation is frayed or missing, replace it. To do this, install foam insulation sleeves or wrap the lines in a spiral fashion with foam insulation tape (you can cut both with a utility knife). You can buy foam insulation sleeves online.
5) Test the AC Unit
Allow the unit to dry thoroughly and then turn the power to the condenser back on by doing the following: First, turn the thermostat in your home to OFF. Then turn on the power at both the disconnect box and at the main panel. Last, switch the thermostat to COOL.
If your A/C unit isn’t running properly, please see Central Air Conditioner Troubleshooting & Repairs or call an A/C repair pro (below).
One last note: To cut down on the amount of maintenance you’ll need to do next year, consider covering your air conditioner with a plastic tarp after you shut it down for fall and winter. Use a rope and/or bungee cords to secure it.
If you would rather hire an air-conditioning pro to inspect and maintain your AC equipment, check out this service: professional HVAC service
NEXT SEE:
• Central AC Overview
• AC Not Working | Central Air Conditioning Repair & Troubleshooting
• How to Replace a Furnace, AC or Heat Pump Filter
• Room Temperature Too Hot, Too Cold
• Maintenance Checklist for Central Heating Systems