Expert DIY advice on how to find, troubleshoot, and fix a roof leak, including how to keep the water from getting in during a roof leak emergency.


Water-Testing for Roof Leaks
Roof Leak Emergency
Fast Fix for a Roof Leak
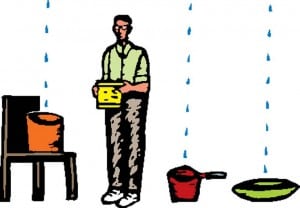
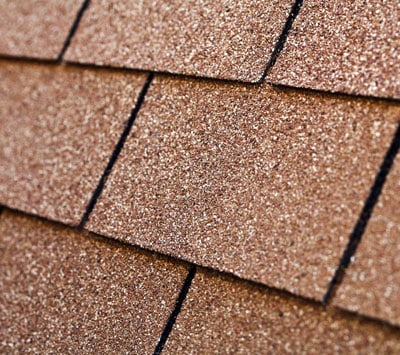
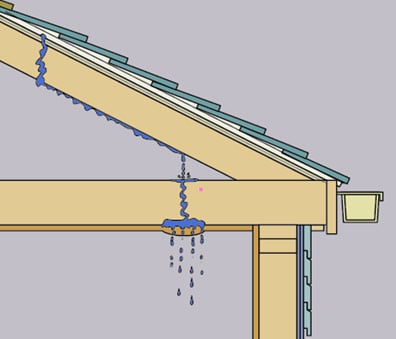
If you’ve heard the drip-drip-drip of a roof leak onto your home’s ceiling (or—worse—seen the signs of water on the ceiling or your floor), you know that finding and fixing the leak can quickly become a top priority. But even if you’ve ventured into the attic to try to find the source of the leak, you’ve probably discovered that it is hard to find. The drip often ends up far from where the leak starts. Leaks typically enter through worn, broken, or missing shingles, loose nails, or corroded or poorly sealed roof flashing around vents, skylights, chimneys or roof valleys. Once inside the roof structure, a leak ebbs along the sheathing, roof rafters, or topside of ceilings until it finds a place to pool and drip.
Identifying the exact point of entry is crucial to fixing the leak effectively and preventing further damage to your home’s structure and interior
In this guide, we’ll walk you through the process of finding and fixing roof leaks with detailed, step-by-step instructions to help you manage the situation efficiently.

HomeTips Pro Tip: For safety’s sake, don’t go onto a roof that is steeply pitched, don’t step on the plastic sheeting (particularly if it’s wet), and never go onto the roof during a thunderstorm
Inspecting for Leaks
Step 1: Go into the attic with a bright flashlight. Look for dampness along the framing members, watermarks, stains, or discolorations on the wood.
Step 2: Turn off the light and look for holes where daylight shows through the roof.
Step 3: If it’s still raining, put a bucket under the leak in an area with proper support. Let the bucket collect the drips and fix the leak when the weather clears.
Caution: When you’re in the attic, only step only on secure framing members and never on the insulation or topside of the ceiling below—neither of these will support you!
Water Testing
Step 1: Have one person go onto the roof with a garden hose while another stays inside the attic with a bucket and a strong light.
Step 2: The person on the roof should start flooding the roof with the hose at the bottom (the eaves) and slowly work uproof until water from the leak appears in the attic.
Step 3: Once the leak is found, push a nail up through the hole to mark its location for rooftop repair. Mark the surface of the roof with chalk if necessary.
Common Entry Points
Inspect the following areas for damage:
- Chimneys
- Flashing
- Skylights
- Roof Valleys
- Vents
- Dormers and Walls
Roof Leak Emergency
Temporary Emergency Cover
Sometimes the fastest way to stop a roof leak—especially if you can’t find the exact source of the leak—is to drape a plastic tarp over the area where the leak is happening. Here’s how to make a temporary cover that won’t blow off immediately:
Caution: DO NOT WALK on the wet plastic—it will be extremely slippery!
Step 1: Unroll enough heavy (6-mil) polyethylene sheeting to cover the leaking section from eaves to peak, adding about 4 feet extra. Wrap one end around a 2×4, staple it, and sandwich it with a second 2×4. Nail the boards together.
Step 2: Position the sandwiched end along the eaves. Stretch the sheeting over the ridge and down the other side.
Step 3: Secure the top end with another pair of 2x4s to prevent wind from carrying it away.
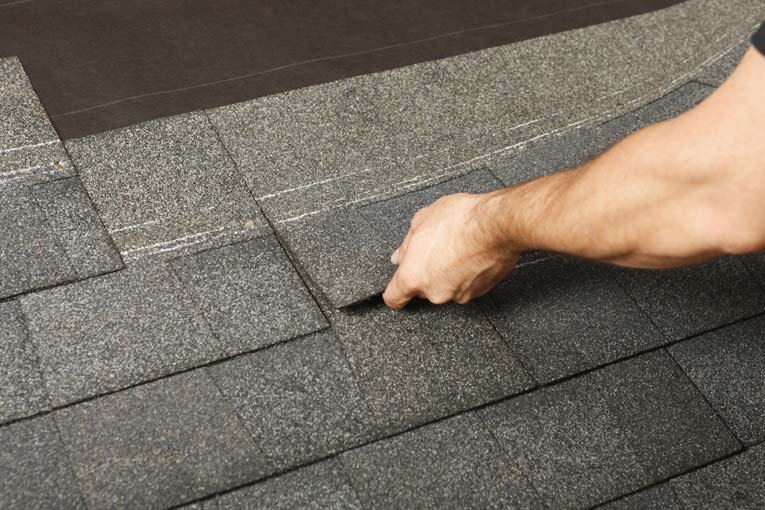
Fast Fix for a Roof Leak
If you know the place where the roof is leaking, here’s how to temporarily patch it from the top of the roof.
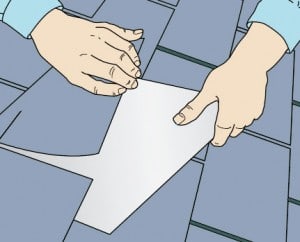
Step 1: Slip a 12-by-12-inch piece of galvanized sheet metal flashing under the shingle above the hole.
Step 2: Pry up any roofing nails in the row above the damaged shingle if needed to make sure the sheet metal covers the hole completely and tucks fully under the shingle above it.
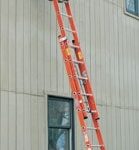
About Do-It-Yourself Roof Repair
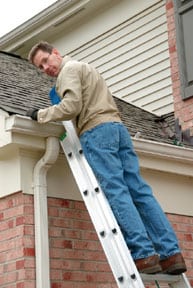
Working on a roof can be hazardous. Only attempt DIY repairs if you are comfortable and safe working at heights, and have the necessary experience, and tools to work safely. See Ladders: The Ultimate Guide to Choice and Safe Use. Otherwise, consider hiring a professional.