This DIY tutorial shows how to install a self-rimming, drop-in bathroom sink, with instructions for using a manufacturer’s template, cutting the hole, and fitting the sink in a cabinet top.

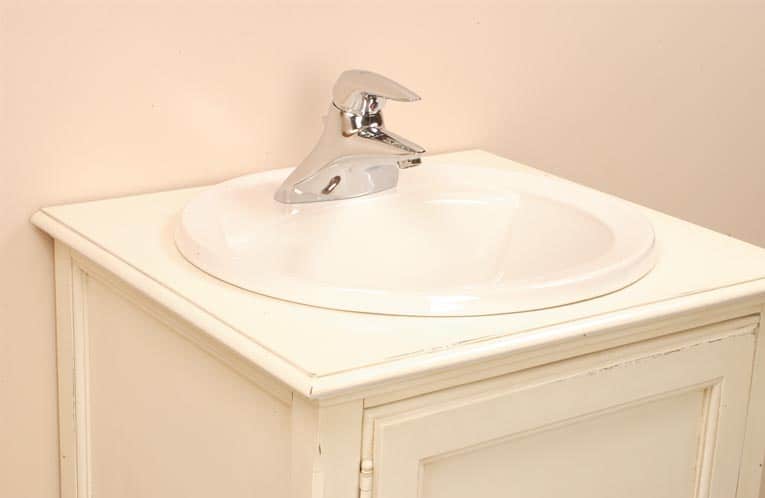
A bathroom sink that has a lip which rises above the countertop is known as a self-rimming sink.
Fortunately for do-it-yourselfers, installing a self-rimming, drop-in bathroom sink bowl is a relatively easy job.
The instructions that follow will show you how.
If you’re replacing an existing self-rimming sink, be sure to buy one that will fit the hole in the countertop.
If you are installing a self-rimming sink in a new countertop, you’ll need to cut out a hole for the bowl.
Note that the instructions given here are for cutting the hole in a wooden vanity top. The way you cut the hole in your countertop will depend upon the countertop material. For some materials, such as stone or glass, you’ll be best off to have a professional cut the hole unless you have the needed skills and tools.
Fortunately, nearly all self-rimming sinks come with a template that you can use to mark the exact size and shape of this hole on the countertop. Just follow the instructions on the template.

On a small vanity, it’s usually best to center a single sink from side to side and from front to back.
A set of dual sinks is generally spaced evenly on the countertop.
1 Use the sink manufacturer’s template to mark the cutout on the countertop. If no template is provided, make your own. Set the bowl upside down on a sheet of paper and mark around the sink’s perimeter. Remove the sink and then draw a second line about 3/4 inch inside the first line and cut along this line to make your template.

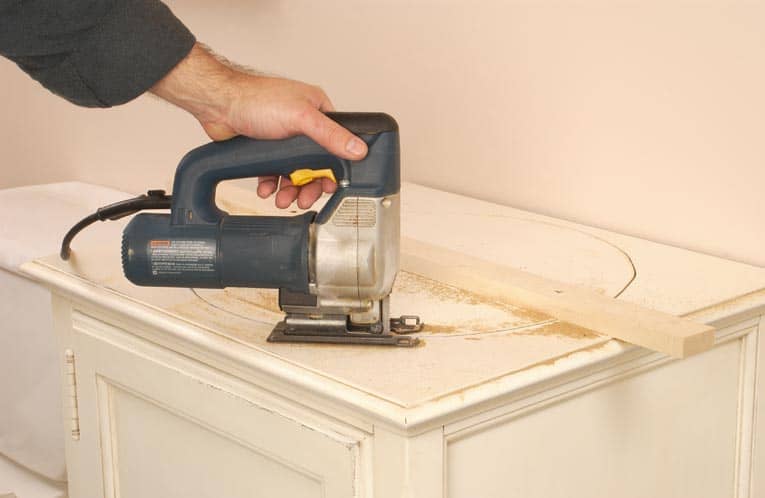
2 For a wood countertop like this one, drill a 3/8-inch starter hole inside the cut line and use a power jig saw (saber saw) to cut along the cutout line.
To prevent the cutout from breaking away from the countertop as you finish the cut, make about two-thirds of the cut. Then screw a scrap board to the cutout piece across the surface as shown below and finish the cut.
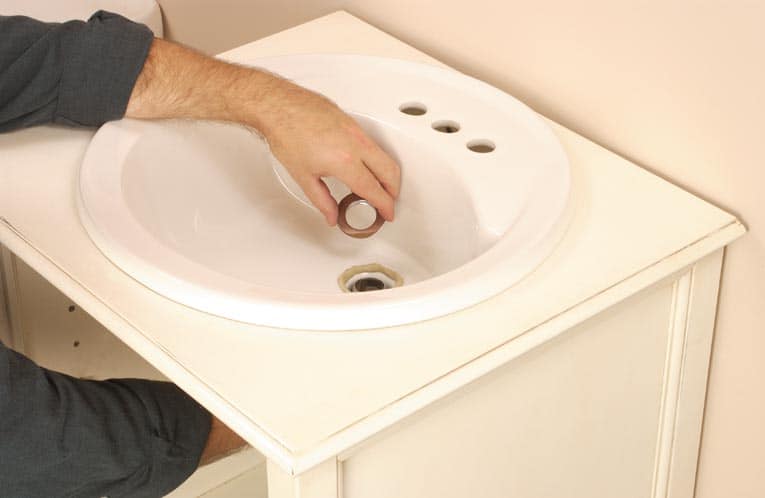
3 Apply a bead of plumber’s putty around the bottom edge of the drain-assembly housing’s lip. Then insert the housing into the drain hole, assembled per the manufacturer’s instructions. Press it in place to seat it in the plumber’s putty.
From under the sink, add any washers and gaskets required, and then tighten the locknut. To prevent the housing from turning while you tighten the locknut, you can hold the handles of a pair of pliers in the housing with a screwdriver.
Remove any excess plumber’s putty. Attach the tailpiece to the housing with the slip nut and washer.
4 If you haven’t already done so, install the faucet. When the faucet is in place, turn the sink upside down and run a bead of silicone adhesive along the underside of the molded lip (adhesive is included with some sinks).

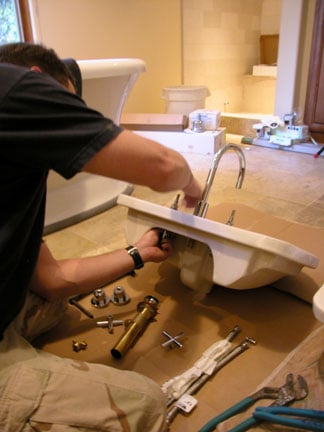
Turn the sink over and carefully align it with the countertop’s front edge. Press firmly around the lip to form a tight seal.
Install the pop-up assembly (see How to Install a Faucet).

5 Set the sink in place, firmly pressing down all edges to assure a secure seal.
After the adhesive has set, apply a bead of latex caulk around the edge, then smooth it with a wet finger.