Expert advice for masking walls, windows, floors, and trim in preparation for painting a room

Before painting interior walls, ceilings, and trim, it’s important to mask-off and protect the areas that you don’t want painted. In this article, we’ll show you expert tips for masking.
In addition to masking, there are a few other important things to do in preparing a room, such as clearing the room, making repairs, and—in some cases—scraping or sanding. For more about this, please see Preparing a Room for Painting.

Materials for Masking a Room
The main materials you’ll need for masking-off an entire room are:
• Masking tape
• Painter’s tape
• Paper drop cloths
• Plastic sheeting
• Fabric drop cloths
If you’re painting less than an entire room, you may not need all of these. For example, if you’re just painting trim, you can probably get by with painter’s tape and a single drop cloth. When painting windows, it’s easier to be accurate if you mask-off the glass from the frames. But, if you are experienced and have a steady hand, masking may not be necessary. For trim painting techniques, see How to Paint Interior Trim.
Painter’s tape—the blue type—is different than conventional masking tape. It has a far less sticky adhesive backing, making it much easier to remove without damaging the paint or finish.
Masking tape is stickier, which makes it better for holding down paper and plastic drop cloths.
So, when you want to maintain a straight edge between types or colors of paint, you’ll definitely need to use painter’s tape to avoid peeling-away the painted finish when you remove the tape. Remove both masking tape and painter’s tape as soon as your final finish is dry.
Paint Masking Techniques
Here are a variety of techniques for masking a room before you paint:
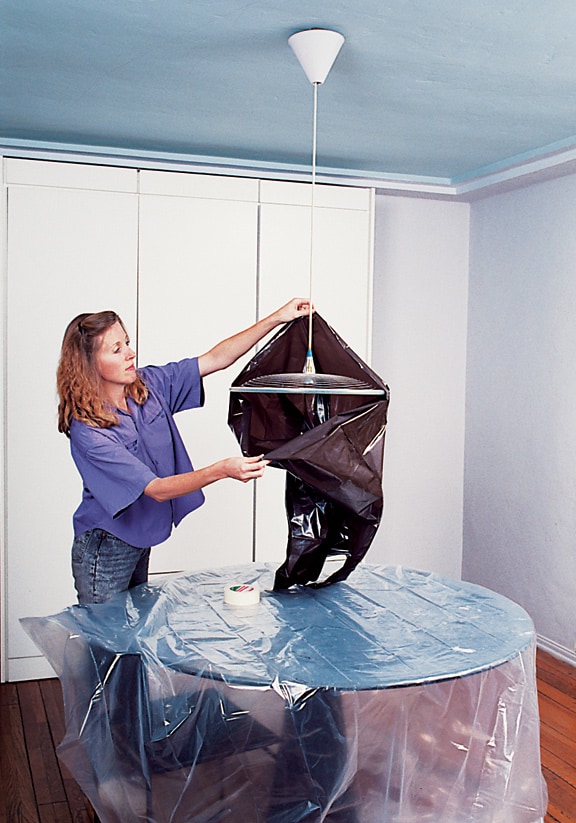
To mask a hanging light fixture, simply pull a garbage bag over it and secure it to the cord with twist ties or masking tape. Large furniture in the center of the room—such as this table—can be draped with plastic sheeting.
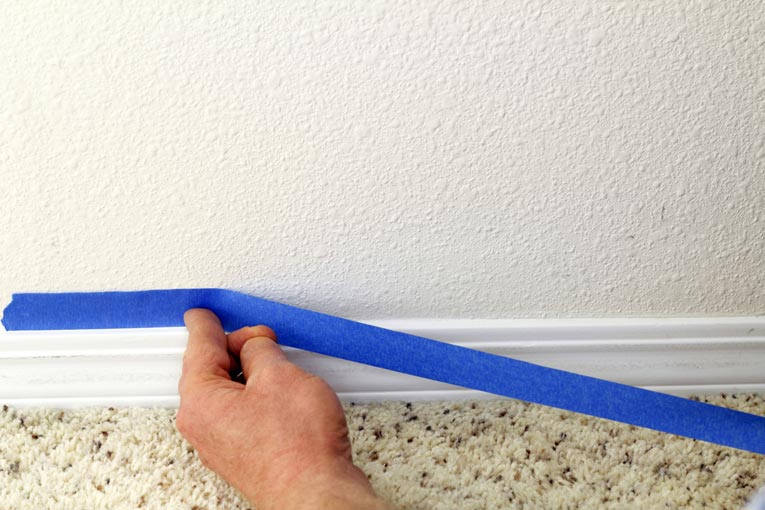
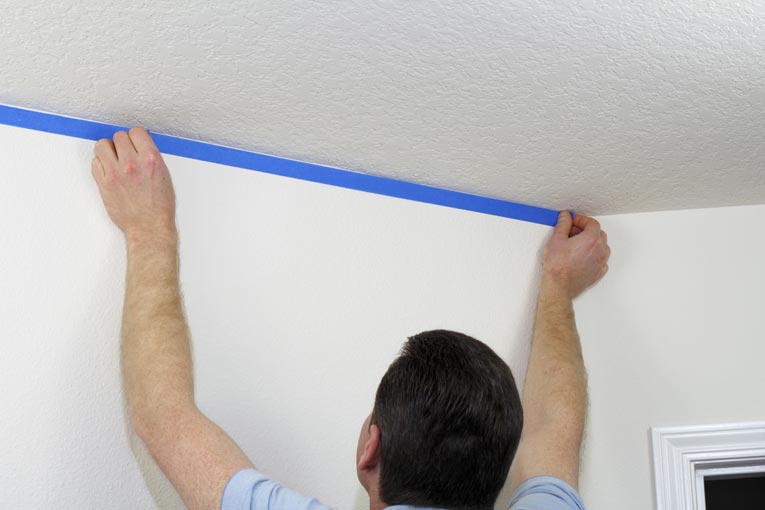
To mask-off one surface from another, run a band of 2-inch-wide painter’s tape along the edge of the surface that won’t be painted, and then secure masking strips to it.
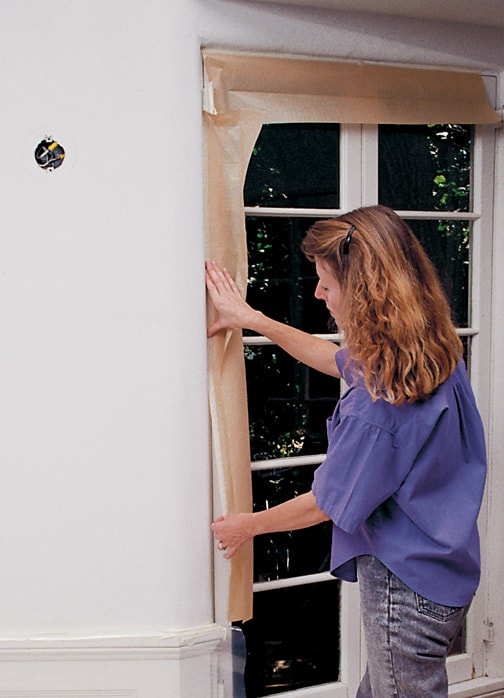
At the baseboard of the wall, lay the tape along the upper edge to form a ledge to catch paint drips. Cover trim with painter’s tape. Tape plastic sheeting to larger wall surfaces such as wainscoting.
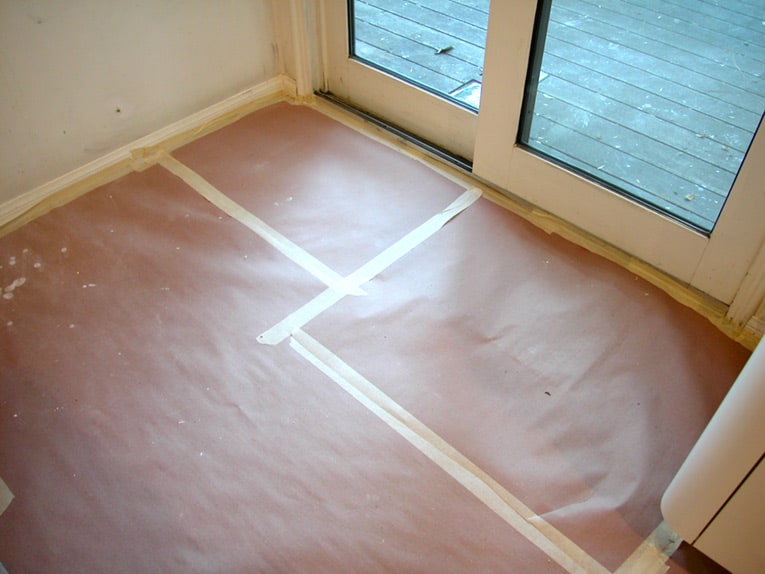
Secure a paper drop cloth to the floor with 2-inch-wide masking or painter’s tape.
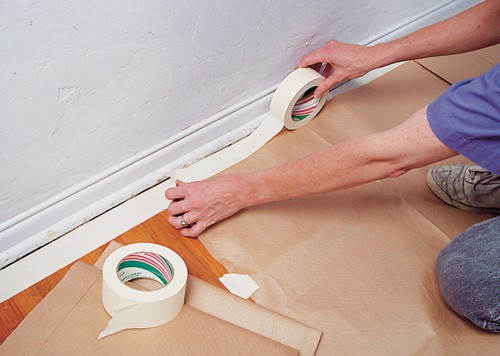
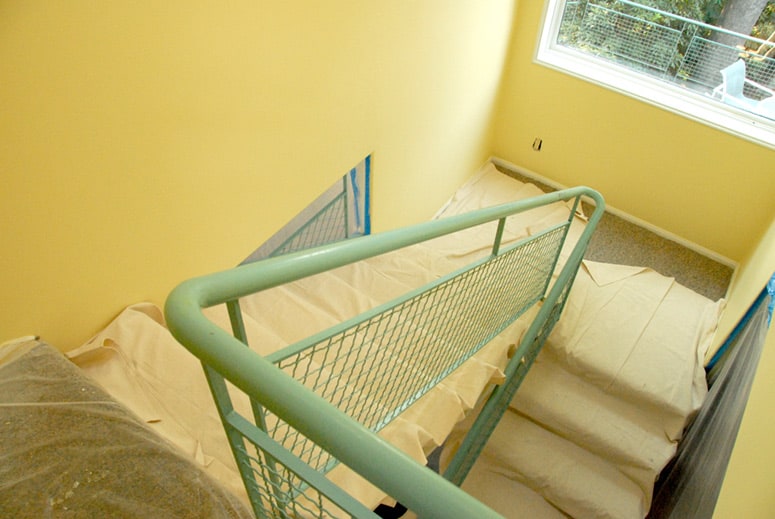
If you’re painting an entire room or a carpeted area, consider covering the floor with plastic sheeting, and then topping the plastic with a canvas drop cloth, which is far more durable and will absorb paint splatters.
Cover hinges and other hard-to-remove hardware with masking tape. You can unscrew or remove other types of hardware, but if you do, put each item and its screws in a separate plastic bag.
If hardware is caked with old paint, consider dropping it into a container filled with paint remover (for more, see How to Strip Paint Finishes).
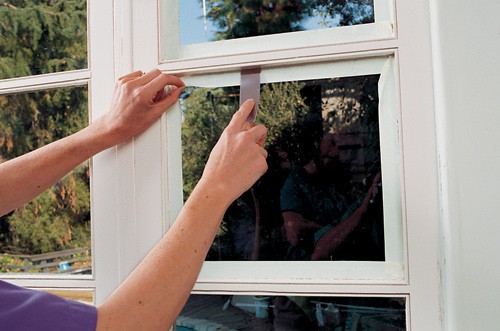
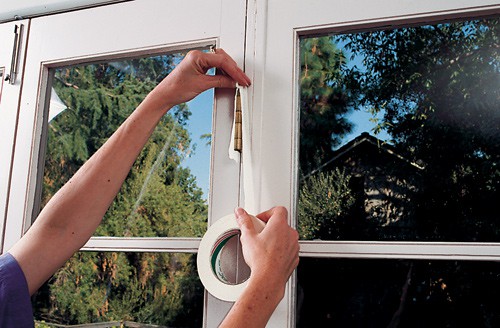
Mask window glass with painter’s or masking tape. Leave about 1/16 of an inch between the tape and each muntin so paint will seal the joint between the wood and glass.
Remove the masking tape when the paint is tacky but not entirely dry.