This is an in-depth DIY guide about tissue paper paint effects. Covers the materials you’ll need and provides a step-by-step tissue paper painting tutorial.

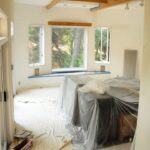
Texturing with tissue paper can add depth and nuance to any wall. This simple technique, along with the right paints and glazes, can give a wall a range of different looks.
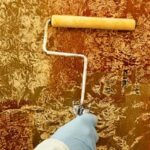
For a simple textured finish, you can use just paint or cover it with a glaze that’s two shades darker. To create a leather-like texture, use a reddish, brown, or tan paint and finish with a darker glaze. To mimic gold leaf, use gold paint and then rub in a red-tinted glaze.
Materials and tools you’ll need:
• Wallpaper paste
• Primer
• Tissue paper, to cover plus about 5% more
• Paint, with an eggshell sheen finish
• Glaze, if needed for the effect you have chosen
• Rollers and brushes, including chip brushes
• Cotton T-shirt rags
• Disposable rubber gloves
Step-by-Step Tissue Paper Painting
1 Prime the wall if it is a much darker shade than the color you have chosen.
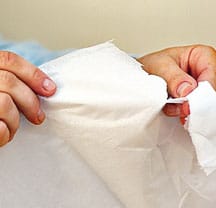
2 Rip the edges off enough sheets of tissue paper to cover the wall you’re texturing, plus a few extra.


3 Gently crumple each tissue and then open the sheets and lay them flat.
4 Using a roller or brush, spread wallpaper paste evenly and smoothly over the wall.
5 Press a sheet of tissue paper into the pasted wall. Try to get it as flat as you can, but don’t worry about small wrinkles.
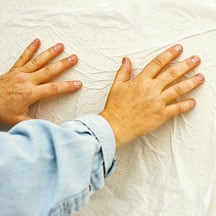
6 Even out some of the wrinkles with a chip brush, press the other wrinkles into folds, and then crease down the folds to make sure they firmly adhere to the wall.
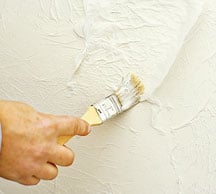
7 Use the same technique to apply succeeding sheets to the wall, overlapping the edges of the sheets. Again, use the chip brush to smooth the tissue or press it into folds. Tear off any overlapping pieces.
8 When you have finished the wall, inspect it for any bare spots and cover them with small pieces of tissue. Dab on more wallpaper paste if necessary.
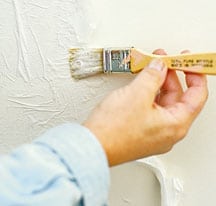
9 Once the paste is completely dry, brush or roll on the primer. Smooth any drips (which tend to collect where the tissue is creased) with a chip brush while the primer is still wet.
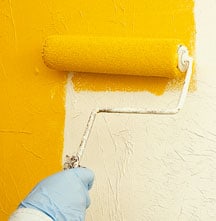
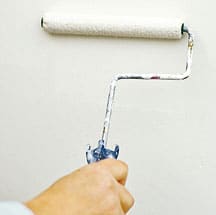
10 Wait for the primer to dry thoroughly and then brush or roll on the paint. Smooth drips with a chip brush.
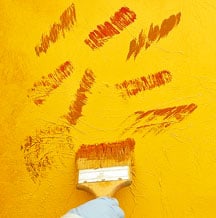
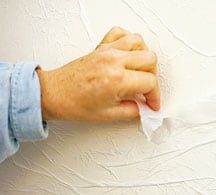
11 If you have chosen an effect that requires glaze, wait for the paint to dry and then apply it with a chip brush. Use rags to gently (don’t rip the tissue) work the glaze in to create your desired effect.

![]()
![]()