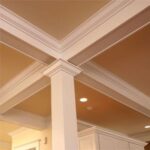
When two pieces of trim meet at an angle—most commonly a 45-degree angle to form a 90-degree corner—this is called a mitered joint. In the case of a typical window casement, miters are cut across the face of the molding. For a return or scarf joint, the cut is across the thickness. Crown molding requires compound miters, which are cuts across both.


Outside corners of crown molding, chair and picture rails, and baseboards require outside miters. Inside corners require coped joints. The corners of window and door casings require flat miters that are exactly like the corner joints in most picture frames.
For the mating pieces to fit together seamlessly, each must be cut at precisely the same angle—preferably 90 degrees. In cases where the angle may not exactly total 90 degrees, you can trim up the pieces after cutting, according to the angle guides on your miter saw.
To cut any other size angles, divide the total angle of the corner in half, adjust your miter saw’s guide, cut, and then fit the pieces together. Trim or back cut as needed to produce a tight joint.
After drilling pilot holes, nail in the pieces, and then place one “clinching” nail through an edge to help secure the joint. Keep nails about 3/4 inch from the end of a joint to prevent splitting the wood.

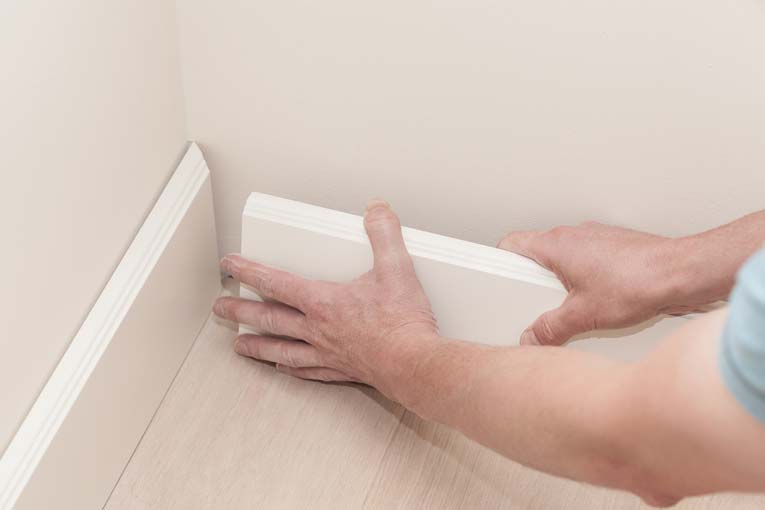
Where two pieces of trim meet at an inside corner, you may be tempted to cut each at a 45-degree bevel and butt them together. Unfortunately, this method often results in unsightly gaps. Instead, pros use a coped joint, which seems difficult at first but is actually fairly quick and easy to do once you get the hang of it. Use coped joints for baseboard, chair rail, crown molding, and anywhere else two pieces of trim meet at an inside corner.

To start, cut the first piece of trim at a 90-degree angle, butt it tightly into a corner, and nail it into place. For the next piece, which will be cope cut, use a board that is longer than needed; you will cut it to length after making the coped joint.
The next steps don’t seem as if they will work, but they will. Use a power miter saw or a hand miter box to cut the second piece at a 45-degree bevel, with the back of the trim longer than the face.

The face of the trim end now has a profile that will follow the contours of the trim piece already installed; you just have to cut away the back portion. To emphasize the line of the curved cut you will make, run the side of a pencil along the edge.
Use a coping saw, which has a very thin blade that allows you to cut tight curves, to cut along the line. Hold the saw blade at slightly more than a 90-degree angle to the face of the trim so you cut off a bit more of the backside than you need to.
Test the fit; it should be tight all along the profile. If not, you may need to cut away some of the back of the trim using a utility knife.
Hold the cope-cut piece in place and mark it for cutting to length at the other end. Then nail it into place.
How to Create Butt Joints with Trim

The easiest of all trim joints to create is the butt joint. The end of one piece of trim is simply placed flat against the side of the the other, and then the edges are affixed to the wall with painter’s caulk.
A butt joint is used where two pieces of trim with a square profile come together, such as at an inside corner; where a side casing meets a window stool, plinth blocks, or the floor; or where a thinner piece of molding meets a thicker piece.
Do not use a butt joint for an outside corner because the exposed end of the one piece cannot be finished in any way that will make it attractive. Though a butt joint is simple to make, the best join with no gapping whatsoever. In fact, there should be no visible line without close inspection.
While caulk can close up a small gap, it is better to cut the joint to fit tightly as the caulk will fail over time.Fit the pieces together, and then make the necessary adjustments in the mating piece. Continue test fitting until the pieces fit snugly.
How to Repair Gaps Along Moldings
Molding and trim generally look best when they are fitted tightly to walls and ceilings. Small gaps show shadow lines and leave the trim looking unfinished.
To fill gaps between moldings and the ceiling or walls, apply a bead of siliconized-latex caulk. This is flexible enough to ride out any movement caused by moisture changes.

Apply a 1/8-inch bead of the siliconized-latex caulk with a caulking gun, and then dampen your finger with water and smooth the caulk.
How to Repair Molding Corners
Moldings look great when they are tightly fitted together, but when gaps open up between them, particularly at corners, they can look somewhat shabby. Fortunately, fixing this situation is very easy.
If mitered corners of base moldings are separating, squeeze a little wood glue in the joint and re-nail with finishing nails. Set the heads and fill with wood putty to match. If the nails don’t hold, ask your hardware dealer for trim screws-very narrow screws with a tiny head that can be driven with a drive bit in an electric screwdriver or drill.
If trim around windows and doors begins to separate at the corners, you can squeeze some wood glue at the joint and then pre-drill a pilot hole and drive a 6d finishing nail through the side of one molding piece into the end of the other. Gently set the nailhead beneath the surface (don’t split the wood), and then fill with wood putty or filler and touch up with paint.
NEXT SEE: