Learn how to install an undermount sink with this expert DIY guide, which provides labeled diagrams and in-depth step by step instructions.

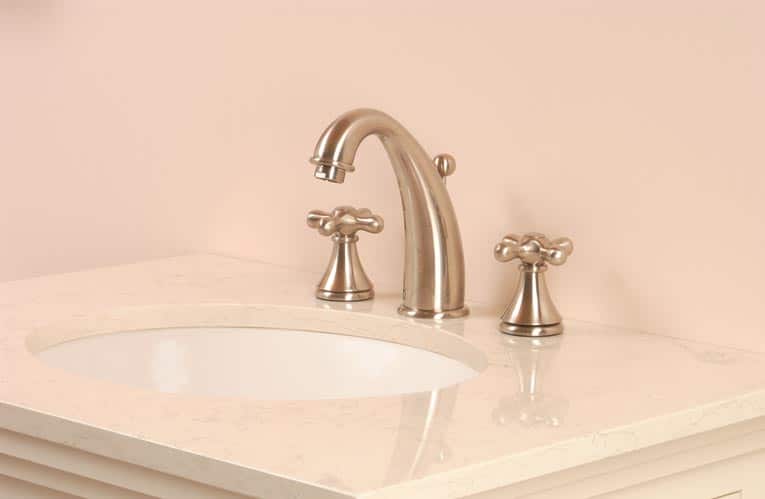
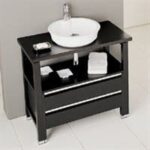
Bathroom and kitchen sinks that mount to the underside of the countertop are popular because they don’t intrude on the counter, making it easy to wipe the surface clean.

In terms of appearance, the absence of a sink rim or visible fasteners also provides a minimalist, contemporary look.

The downside of this type of sink is that the hole in the countertop must be cut and finished with perfection because it is completely visible. With a rimmed countertop sink, the rim hides mild irregularities of the hole.
Many bathroom sink manufacturers offer countertops that are pre-fitted for a sink, where the hole is precut and finished. Unless you are very experienced at cutting a perfectly-shaped hole in your countertop material, buying a countertop with a precut hole is the way to go.
Or you can have a pro cut it—but if you do this, just have the pro do the entire job.
In this article, we will show you how to fasten this type of sink to the underside of a countertop.
Note that one of these sinks can be installed on the underside of mosts types of countertops, from cultured marble to composites. The main requirement is that the surface of the countertop’s underside must be flat.
There are a couple of ways to fasten an undermount sink in place beneath the hole.
For a kitchen sink in a large countertop or situations where the countertop is not easy to remove and turn upside down, you can attach the sink to the underside of the countertop with silicone adhesive. To hold the sink in place while the silicone adhesive dries, you can use a 1/2-inch threaded rod and 2 by 4s assembly as shown in this quick video:
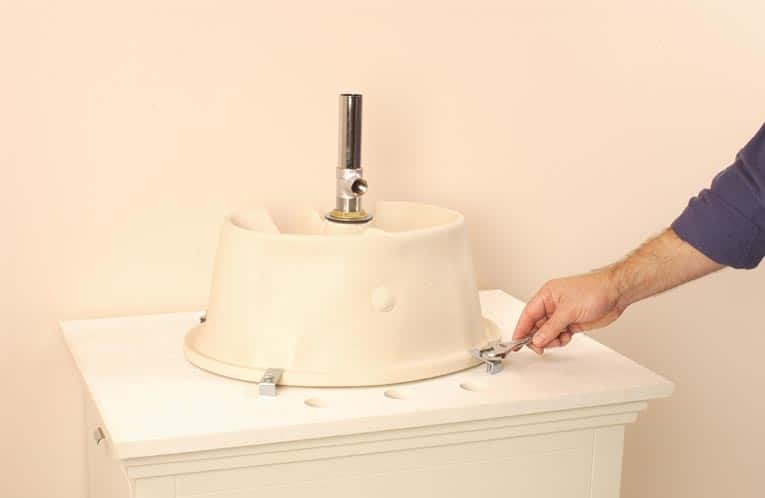
Access is easiest if you can remove the countertop from the cabinet, and then install the sink onto the underside of the upside-down countertop, as shown in the photographs below. This generally works with a new, small countertop.
Note that the manufacturer of this sink-and-countertop combination includes special clips that reinforce the silicone adhesive. Methods vary. The best installation method is often specified by the sink manufacturer, so be sure to read any instructions that come with the sink.
1. Turn the countertop upside down and apply a small bead of silicone adhesive around the bowl’s edge. Position the clips.
While the cabinet is upside down, install the faucet and drain assembly.
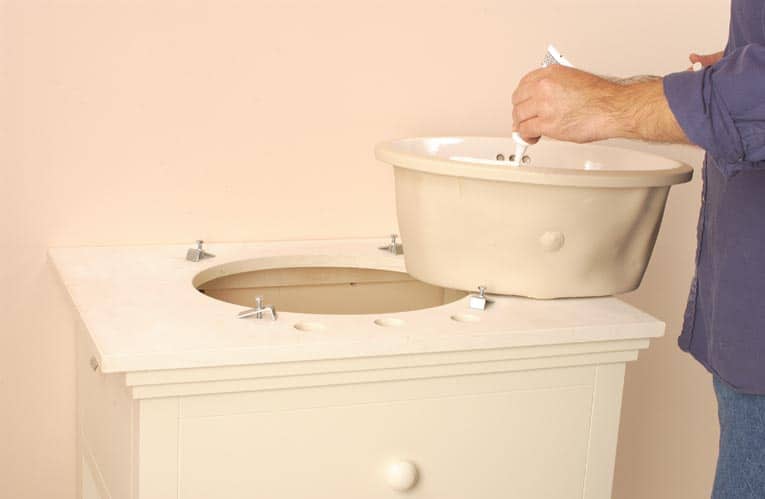

2. Position the bowl in place over the hole and secure it with the clips and screws provided. Use toilet paper to remove any excess adhesive.
3. Then turn the counter right-side up and center it properly over the cabinet.
Hook up the drain pipe and water supply lines.