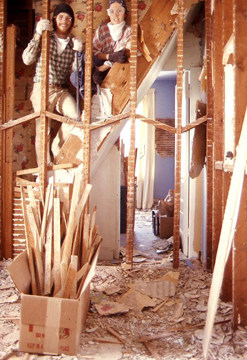
Opening up, modifying, or entirely removing one or more walls is relatively easy but guaranteed to make a mess. In addition, you must patch the floor, walls, and ceiling.

Expert step-by-step advice on how to remove or open-up an interior, non-bearing wall. Includes help with finding pipes and wires.

Before you remove any wall studs, you must determine whether or not the wall is a bearing wall—part of your home’s structural system. Otherwise, you can cause serious structural damage to your home. Please see How to Determine a Bearing Wall.
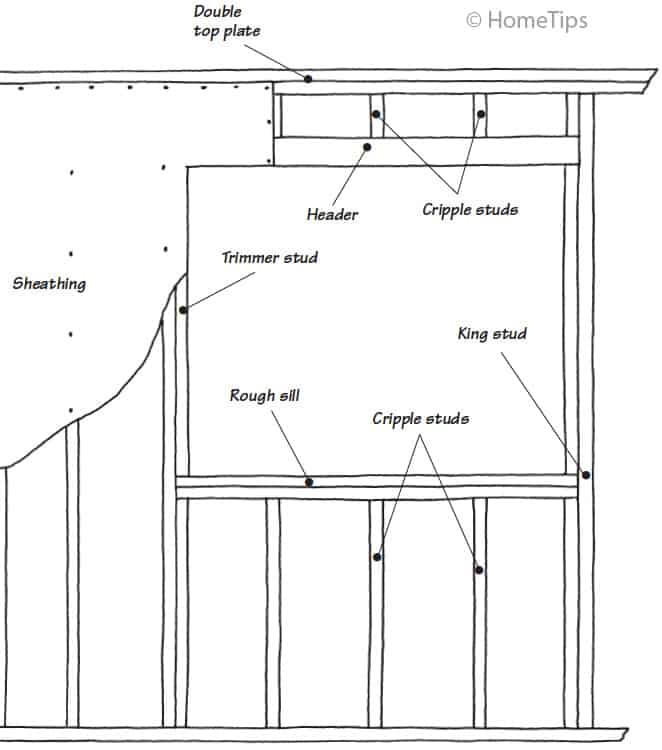
For more about wall structure, including how to build a nonbearing wall, see How to Build an Interior Wall. If the steps that follow look to be beyond your skills, hire a carpenter or contractor for this work.
Finding Pipes & Wires in a Wall
Be aware that plumbing, wiring, or other mechanical equipment within a wall can make removal far more involved. Rerouting plumbing, in particular, can add significantly to the work. On plan-view and elevation-view sketches of the wall, show the position of the nearest intersecting wall, and note clues to what lies behind the wall.
From outside the house, look for pipes coming through the roof directly above the proposed door opening. Pipes projecting above the roof indicate drainpipes in the wall directly below; you may find water pipes nearby, as well.
Check the rooms above and below the proposed opening, too. Is there a radiator against the wall? If so, there may be a hot water or steam pipe below. A hot-air register in the wall under the proposed opening may mean there is a heating duct in the wall. Removing the register’s grille and reaching into the duct can help you determine where it goes.
On your sketches, mark the locations of receptacles, switches, and wall lights, and then figure out the likely route for wires running between them. If you have an attic, go into it with a light and locate the top plate of the wall you propose to open. Measuring from the nearest side wall, mark on your sketches the locations of any wires, pipes, or ducts coming through the top plate. If your house has a basement or crawlspace, repeat the process there.
Step-by-Step Wall Removal
To prepare for demolition, mask off the area with plastic sheeting to prevent the dust from permeating your home, and protect the floor with dropcloths. Turn off the electrical circuits that supply power to receptacles, light switches, and wires in the wall. Pry off any moldings.
To remove gypsum wallboard (drywall), punch through the center of the panel with a hammer and use a prybar to extract the pieces. To dispose of plaster and lath, smash the plaster with a sledge hammer and then pry off the lath.
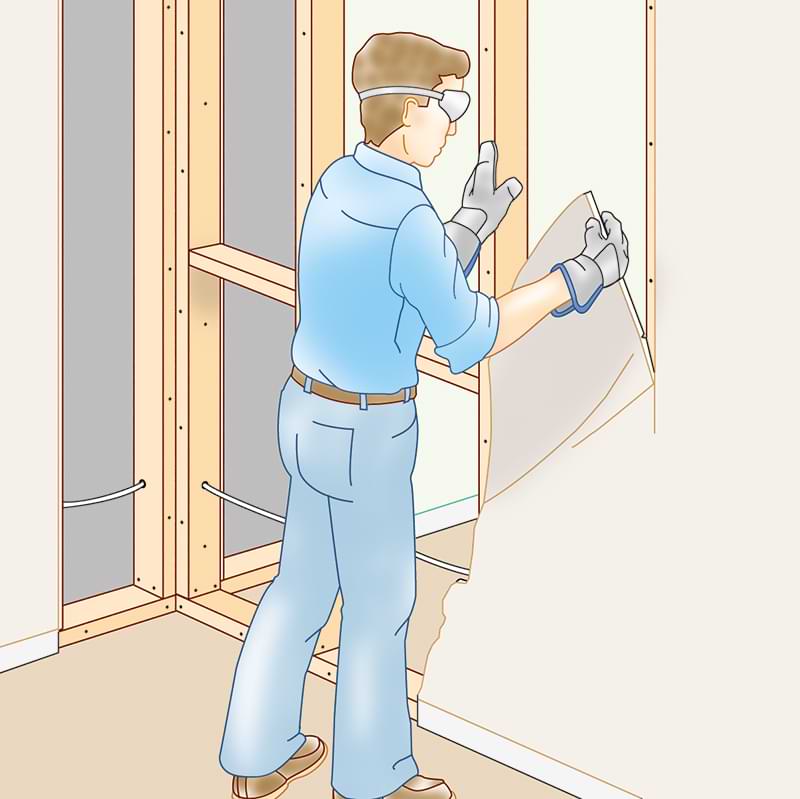
1Pry any remnants of surface material off the studs of the wall you intend to take out. On the walls that adjoin it, remove the surface material back to the first stud. Pull any remaining nails from all exposed studs.
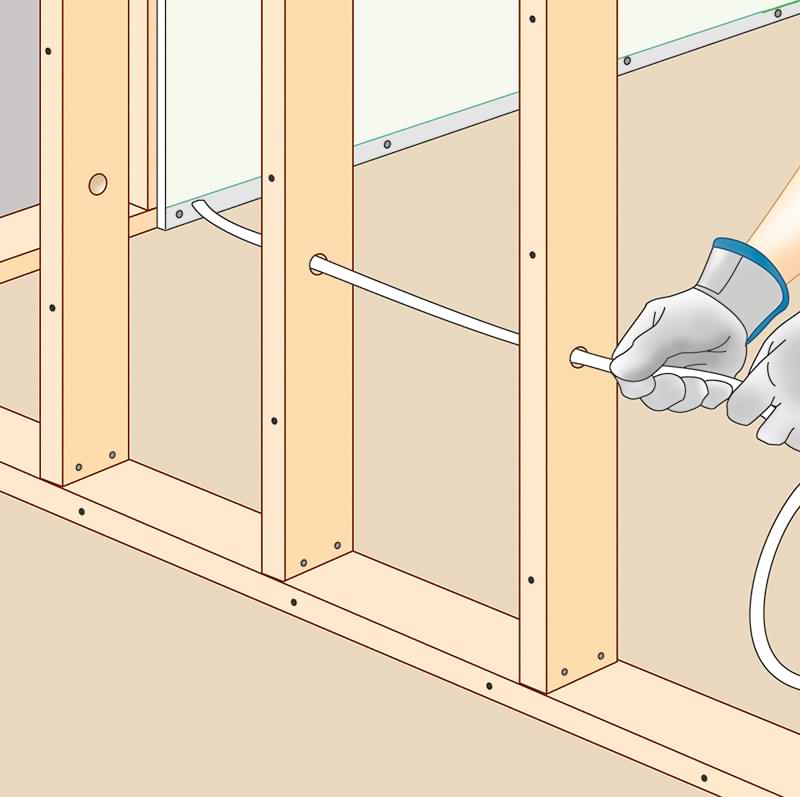
2Remove mechanical equipment. Make sure water and electrical circuits are turned off and then remove any wiring or plumbing from the wall; properly cap pipes and terminate circuits. If you’re unfamiliar with this type of work, call an electrical or plumbing contractor.
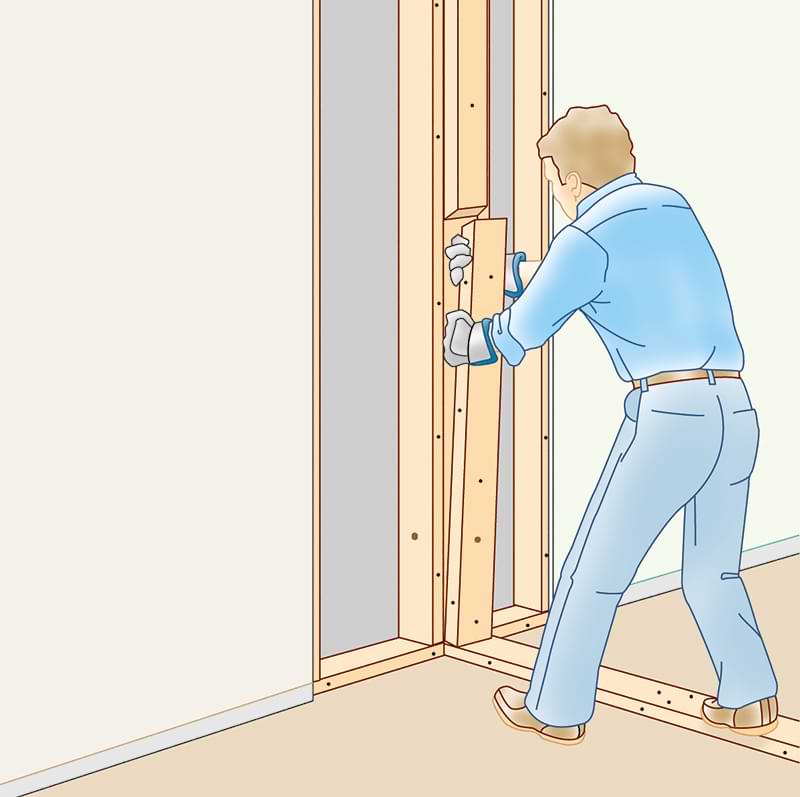
3Knock out any fire blocks between the studs. Cut through all the studs except the end ones a few inches up from the floor. Pull and twist the upper lengths of the studs to free them from the top plate. Using a hammer, knock over the short stud blocks at the base and pry them up. Pull out or cut off any remaining nails.
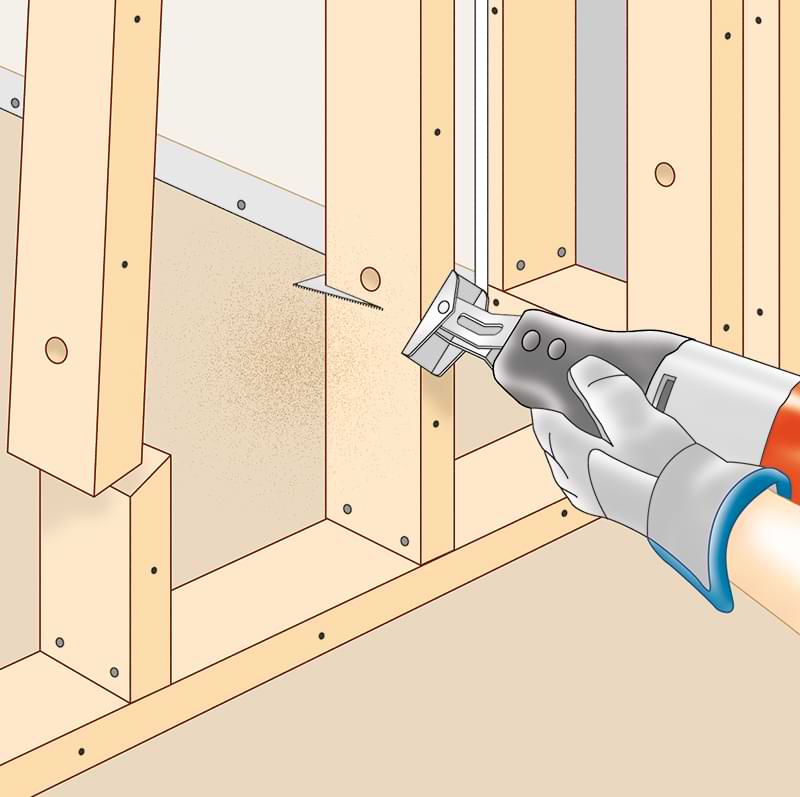
4Remove the wall studs. Make a diagonal cut through each end stud at a downward angle and then pry out the two pieces, beginning with the lower half. Pull them free from the top and bottom plates and the anchoring studs in the adjoining walls.
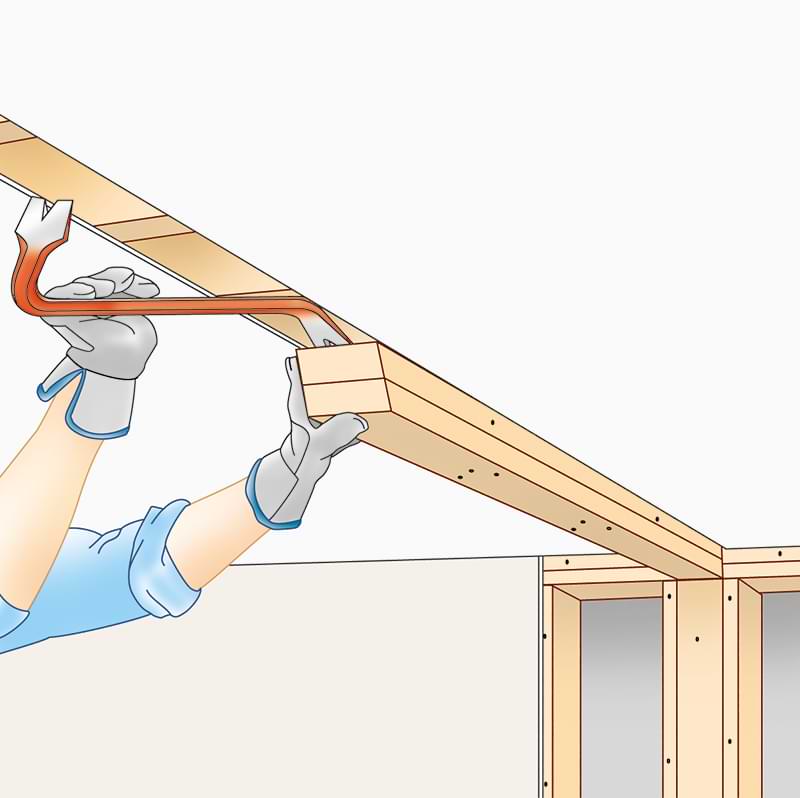
5Cut and remove the top plate. If the top plate goes through the adjoining wall, cut it flush with that wall’s top plate. Remove the top plate by making a diagonal cut across it and then wedging a prybar between the two halves and pulling downward. Pull out any remaining nails.
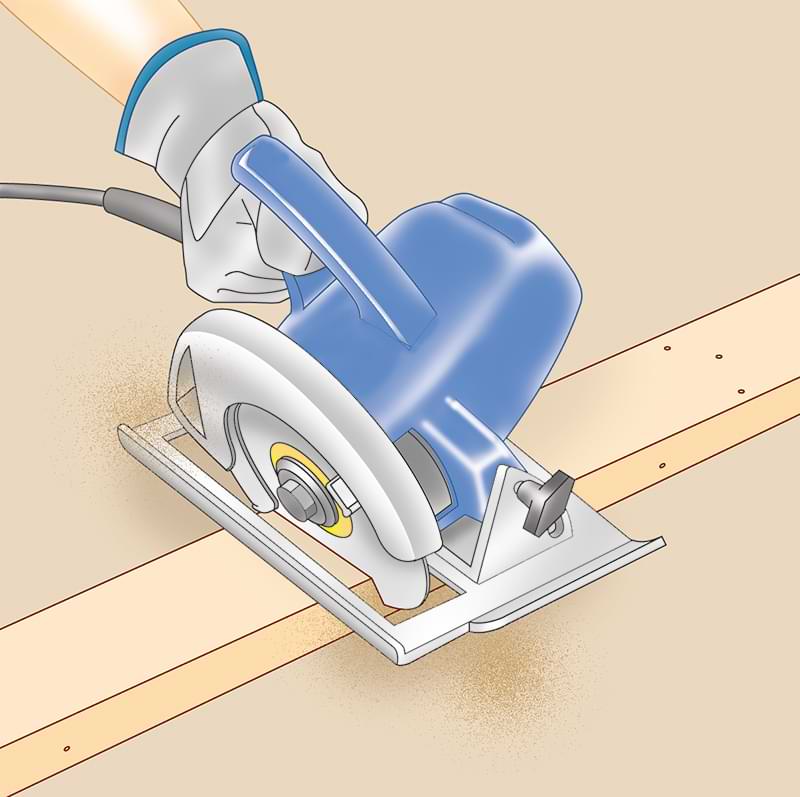
6Cut and remove the bottom plate. As with the top plate, if the bottom plate goes through the adjoining wall, cut it flush at the end first. Then make an angled cut across it, taking care not to cut the floor. Pry up the plate and pull out any remaining nails.
![]()
![]()


