An expert DIY guide to painting interior trim, with tips on finding the right paint and brush for the job and how to paint trim in the right order.

Choosing the right brushes and working in a systematic fashion are the keys to a quality trim paint job.

Painting interior trim is no different than painting any other kind of wood.
Start by sanding it until it is smooth and then apply primer.
When the primer is dry, sand the trim again lightly using 150-grit sandpaper; this will smooth any grain that was raised by the primer.
Then apply the first coat. If you’ll be applying additional coats, allow the first coat to dry, sand with 220- grit sandpaper, rub with a tack cloth to remove the dust, and then apply another coat.
The Right Paint & Brushes
Alkyd (solvent-based) paints were once preferred because of their high-quality finish, adhesion, and how well they stood up to abuse, but today’s acrylics are now preferred for several reasons: Their look and durability are comparable, they are easy to apply and clean up, they are kinder to the environment, and they pose a lesser health hazard because their fumes are less noxious.
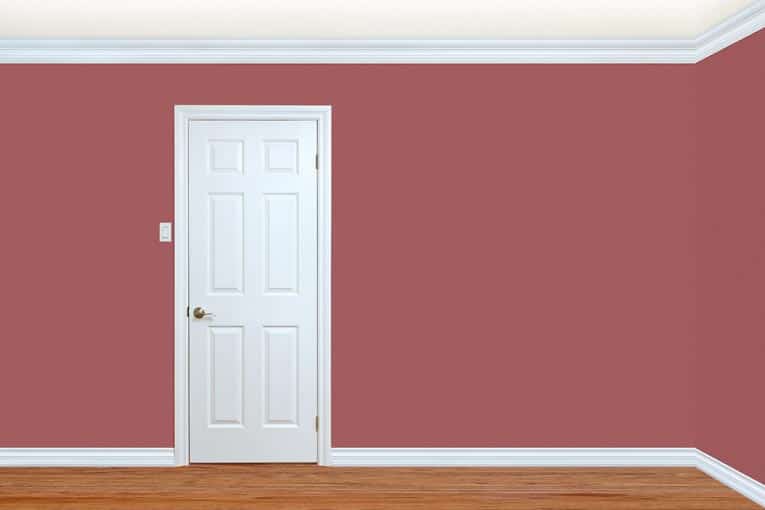
When choosing paint for trim, be sure to pick either a satin or a gloss finish. This type of finish gives the trim a shiny quality that will help it stand out against wallpapered or flat-finished walls. In addition to its increased durability, enamel paint also makes a surface more washable.

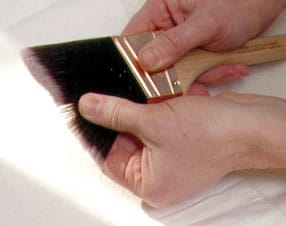
For a quality job, choose brushes that are appropriate to the size of the molding-a 1 1/2-inch tapered sash brush for narrow trim and a 2-inch brush for wider trim. For more about paintbrushes, see How to Choose the Right Paintbrush.
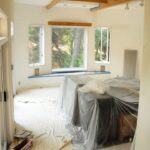
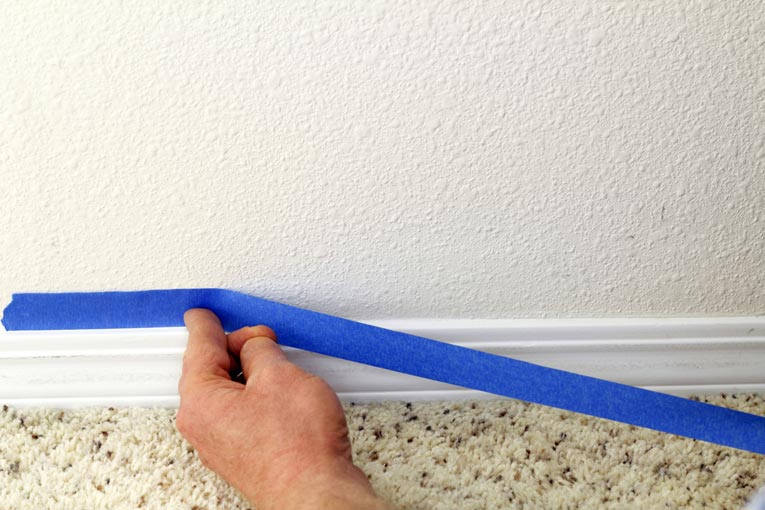
If you are installing new wood trim or replacing old trim, paint the trim first, install it, and then touch it up once it’s in place. However, if you are re-painting existing trim, you will need to mask the adjacent walls and/or ceilings with painter’s tape.
For more about this, see Preparing for Interior Painting and How to Mask a Room for Painting.
Paint in the Proper Order
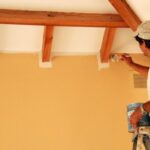
If you’re painting the walls and ceiling, do so before painting the trim—first the ceiling, and then the walls. For more about painting them, see How to Paint Walls and Ceiling. Allow those surfaces to dry thoroughly so you can mask them off before painting the trim.
Work from the top of the room down, painting trim closest to the ceiling and ending with the baseboards, though door and window trim may be painted at the end if so desired.For example, do the crown moldings first, then the column capitals and mantel shelf, and then the casings, columns, pilasters, and wainscoting.
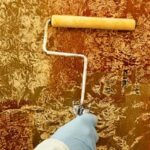
Be sure to keep the brush wet with paint as you work. If it becomes too dry, it won’t apply paint evenly.
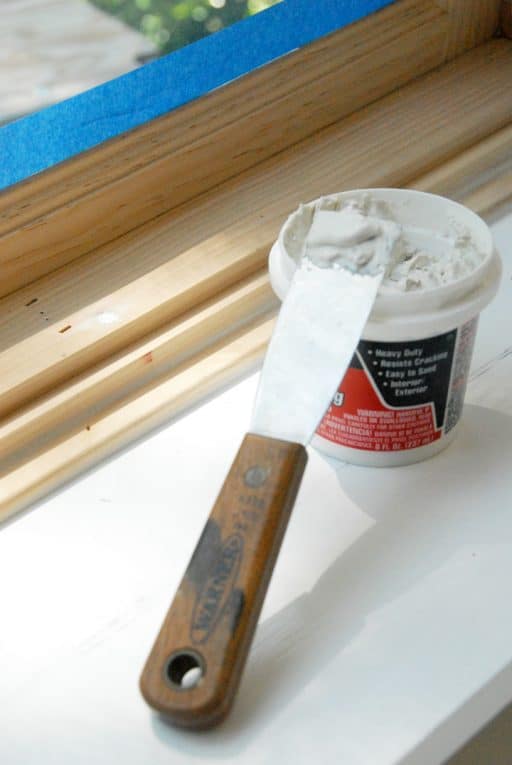
For trim that runs the length of a wall, start away from a corner by about 3 inches and paint to the corner. Change direction and paint several inches past your starting point. Continue in this way, painting 3 inches toward the corner (to the previous wet edge) and then several inches out. If you had to caulk any areas before starting to paint, make sure to cover the bead of caulk completely as you go.
Finish up with the baseboards. Apply paint to the top and bottom edges of each trim piece first and then fill in the centers.